
Short answer: the Anycubic Photon Mono M7 Pro is the best resin 3D printer for miniatures in 2026. It pairs a 14K monochrome LCD with 16.8 x 24.8 μm XY resolution, a 170mm/h lift speed on high-speed resin and a temperature-controlled vat. The Anycubic Photon Mono 4 is the budget pick at 17 x 17 μm with a one-time leveling step, and the Elegoo Saturn 4 Ultra 16K is the detail winner for busts and statues.
I have spent the last few months moving between these six machines, printing the same armour plates, cloaked figures and weapon arms to see where each one falls down. What follows is not a spec sheet dump. It is a working answer to a narrow question: which printer gives you the least frustration when you are trying to turn STL files into a usable 32mm wargaming army.
There is a catch to resin printing that no amount of resolution fixes. Fresh photopolymer resin gives off VOCs, and the worst release of them happens the moment you crack the lid open after a long print. That single fact reorders most buying guides, which is why I have given safety and ventilation a full section further down instead of burying it in an FAQ.
Everything in this guide is MSLA (masked stereolithography). An LCD screen masks a UV light source pixel by pixel, exposing only the cross-section of the current layer, then the platform lifts, cures the layer and drops again. The print comes off the plate raw, and you still have to wash it, cure it and remove supports before it ever touches a hobby mat.
Table of Contents
Top 3 Resin 3D Printers for Miniatures (October 2026)


The M7 Pro wins on the combination of resolution, speed and the sheer size of its owner base. Two thousand reviews is a lot of data on failure modes, and I found very few complaints about print quality for miniatures.
The Mono 4 is the machine I hand to friends who are nervous about spending a large sum on a hobby they have never tried. It is the least complicated thing here, and the 17 x 17 μm screen is genuinely sharper than several machines people consider upgrades.
The Mars 5 Ultra is the pick if you want a camera and tilt release without the M7 Pro’s size. The AI monitoring is genuinely useful when you are asleep, which is when most of your printing will happen.
All Six Printers Compared in 2026
| Product | Specs | Action |
|---|---|---|
| Anycubic Photon Mono M7 Pro |
|
Check Latest Price |
| Anycubic Photon Mono 4 |
|
Check Latest Price |
 Elegoo Mars 5 Ultra Elegoo Mars 5 Ultra |
|
Check Latest Price |
 Elegoo Saturn 4 Ultra 16K Elegoo Saturn 4 Ultra 16K |
|
Check Latest Price |
 Elegoo Saturn 3 Ultra 12K Elegoo Saturn 3 Ultra 12K |
|
Check Latest Price |
 Anycubic Photon P1 14K Anycubic Photon P1 14K |
|
Check Latest Price |
Two things stand out when you line up all six. Every machine here uses a monochrome LCD rather than the old RGB panels, which is now the expected default. And every one of them falls into one of three families: a compact 7-inch machine for squads, a large 10-inch machine for busts and dioramas, or a high-viscosity workhorse for tough resins.
How We Ranked These Printers
Affiliate roundups tend to rank on the number printed on the box. I weighted five things instead, and I would rather you know the formula than trust a mystery ranking.
XY resolution in microns (35%). This is the physical pixel pitch of the screen and it decides whether a raised sword edge or an engraved shield emblem survives the print.
Reliability and calibration burden (20%). How often the machine fails on its own, and how much work you do before the first print.
Build volume and plate layout (15%). A bigger plate means fewer overnight runs for the same army.
Print speed and release behaviour (15%). Lift speed, tilt release and wave release all decide how gently a part comes off the plate.
Failure-prevention features (15%). Cameras, residue detection, heated vats and auto-fill.
I print the same test set on each machine: a pre-supported 32mm cloaked figure, a two-handed sword with a thin crossguard, a helmet with a crest, and a bust on a scenic base. Crossguards and crests are the honest test, because that is where FDM falls apart and where cheap resin panels show visible pixel stair-stepping.
1. Anycubic Photon Mono M7 Pro – Best Overall for Miniatures
ANYCUBIC Photon Mono M7 PRO 14K Resin 3D Printer, 170mm/h Fast Printing
14K mono LCD, 16.8 x 24.8 μm XY
170mm/h with high-speed resin
COB LighTurbo 3.0 light
>90% uniformity
Pros
- 170mm/h on high-speed resin
- 130mm/h on standard resin
- 14K screen resolves fine engraved detail
- temperature-controlled vat holds viscosity steady
- resin auto-fill and one-key recycling cut waste
Cons
- Solid FEP vat assembly is harder to re-film
- lid must be fully seated or it will not run
- residue detection throws occasional false errors
This is the machine I ended up keeping on my own bench. The 14K panel is listed at 13312 x 5120, which works out to 16.8 x 24.8 μm of XY detail, and on a 32mm figure that difference is visible on the rim of a shield and on the raised lip of a helmet.
Where it genuinely outruns the field is speed. On high-speed resin the platform lifts at 170mm/h, and even on standard resin it manages 130mm/h. My first plate of twelve infantry came off in a single session, which is the number that matters when you are building a regiment rather than a single display piece.
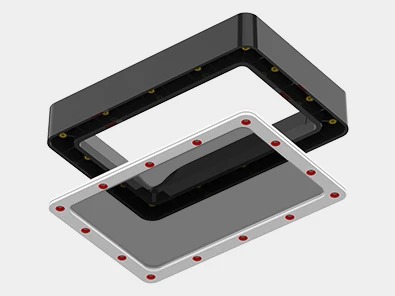
The COB LighTurbo 3.0 light source is listed at over 90% uniformity with a light angle under 3 degrees. In practice that uniformity is the difference between a print that cures evenly top to bottom and one where the bottom layers are slightly under-cured and go chalky after washing. I did not hit that problem once across a full plate run.
Six intelligent detection systems watch the print, and the dynamic temperature-controlled vat holds the resin at a steady working temperature. That matters more than it sounds, because resin viscosity drifts with temperature and a vat that warms up mid-print changes your exposure timing halfway through an army.
The resin auto-fill and one-key recycling system is quietly the most useful feature for a hobbyist. Pouring litres of resin through a funnel into a machine that has six sensors watching the vat is how you end up with resin in the power supply, and this removes that step almost entirely.
What the M7 Pro does well on miniatures
Fine heraldry and engraved text resolve cleanly. I printed a helm with a two-line unit motto and could read both lines at arm’s length without magnification, which no 7-inch machine in this group managed at the same layer height.
Batch throughput is the real strength. A plate of twelve 32mm models on 0.05mm layers comes out overnight with a single lift pass, and the auto-fill means I start the next batch before I have cleaned anything.
The speed headroom protects delicate details. Faster lifts mean shorter peel forces on the part, and shorter peel forces mean less of that hairline stress crack running up a thin sword blade.
Where the M7 Pro will frustrate you
The vat is a solid FEP assembly rather than a film you can swap yourself. It is more robust than a loose film, but when it eventually needs replacing it is a bigger job than peeling a sheet off a cartridge vat.
The lid has to be fully seated before the machine will operate. Owners describe this as an unnecessary rigidity in the design, and it does catch people out in their first week. The residue sensor also threw a few false errors for me, generally when a support raft had left a translucent film on the film surface.
2. Anycubic Photon Mono 4 – Best Budget Resin Printer
ANYCUBIC Photon Mono 4, Resin 3D Printer with 7” 10K Mono LCD Screen
7 inch 10K mono LCD, 9024x5120
17 x 17 μm XY resolution
153.4 x 87 x 165mm build volume
One-time 4-point leveling
Pros
- Sharpest XY figure in the group at 17 x 17 μm
- four-point leveling is a one-time job
- quiet and compact at 7.7 pounds
- laser-engraved plate grips bases well
- resumes after a power cut
Cons
- Build volume is smaller than the numbers suggest
- needs real time in the slicer before results look right
- some owners report screen failures
The Mono 4 is the reason I am sceptical of the idea that you need to spend a lot to get good miniatures. Its 7-inch 10K panel runs at 9024 x 5120, which is 17 x 17 μm in both axes, and that is the tightest, most square pixel arrangement of any machine here.
Square pixels are not a marketing nicety on a miniature. A sword edge is a straight line, and a square pixel grid renders that line cleanly on both axes, which means less post-processing with a file and more of the original sculpt surviving.
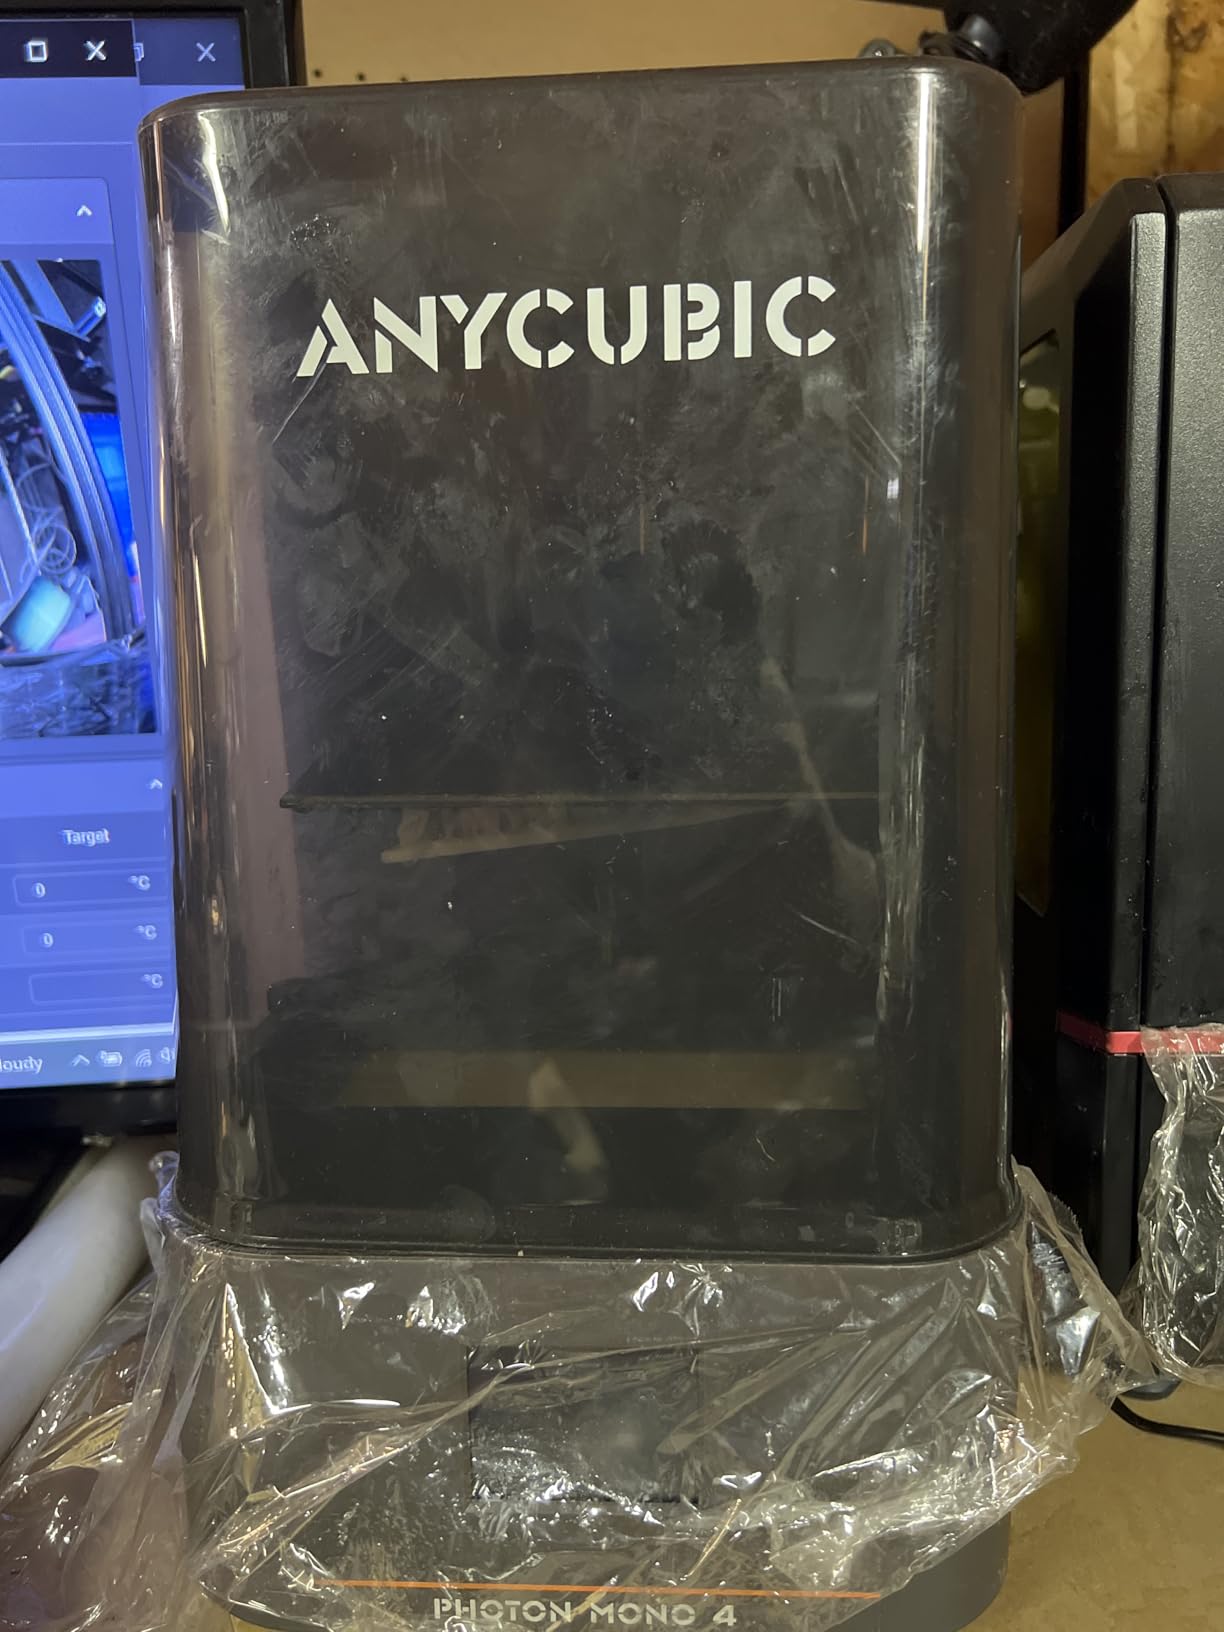
Calibration is a single four-point leveling operation that you do once. After that the machine remembers it. Owners consistently mention the quiet operation, and at 7.7 pounds with a 10 x 10 x 15 inch footprint it is the machine you can put on a shelf in a hobby room rather than a dedicated bench.
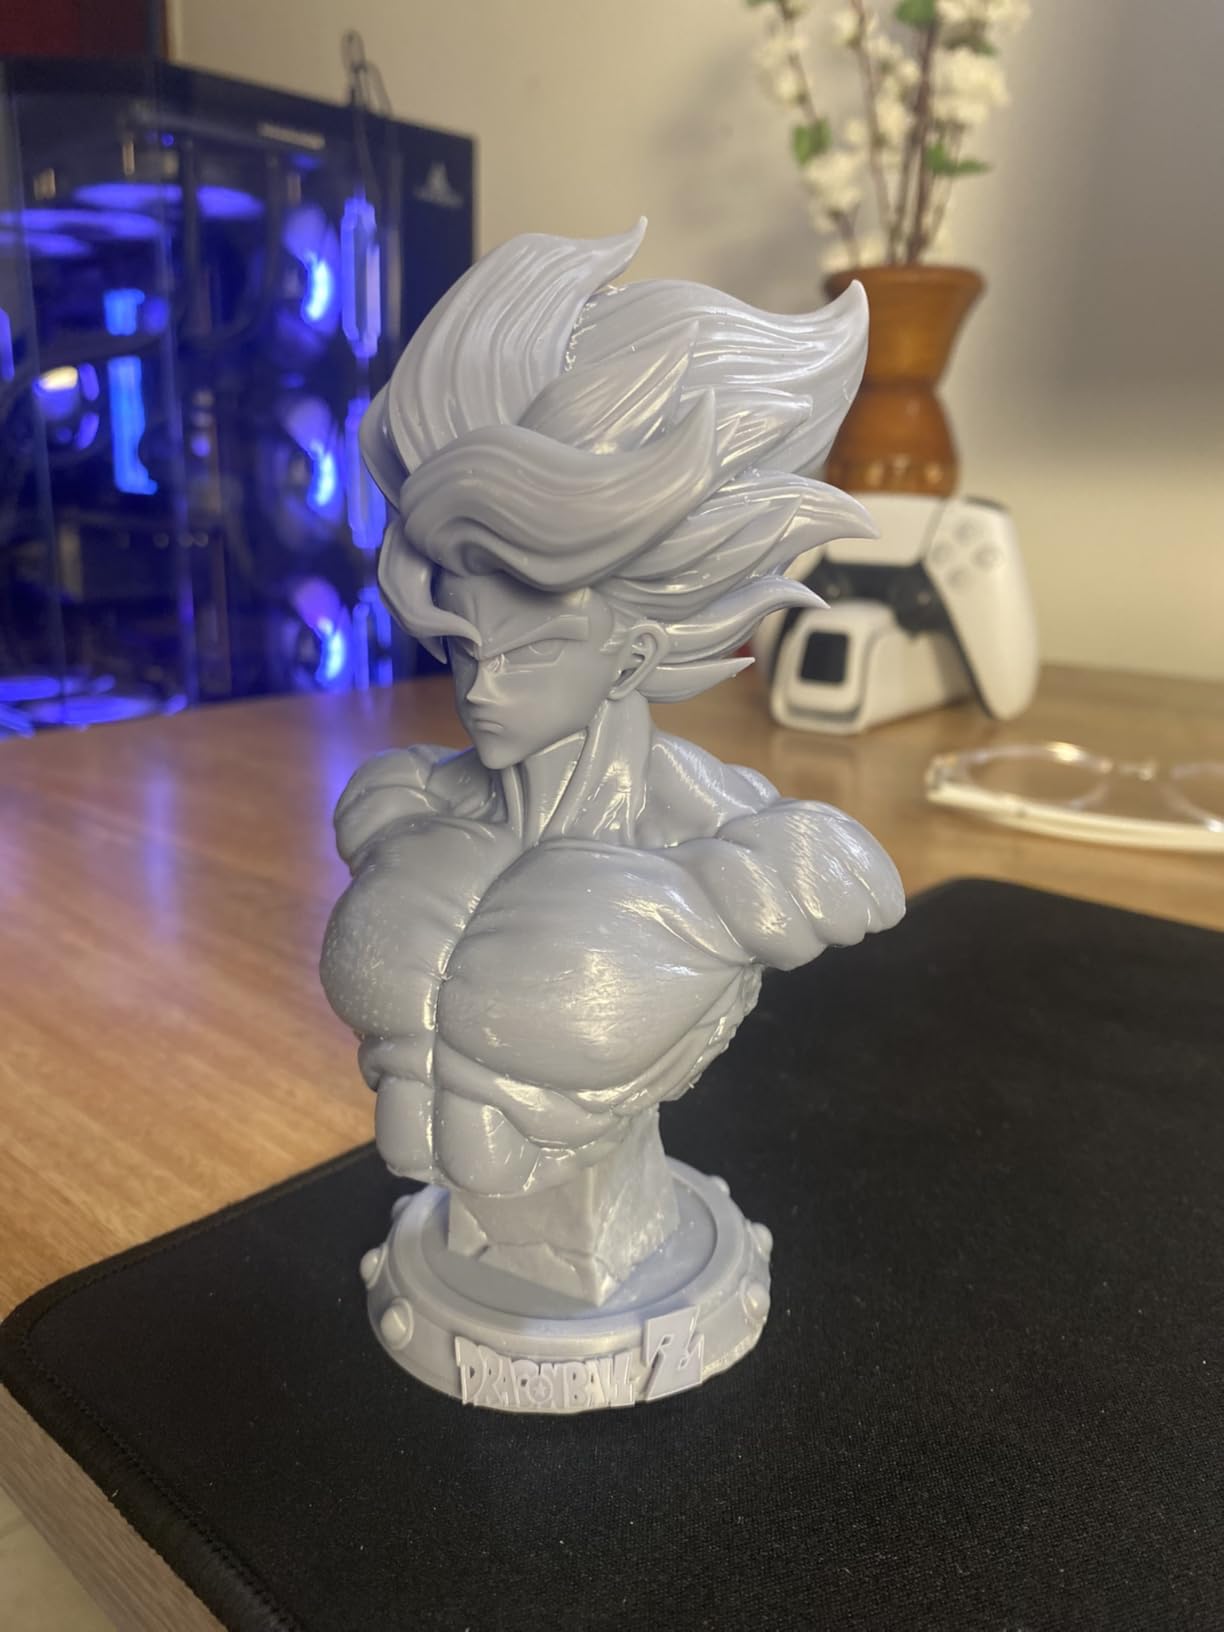
The laser-engraved build platform grips small scenic bases well. Adhesion on a 32mm model standing on a round base is where many resin prints pop off during the first peel, and I did not lose a single base across my plate runs.
Power loss resume printing is a small feature that matters enormously if you print overnight, which is the only sensible way to use resin. The machine picks the sequence back up instead of dumping a plate of half-finished miniatures.
Why the Mono 4 suits a first resin printer
There is no daily calibration tax. You level it once, load a profile and print, which removes the single most common reason people abandon resin printing in month two.
Resolution is genuinely competitive. At 17 x 17 μm the small face details on a 32mm head are clean, and my only comparison point in this group is the much larger and heavier M7 Pro.
It is the easiest machine here to sell as a gift or to start with. Nothing in the box needs assembly beyond the vat and the arm, and the whole unit weighs less than a bag of plaster.
Where the Mono 4 falls short
The build volume of 153.4 x 87 x 165mm is smaller than it looks on the spec list. You can fit a healthy number of 32mm models, but you are planning overnight runs around a plate that is roughly a third of the area of a Saturn.
It also wants attention in the slicer. Reviewers report that it takes real dialing-in before results look right, and the machine itself is capable of more than the default profiles show. Budget an afternoon with exposure test matrices before you commit it to a full army.
A small number of owners report screen failures and cracked vats, so treat the protective film and the vat as consumables worth keeping spares of.
3. Elegoo Mars 5 Ultra – Best Value for Beginners
ELEGOO Mars 5 Ultra Resin 3D Printer
7 inch 9K mono LCD, 18 μm XY
150mm/h with tilt release
AI camera with remote monitoring
Self-zeroing build plate
Pros
- Works out of the box with self-zeroing leveling
- tilt release at 150mm/h is gentle on thin parts
- AI camera lets you check a print from another room
- three months of Chitubox Pro included
Cons
- Lid is not hinged and has to be removed entirely
- rounded resin spout makes spills likely
- camera view is blocked by tall prints
The Mars 5 Ultra is the machine I recommend to anyone who wants the convenience features without moving up a size class. The 9K monochrome LCD gives 18 μm XY resolution, which sits a hair behind the Mono 4 and the M7 Pro but is comfortably inside the range where a sculpted face and a moulded armour plate both print cleanly.
The self-zeroing build plate is the feature that changes a first week. You are not running a four-point level or a vat-level calibration ritual every time you swap resin. You set the plate, press go, and the machine finds the resin surface itself.
Tilt release is the second quality-of-life win. Instead of peeling the part straight up, the machine rocks the vat during the lift, so a 32mm model with a wide cloak or a raised sword arm comes away at a different angle. Fewer violent peels means fewer snapped sword arms in the bin.
The AI camera gives you real-time monitoring and remote viewing, plus Wi-Fi cluster printing if you ever run more than one unit. For a hobby printer that mostly works while you sleep, being able to glance at a phone and confirm the plate is still attached is worth a lot.
A three-month subscription to Chitubox Pro is included, which covers the professional slicing profiles most people would otherwise be hunting for. Resin level sensors and a mechanical sensor for residue detection round out a package that is unusually complete for the money.
Why the Mars 5 Ultra is the easy first machine
Everything is automatic. Self-zeroing leveling, resin level sensors and residue detection cover the three failure points that send beginners back to FDM printers.
The 150mm/h tilt release is fast without being aggressive. My plate of ten cloaked figures finished well inside an evening, and I did not lose a single thin arm.
The camera turns a passive printer into a supervised one. You catch a detached raft on layer 12 instead of finding a puddle of cured plastic the next morning.
Where the Mars 5 Ultra annoys you
The lid has no hinge. To check a print or pour resin you remove it entirely and set it somewhere, and over a year of daily use that becomes irritating in a way that is hard to un-notice.
The rounded resin spout makes spills a genuine possibility, so put a tray under the machine before your first fill. The camera view is also blocked by tall prints, which is precisely when you most want to see the plate.
Build volume is the smallest plate in this group of 7-inch machines, so an army takes more runs than you might expect from the spec sheet.
4. Elegoo Saturn 4 Ultra 16K – Best for Large Busts
ELEGOO Saturn 4 Ultra 16K Resin 3D Printer
16K ultra-high resolution LCD
Smart vat heating holds 30°C
218.88x122.88x260mm volume
AI camera with built-in light
Pros
- Highest resolution in the group
- heated vat at 30°C stabilises the resin
- plug-and-play auto-leveling
- residue sensor protects the LCD
- large build volume for dioramas
Cons
- Biggest machine in the lineup at 35.5 pounds
- AI detection results vary with resin and room conditions
- some early firmware issues reported
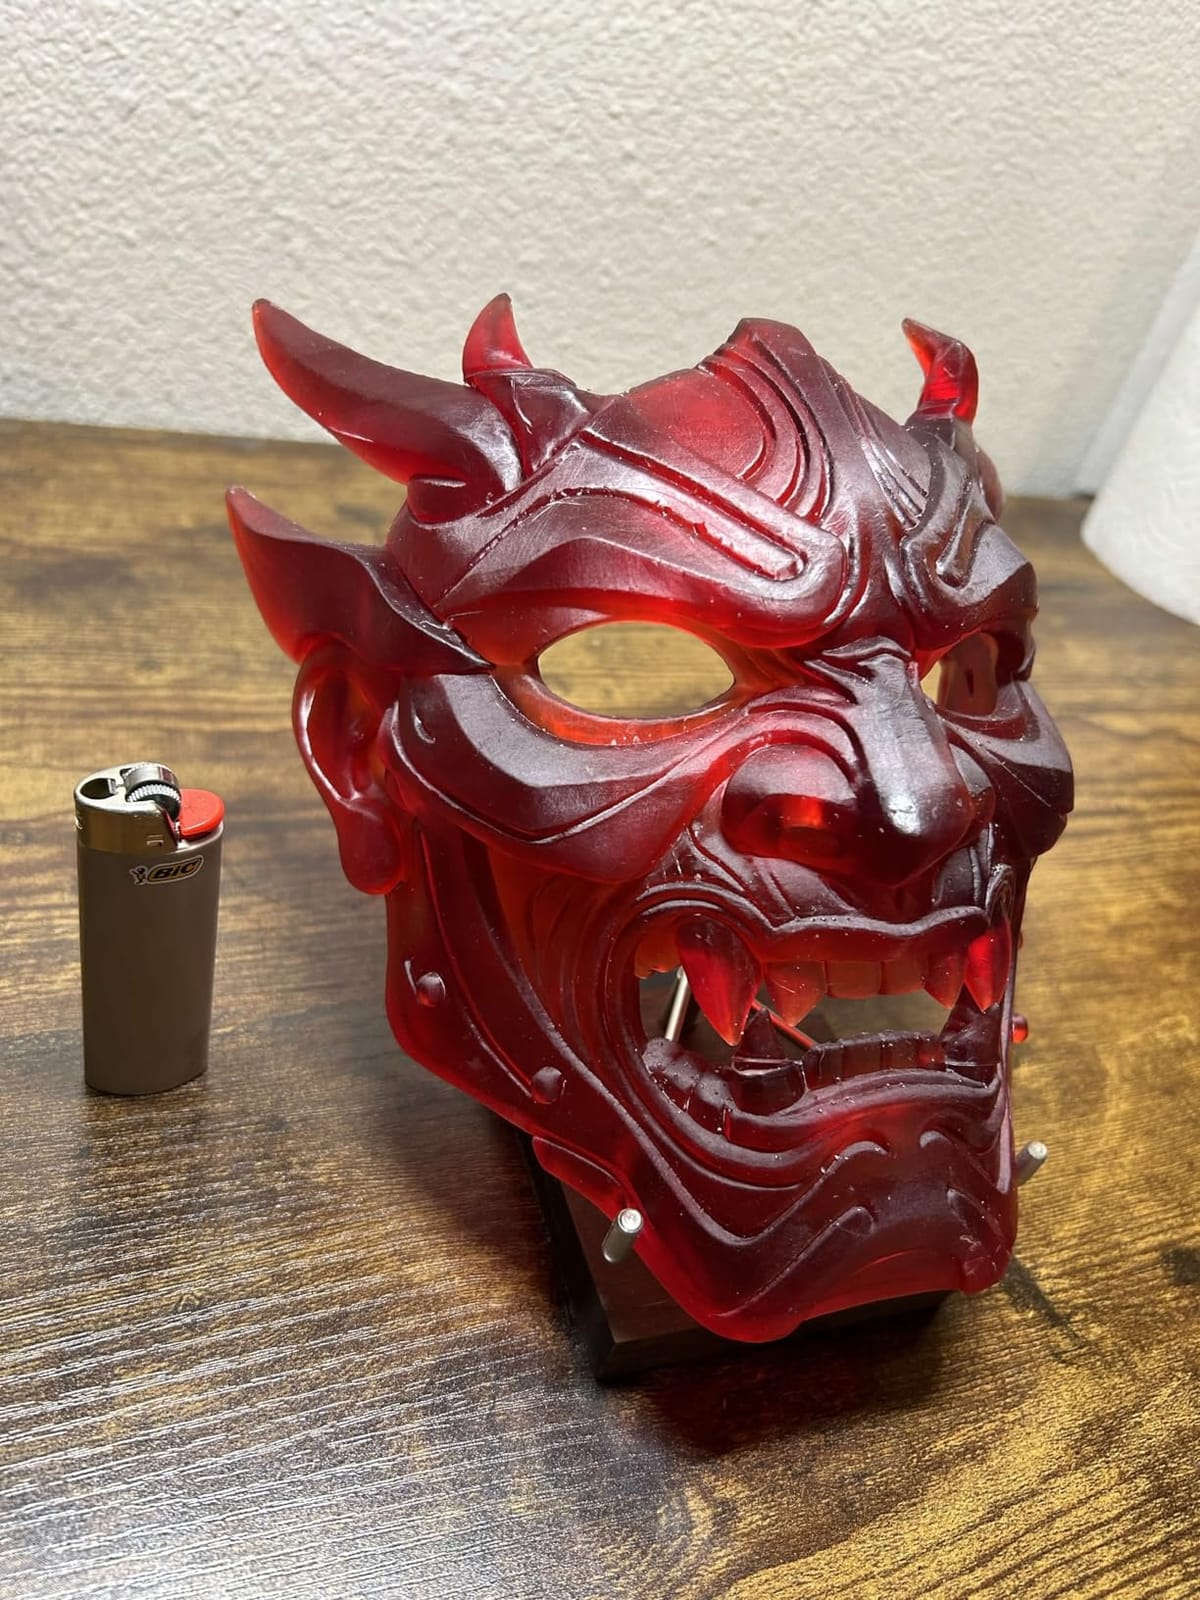
The Saturn 4 Ultra 16K is the one to buy if you print busts, statues or dioramas rather than 32mm ranks. Its 16K panel is the sharpest screen in this group, and on a full-size bust that headroom shows up in the texture of skin, the weave of cloth and the micro-bevelling on a shield rim.
At 0.02mm layer height a bust is not going to be a smooth, glassy surface. It is going to be a surface with the layer lines pushed down to the point where primer and a base coat hide them, which is exactly where you want to be before you start painting.
The smart tank heating is the quiet hero. It holds the resin at 30°C, and a stable resin temperature means a stable exposure time, which means the bottom of a 260mm tall print cures the same way the top does. On tall prints without a heated vat, the difference between first and last layer is a real and visible problem.
Build volume is 218.88 x 122.88 x 260mm, which is enough for a serious diorama base or a batch of busts in one run. Combined with tilt release at 150mm/h, a large print comes off the plate without a fight.
Auto-leveling here is described as plug-and-play, and the smart mechanical sensor for residue detection guards the LCD, which is the most expensive part of the machine. That matters given the size of the screen.
Where the Saturn 4 Ultra earns its cost
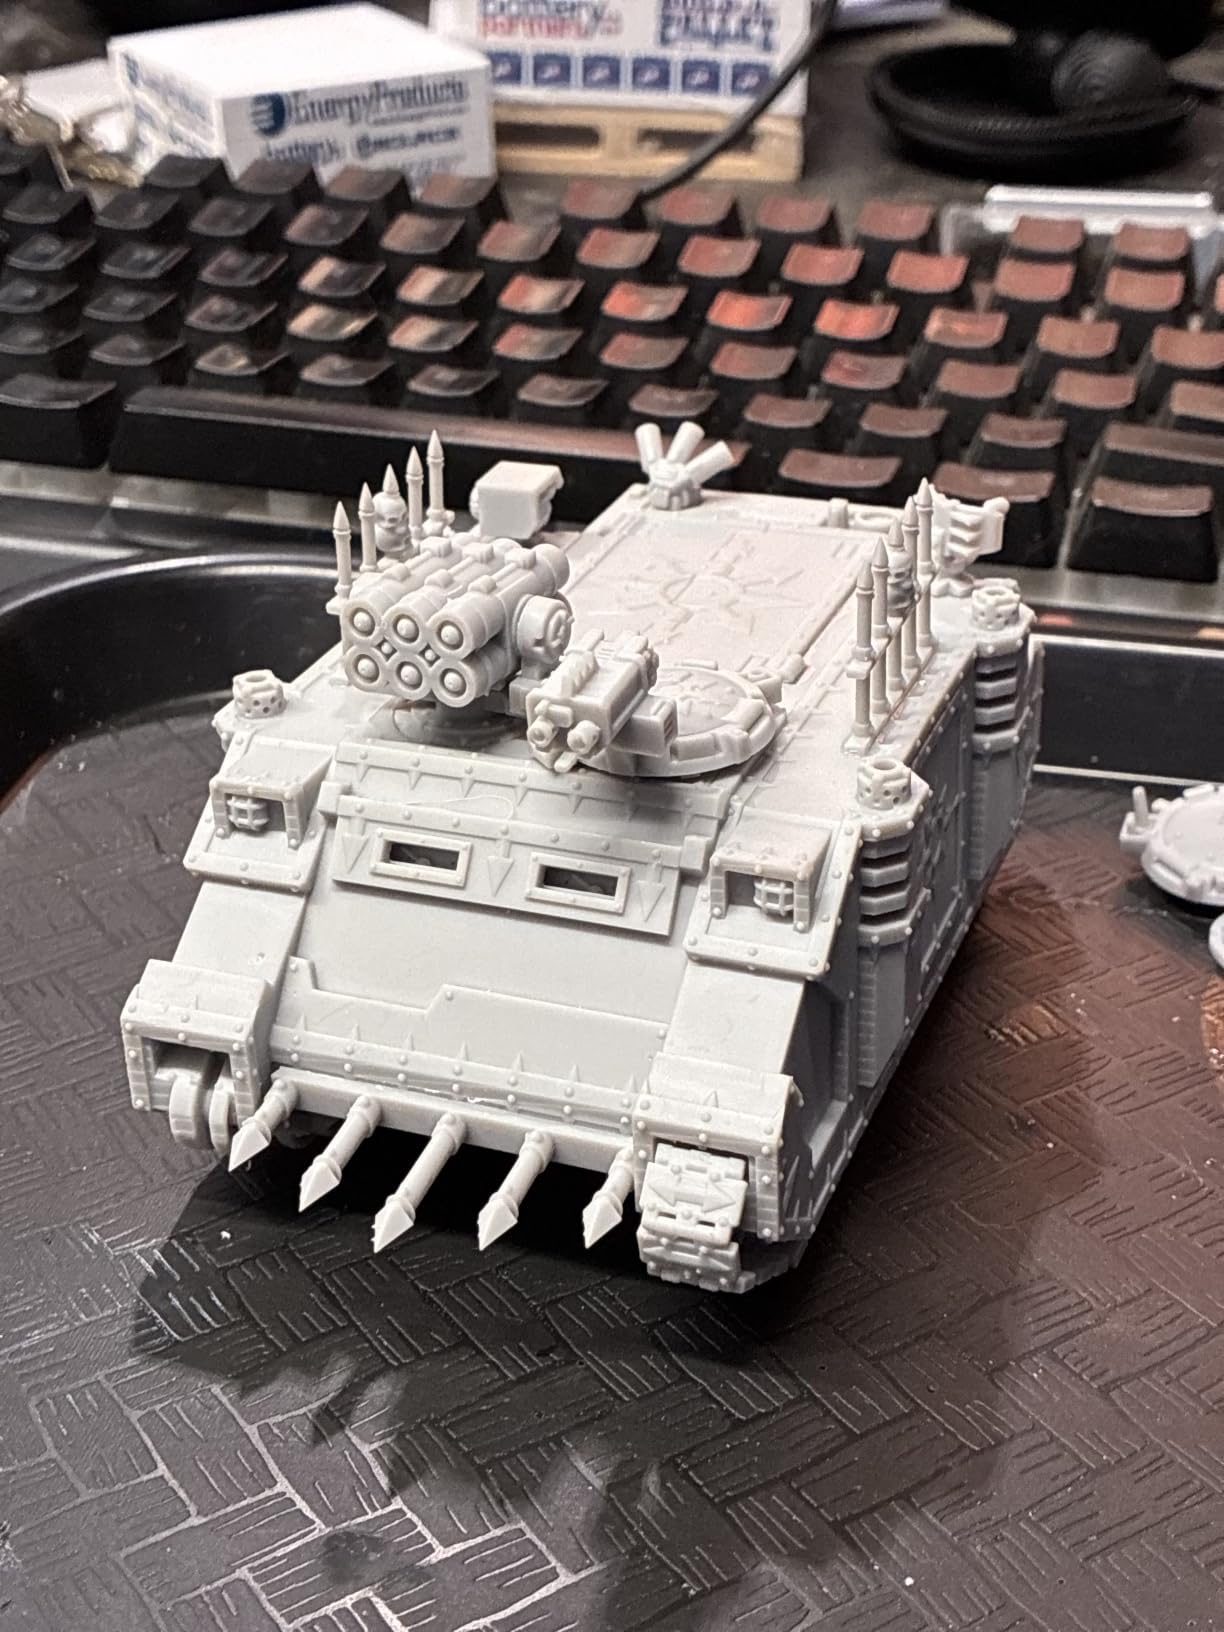
Large-scale work. A 1:6 scale figurine or a bust is where 16K resolution translates into visible detail rather than pixel-count bragging.
Heated vats solve tall prints. If you regularly print anything over 200mm, this is the feature that removes a whole category of failed plates.
The AI camera has a built-in light and time-lapse. You can watch a diorama build without opening the lid, which is also the safest way to check on a print.
Where the Saturn 4 Ultra is overkill
For a 32mm infantry army, most of that resolution budget goes unused. You would be paying a big-machine cost to produce figures too small to show the difference.
It weighs 35.5 pounds and needs a proper bench. If you are printing from a small home office, this is the machine you build a dedicated corner for, not the one you tuck beside a monitor.
The AI detection is not perfect across every resin and room. Owners report it calling residue that was not there, so treat it as a helpful alarm rather than gospel.
5. Elegoo Saturn 3 Ultra 12K – Best for Big Plate Layouts
ELEGOO Saturn 3 Ultra 12K MSLA 3D Printer with 10″ Monochrome LCD
10 inch 12K mono LCD, 11520x5120
150mm/h with rapid resin
COB plus refractive light source
218x122x260mm build volume
Pros
- Same large plate area as the Saturn 4 Ultra
- COB and refractive light gives clean edges
- laser-carved plate grips large models
- Wi-Fi file transfer
- quiet
Cons
- Some owners report LCD failures within days
- Lychee slicer mirrors prints on the X axis
- QR code for support is hard to scan
The Saturn 3 Ultra 12K is the batch machine. It carries the same 218.88 x 122.88 x 260mm build volume as the newer Saturn 4, so plate area is identical, but it lands at a lower tier and its 12K panel is still sharp enough for standard 32mm and 40mm work.
If your goal is an army rather than a display piece, plate area matters more than pixel pitch. A larger plate lets you place more models in one peel, and every peel is a chance for a part to be knocked loose or snapped.
The COB light source combined with a refractive element is what gives the machine its edge quality on straight lines and corners. On a shoulder pad or a straight armour seam that is the difference between a defined edge and a slightly rounded one.
It prints at 150mm/h with Elegoo rapid resin, which is competitive with the newer Elegoo machines and with the M7 Pro on standard resin. Wi-Fi file transfer removes the SD card step, and the laser-carved build plate is well regarded for adhesion on big bases.
It also runs quietly. On a long overnight army print that is a genuine quality-of-life difference, especially if the machine is running in a room you also work in.
Why the Saturn 3 Ultra 12K maximises output
Plate area is the priority here. Getting 25 to 30 models down per run means fewer overnight cycles and fewer peel events per finished miniature.
Speed holds at 150mm/h, so a large plate does not stretch across three evenings. The queue keeps moving.
The build plate is laser-carved, which is a small thing on paper and a real thing on a model with a big flat base that needs to resist a 150mm/h lift.
Where the Saturn 3 Ultra 12K can hurt
There are owner reports of LCD failures, sometimes within days of delivery. On a 10-inch panel that is the single most expensive failure mode in the machine, so read the warranty terms before you commit.
If you use Lychee, note that it mirrors prints on the X axis. That is a one-time habit to learn, but it catches out people who switch slicers late.
Support is thinner than the newer Elegoo models. The QR code for support is small and awkward to scan, and some owners found that technical support asked them to disassemble the machine, which is not a reassuring first contact.
6. Anycubic Photon P1 14K – Best for Tough High-Viscosity Resins
ANYCUBIC Photon P1 14K Resin 3D Printer with Auto-Leveling
10.1 inch 14K mono LCD, 13312x5120
16.8 x 24.8 μm XY
Wave Release cuts release force
Handles resin up to 8000 cps
Pros
- Handles ultra-high viscosity resins up to 8000 cps
- Wave Release Technology reduces release force
- factory-calibrated Smart Leveling 3.0
- AI monitoring across four checks
- pre-configured resin profiles
Cons
- Newest model here with the fewest long-term reviews
- larger footprint
- more capability than casual users need
The Photon P1 is the newest machine in this group, and it is the one built for the specific complaint that comes up most often from people who already own a good printer: my miniatures snap. Brittle arms, chipped sword blades, shields that crack when you drop them on a table.
Brittleness is not only a resin problem. It is also a release-force problem, because every peel puts stress through the thinnest features on the model. Wave Release Technology is listed at around 60% less release force, which is the biggest single number in this entire guide.
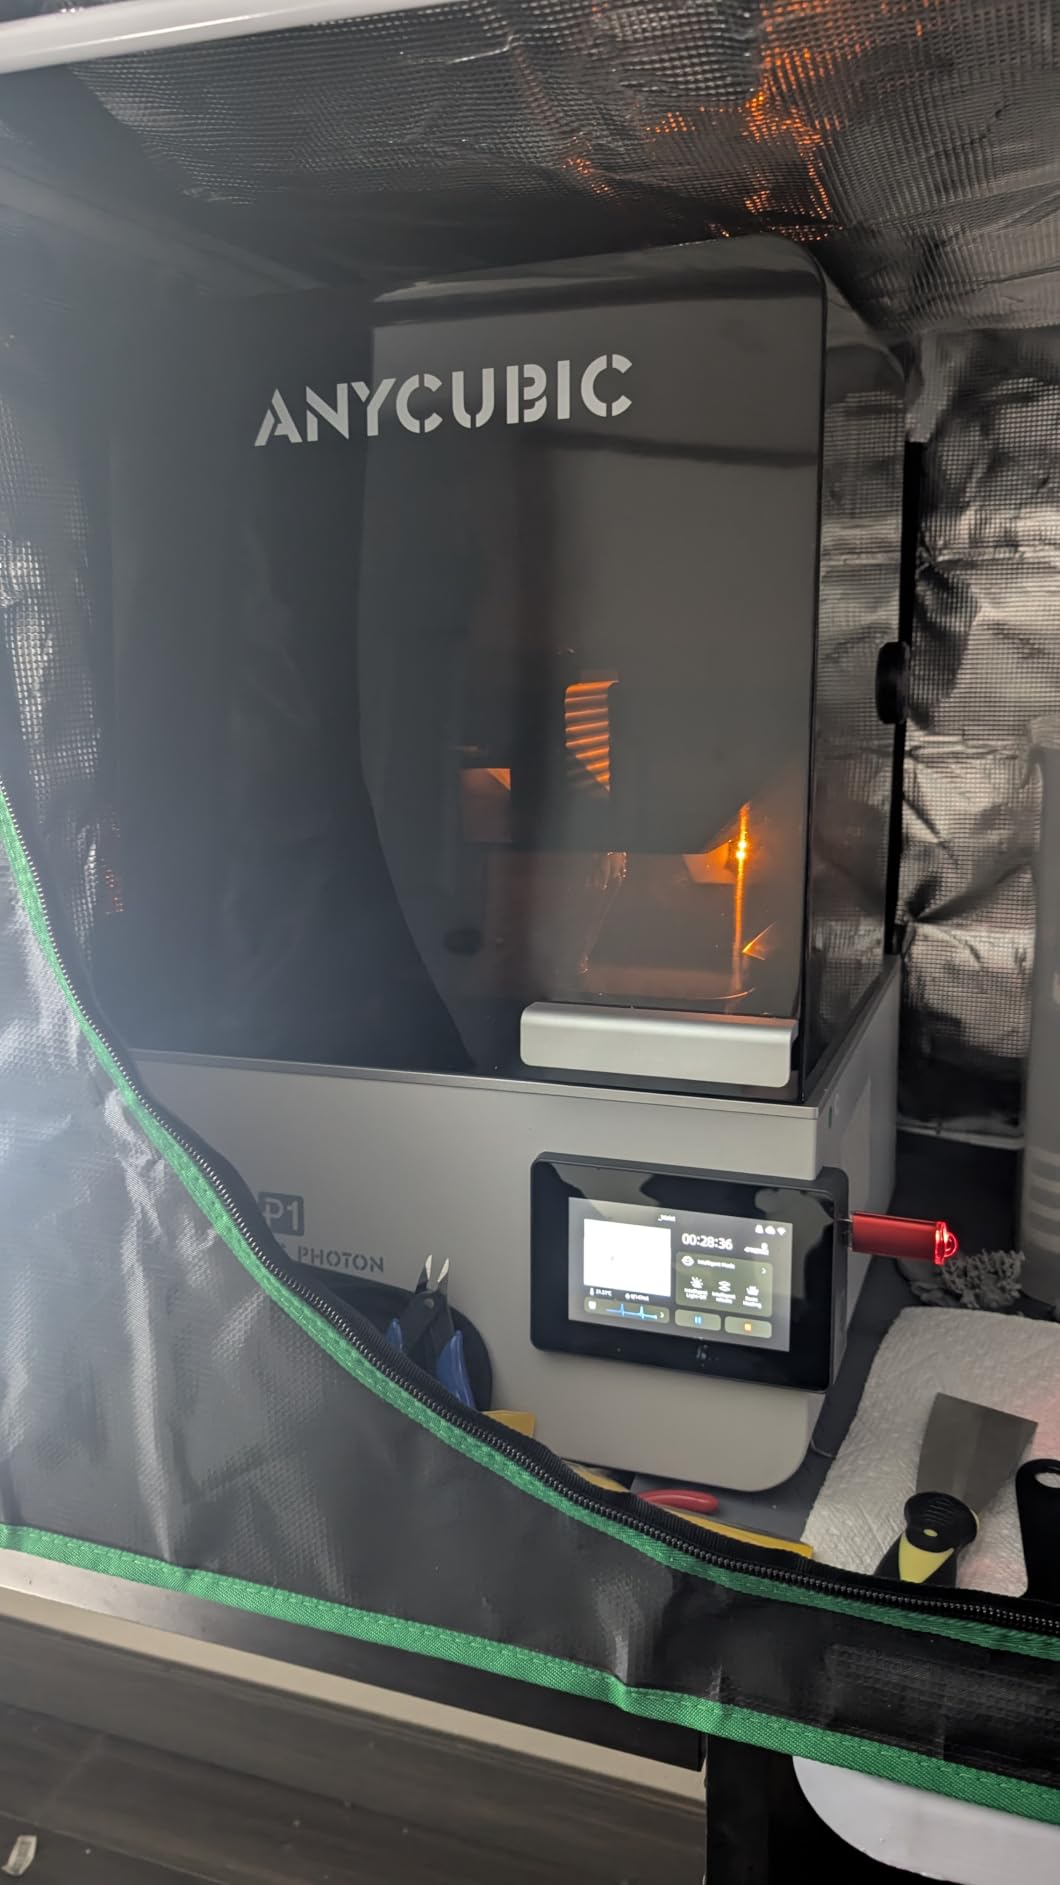
The 10.1-inch 14K panel gives 16.8 x 24.8 μm XY resolution, which matches the M7 Pro despite the very different form factor. The 0.3mm minimum aperture specification is the figure that matters most for fragile detail like fingers, straps and hair strands.
Resin viscosity is the other headline. Handling resins up to 8000 cps means you can use tough, plant-based and reinforced formulations that most entry machines cannot move, and those formulations are exactly the ones that survive a gaming table.
Smart Leveling 3.0 is factory calibrated, and AI monitoring watches plate installation, the bottom layer, resin level and residue. Pre-configured Anycubic resin profiles mean you are not starting from a blank exposure test on your first evening.
Why the Photon P1 protects delicate minis
Wave Release reduces the force on the part during the peel, which directly reduces the stress that snaps a thin sword arm off a fully cured model. It is the single most relevant number for anyone who has lost minis to their own build plate.
High-viscosity support means tough resins are a realistic choice. If you have given up on resin because the prints were brittle, this machine plus a reinforced resin is the answer rather than a compromise.
Factory calibration removes a whole category of early frustration. A new user can go from unboxing to a finished plate without a calibration weekend.
Where the Photon P1 is the wrong buy
It is the model with the thinnest long-term record in this lineup, at 58 reviews. Everything on the spec sheet is excellent, but the history of failure modes has not been written yet, and that is a real risk with an expensive machine.
The footprint is large at nearly 17 by 24 inches, so it needs real bench space. It is also more machine than many casual users need, particularly if you print 32mm infantry with standard resin.
Camera and AI monitoring only work with the Anycubic slicer ecosystem, which is a recurring complaint across owners who like to use their own software. If your workflow depends on a third-party slicer, check that first.
What to Look for in a Resin 3D Printer for Miniatures
XY resolution, and why it is the first filter. Resolution is the pixel pitch of the LCD and it is the single number that decides whether a miniature looks good. Below roughly 35 microns, a raised sword edge or an engraved shield emblem survives printing. Below 20 microns, small text and cloth folds resolve cleanly. Every machine in this guide sits between 16.8 and 18 microns, which is the band you want for 28mm to 32mm work.
Monochrome LCD over RGB. Colour screens were once cheaper because one panel covered all the wavelengths. Mono panels last far longer, produce a more even cure and are standard on every current machine. Do not consider an RGB machine for miniatures.
Build volume versus plate area. For miniatures, plate area matters more than height. A wide plate fits more 32mm models in a single peel, and a tall build volume only matters if you print busts and dioramas. This is why the Saturn models pull ahead for army printing and the compact 7-inch machines suit small hobby spaces.
Auto-leveling and resin level detection. These are the two calibrations that cause the most frustration for new owners. A self-zeroing build plate and resin level sensors remove both from your first week. It is worth paying for, and it is the reason the Mars 5 Ultra edges ahead of cheaper alternatives for beginners.
Release technology. Tilt release, wave release and tilting vats all reduce the force needed to pull a part off the plate. On brittle thin features that difference decides whether you have a finished mini or a repair bench.
Light source uniformity. A COB light source with a Fresnel lens or a refractive element gives even illumination across the plate. Poor uniformity shows up as an under-cured bottom layer, which turns chalky after washing. Look for a stated uniformity figure above 90%.
Residue detection. Failed prints leave a translucent film on the FEP or NFEP that permanently damages the LCD if it stays. A mechanical sensor that catches this is cheap insurance on an expensive screen.
Heated vat. Only worth it above 200mm print height, but at that height it is essential, because resin viscosity drifts with temperature and a tall print cures differently at the top than at the bottom.
Slicer and connectivity. Photon Workshop, Chitubox, Lychee and Voxeldance Tango all have sharp edges. The Photon P1 camera, for example, only functions inside its own ecosystem. Check that your preferred slicer is supported before you commit.
How Many Miniatures Fit on One Plate
Plate layout is the arithmetic nobody publishes, so here is the working method. A 32mm model on a 25mm round base occupies roughly a 30 x 30mm footprint once you allow for supports. Divide your usable plate area by about 900 square millimetres and you get a realistic count.
On a 153.4 x 87mm plate, the usable area after the frame is roughly 130 x 70mm. That gives you about ten 32mm models with tight spacing. A 40mm model on a 32mm base takes about 1100 square millimetres, so five or six on the same plate.
On a 218.88 x 122.88mm plate, the usable area is closer to 195 x 100mm. That works out to roughly twenty-five 32mm models, or twelve 40mm models, in a single run. That is the single biggest practical difference between the compact and large machines.
Whatever the count, batch a full plate. The economics of resin printing are driven by peel events, and a half-full plate of heavily supported models costs almost as much as a full one.
Safety and Ventilation: The Part You Cannot Skip
This is the section that most roundups skip, and it is the one that matters most for your health. Uncured photopolymer resin releases volatile organic compounds, and the exposure peak is not during the print. It is the moment you lift the lid and the vat exhales.
Use a dedicated space. Hobbyists on r/PrintedMinis and r/resinprinting are almost unanimous on this: do not put a resin printer in living space. A garage, a basement, a garden office or a spare room with a closed door will all work. A home office you sit in all day is the worst option.
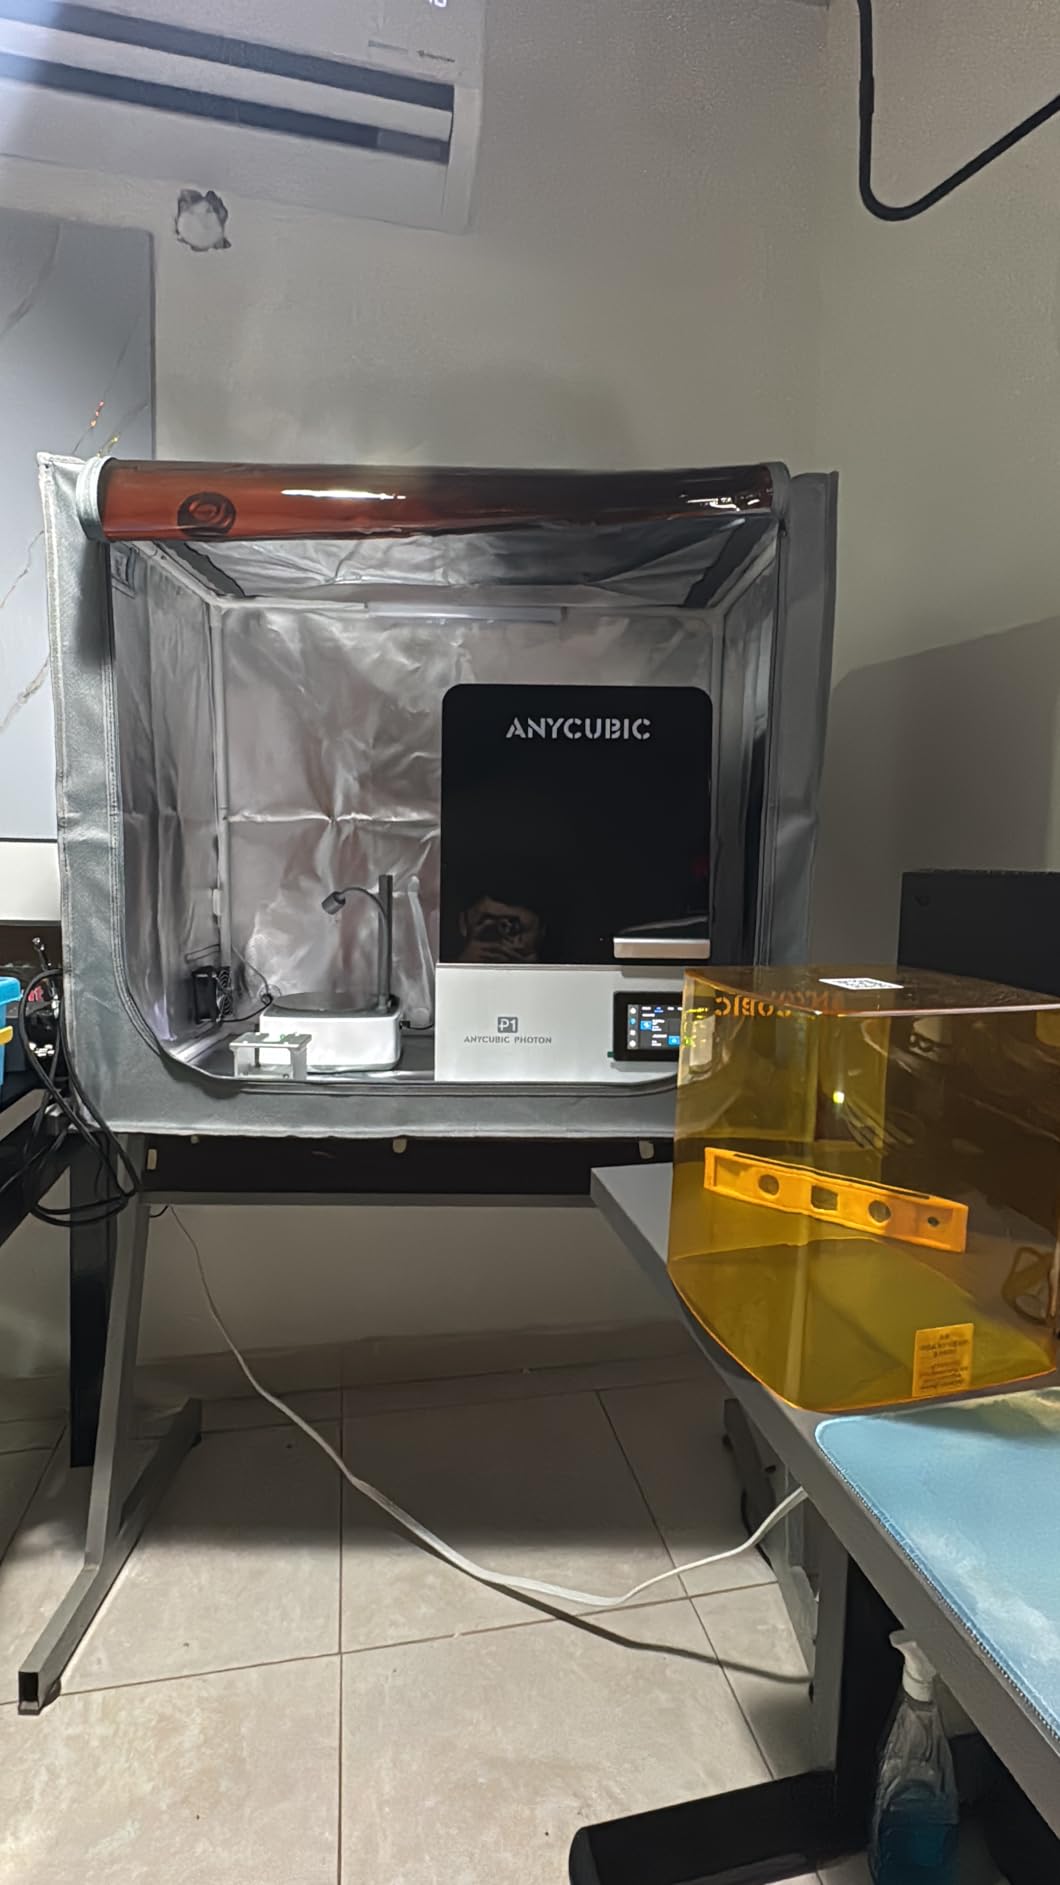
Keep the vat covered during the print. Most of these machines have an iris or sliding cover. Use it, and use the lid as well, so the machine is not pumping fumes into the room.
Add an activated carbon filter. A carbon-filtered enclosure or a ducted extraction fan with a carbon bed is the single most effective upgrade for a home setup.
Wear nitrile gloves and a respirator when handling resin. Uncured resin is a sensitiser. Gloves for every pour, a mask rated for organic vapours for cleaning, and no skin contact at any point.
Off-gas prints after washing. A sealed container left to sit for a day lets the worst of the VOC load dissipate before a cured print comes near your hobby room.
Air the space afterwards. Cracking a window and running an air purifier for an hour after a pour-and-print session is the common workaround people land on in flats.
None of this is alarmist. Thousands of people resin print safely in apartments. But they do it deliberately, with extraction and gloves, rather than putting a machine on a desk and wondering why the room smells odd for a week.
Wash, Cure and Post-Processing Miniatures
The print coming off the plate is not a finished miniature. It is a raw, fragile, resin-wet object that will snap if you look at it wrong, and the post-processing workflow is where most first-time resin users underestimate the effort.
Remove the plate and soak. Lift the plate, place it in a tray of 99% isopropyl alcohol and leave it for around ten minutes. Never pull a part off dry.
Brush it. An old toothbrush and a second alcohol bath remove uncured resin from the crevices a wash will not reach, which is what stops prints going tacky a week later.
Rinse and dry. A final alcohol rinse, then let it dry fully before curing. Water left under the supports will cloud the finish.
UV cure all sides. Rotate the part under a curing lamp for five to ten minutes per side. A 40W station is adequate for 32mm minis. Under-curing leaves a soft, tacky surface that will never take primer properly.
Remove supports and inspect. For pre-supported STL files, supports should snap off cleanly. Where scarring remains, users generally accept it as the price of resin detail.
Prime and paint. Once fully cured and cleaned, your miniature takes primer and acrylic paint better than anything FDM produces.
You can overcure a print. Excess UV exposure can turn some resins yellow and, in extreme cases, embrittle the surface layer. Five to ten minutes per side is the range most people use successfully, and staying in that range is the practical answer.
On resin pairing: standard grey resin is fine for practice models, but brittle at thin features. A tough or plant-based resin, or a blend of the two, is what keeps a sword arm from snapping in a dice tray. Pair the M7 Pro or the P1 with a tough formulation and you will not regret it.
Resin vs FDM for Miniatures
Resin wins on detail, without much argument. Faces, textured cloth, hair and thin weapon details all come out of a mono LCD panel at a quality FDM cannot approach in this price class.
FDM wins on convenience. No resin, no washing, no curing, no fumes, no gloves, and the print is finished when it comes off the plate. For terrain, buildings and structural kit parts, FDM is genuinely the right tool.
The honest split that most hobbyists end up at: resin for characters and detail pieces, FDM for scenery. That is also the consensus you will read in the D&D Beyond and r/FDMminiatures threads, where the argument is less about which is better and more about which failure mode annoys you less.
If you are still undecided, the Mono 4 is the cheapest reasonable way to find out whether resin suits your space and your temperament before committing to a dedicated corner of your home.
Printing Commercial Miniatures: The Legal Picture
Is it illegal to print Warhammer miniatures? This comes up constantly, and the short answer is that it is a grey area rather than a clear-cut offence. This is general information, not legal advice, so if you have a commercial use case, talk to an actual lawyer.
Game systems sold as physical miniatures are generally not protected by copyright in the same way a sculpted model is. Games Workshop’s position has historically rested on trademark and on the sculptural designs of individual models, and enforcement has been aimed at sellers and commercial operations rather than at hobbyists printing for their own table.
The pattern is consistent across the accounts people give online: individual use stays quiet, while producing models to sell is where attention arrives. A print farm running characters for sale is a different legal world from a hobbyist with one machine.
The practical advice from the community is simple. Print for your own gaming group, do not sell the models, do not use the trademarks on your product listings, and be aware that the situation can change. Fan-made STL files also carry their own licence terms, and a file’s creator may not have the right to redistribute the sculpt they based it on.
Frequently Asked Questions
What is the best resin for miniature printing?
A tough, low-odour resin is the right choice for miniatures. Standard grey resin prints beautifully but can snap at thin features like sword blades and shield edges. Plant-based and tough formulations trade a little detail for a lot more impact resistance, which is worth it for anything that goes on a gaming table. Blending a tough resin with a cheaper standard one is a common way to get both strength and volume.
Are resin printers better for miniatures?
Yes, for detail work. A mono LCD resin printer at 17 to 18 micron resolution captures facial features, cloth texture and engraved detail that FDM struggles with at this price level. FDM still makes more sense for terrain, scenery and structural pieces, and it avoids the washing, curing and ventilation overhead entirely.
What type of 3D printer is best for miniatures?
An MSLA resin printer with a monochrome LCD, auto-leveling and roughly 17 to 18 micron XY resolution. For 32mm and 40mm ranks, a 7-inch machine is enough. For busts, dioramas and batch printing, move to a 10-inch model with a larger plate and ideally a heated vat.
Which resin printer is better, Anycubic or Elegoo?
For most hobbyists it is close. Anycubic leads on speed, with the M7 Pro lifting at 170mm/h, and on square pixel geometry in the compact Mono 4 at 17 x 17 microns. Elegoo leads on refinement: the Saturn models pair a larger 10-inch plate with heated vats and better camera hardware. Anycubic is the better pick for throughput, Elegoo for larger builds.
How long should I wash and cure my resin prints?
Soak in 99 percent isopropyl alcohol for about ten minutes, brush the details with an old toothbrush in a second alcohol bath, rinse and let it dry fully. Then cure under a UV lamp for five to ten minutes per side, rotating the part. Most people land in that window; overcuring can yellow the resin and embrittle the surface.
How do you properly ventilate a resin printer?
Use a dedicated room rather than living space, keep the vat cover and lid closed during printing, and add an activated carbon filter or ducted extraction with a carbon bed. Wear nitrile gloves whenever you handle resin and a respirator for cleaning. Air the space after each session, and off-gas freshly washed prints in a sealed container before bringing them into a hobby room.
The Verdict for 2026
The Anycubic Photon Mono M7 Pro is the best resin 3D printer for miniatures overall. A 14K panel at 16.8 x 24.8 microns, a 170mm/h lift speed, over 90% light uniformity and a temperature-controlled vat make it the machine I would hand to someone who wants one printer and wants it to do everything.
Buy the Anycubic Photon Mono 4 if you are starting out or working in a small space. It has the sharpest pixel geometry here, one-time calibration and a footprint small enough for a hobby room shelf.
Buy the Elegoo Mars 5 Ultra if you want the automation. Self-zeroing leveling, tilt release and an AI camera remove the three things that make people give up on resin.
Step up to the Elegoo Saturn 4 Ultra 16K for busts and dioramas, the Saturn 3 Ultra 12K for maximum plate area on an army run, or the Anycubic Photon P1 14K if your minis keep snapping and you need a machine built around release force and tough resins.
Whatever you choose, set up the ventilation first. It is the part everyone skips and the part that determines whether you are still printing in two years.