
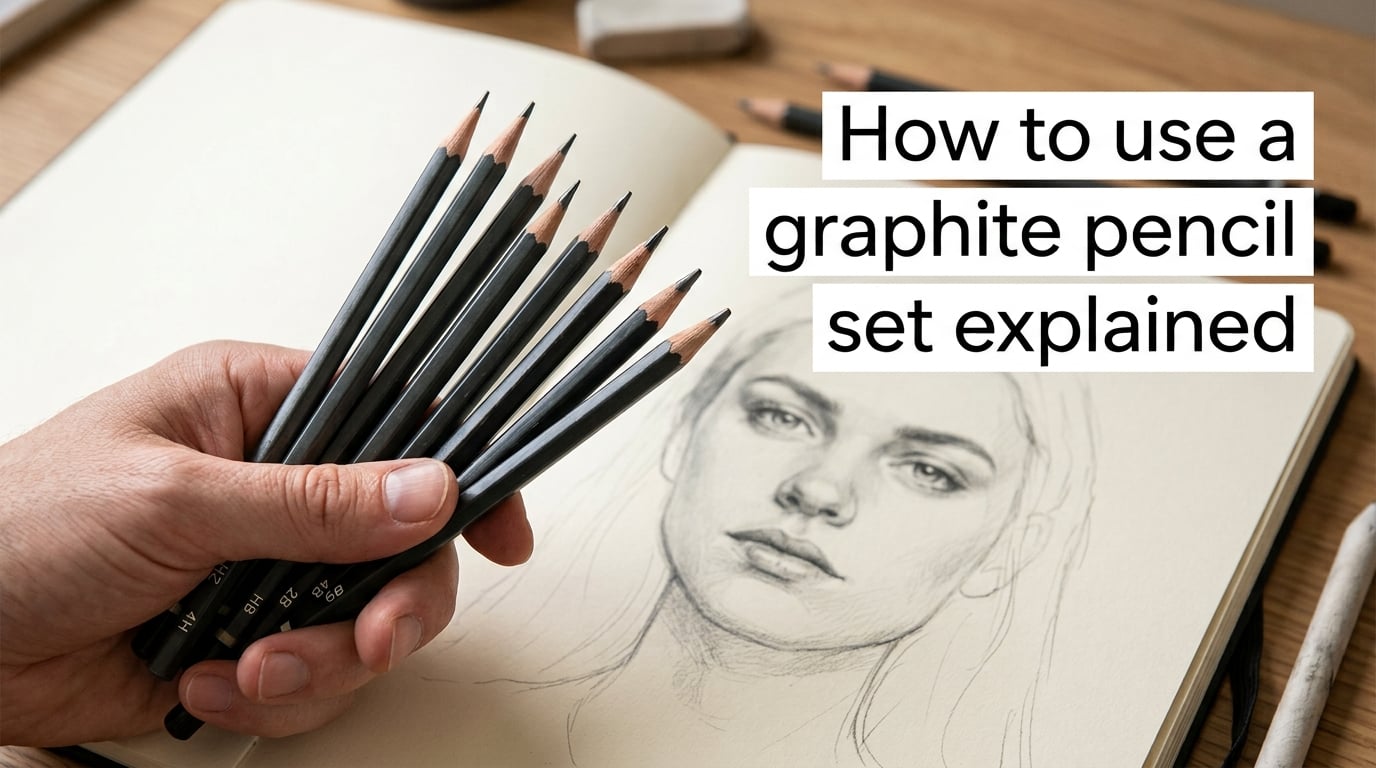
If you’ve just unboxed a graphite pencil set and feel overwhelmed by all the different pencils staring back at you, you’re not alone. Learning how to use a graphite pencil set properly opens up a world of drawing possibilities—from quick sketches to detailed portraits. In this guide, I’ll walk you through everything you need to know to start drawing with confidence in 2026.
A graphite pencil set typically contains pencils ranging from hard (H) grades to soft (B) grades. Each pencil produces different line qualities and tonal values, and knowing when to use each one is the key to creating drawings with depth and realism.
Table of Contents
Understanding Graphite Pencil Grades
Graphite pencils use a standardized grading system based on hardness and softness. The scale runs from 9H (hardest) through HB (medium) to 9B (softest).
H grades (Hard) contain more clay and less graphite. They produce light, fine lines that are ideal for technical drawing, initial sketches, and fine details. The higher the H number, the harder and lighter the pencil.
HB sits right in the middle of the scale. It’s the standard writing pencil grade and works well for general sketching and light shading.
B grades (Black/Soft) contain more graphite and less clay. They produce darker, smoother marks perfect for shading, shadows, and rich tonal work. The higher the B number, the softer and darker the pencil.
Here’s a quick breakdown of what each range does best:
4H to 9H: Very light lines, technical drawings, architectural sketches. These pencils scratch the paper if pressed too hard.
2H to 3H: Light guidelines, preliminary sketches, fine details in realism work.
H to F: Clean outlines, light shading, writing, and general sketching.
HB: The all-purpose pencil. Good for initial shading layers and everyday drawing.
B to 2B: Medium shading, building up values, sketching with more expression.
3B to 4B: Darker shading, shadows, and expressive drawing work.
6B to 9B: Deep shadows, rich darks, and smooth blending. These pencils smudge easily, which is useful for blending but requires care.
How to Use a Graphite Pencil Set Step by Step
Using a graphite pencil set effectively means knowing which pencil to reach for at each stage of your drawing. Here’s a workflow that works for most drawing projects.
Step 1: Start with a hard pencil (2H or H). Lightly sketch your basic shapes and proportions. These lines should be barely visible—they’re your roadmap, not part of the final drawing.
Step 2: Refine with a medium pencil (HB or B). Go over your guidelines with slightly darker lines. Define the major contours and begin establishing the outline of your subject.
Step 3: Build shading layers with B to 2B. Start adding tone with light, even strokes. Work from lighter areas toward darker ones. Multiple light layers look smoother than one heavy layer.
Step 4: Develop shadows with 3B to 4B. Press slightly harder or layer more strokes to build mid-tone shadows. This is where your drawing starts to gain depth and dimension.
Step 5: Add deep darks with 6B to 8B. Use the softest pencils for your darkest shadows and focal points. These pencils lay down graphite quickly, so use them sparingly for maximum impact.
Step 6: Refine details with harder pencils. Go back with H or 2H to sharpen edges, add fine details, and clean up areas that got too dark during shading.
Essential Techniques for Graphite Drawing
Mastering a few core techniques will dramatically improve your graphite drawings. These methods work with any pencil set.
Hatching involves drawing parallel lines in one direction. The closer together the lines, the darker the value. This technique gives your drawings a clean, structured look.
Cross-hatching builds on hatching by adding a second layer of lines at an angle. Crossing the lines creates darker values and richer textures. Many artists use this for architectural drawings and pen-and-ink style work.
Stippling uses dots instead of lines. It’s time-consuming but creates beautiful textures, especially for skin tones and organic surfaces. The closer the dots, the darker the area.
Gradient shading creates smooth transitions from light to dark. Start with light pressure using a harder pencil, then gradually switch to softer pencils while increasing pressure. This technique is essential for realistic drawings.
Circular shading uses small overlapping circles to build even tones. This method minimizes visible stroke direction and creates a smooth, uniform surface that works well for portraits and still life.
How to Hold Your Pencil and Control Pressure
The way you hold your graphite pencil directly affects your lines and shading. Most beginners grip the pencil like they’re writing, but different grips serve different purposes.
The writing grip (pencil between thumb and index finger) gives maximum control for details and fine lines. Hold the pencil close to the tip for precision work.
The overhand grip (pencil resting across your palm) lets you shade with the side of the pencil lead. This grip covers large areas quickly and produces soft, broad strokes. Hold the pencil farther from the tip for this technique.
The underhand grip is similar to overhand but with your hand below the pencil. This works well for drawing on an easel and gives loose, expressive marks.
Pressure control is where many beginners struggle. Pressing too hard with a soft pencil creates shiny, waxy marks that are nearly impossible to erase. Instead, build up darkness gradually with multiple light layers. Your hand will thank you—constant heavy pressure causes fatigue and cramping.
Blending Techniques for Smooth Graphite Work
Blending transforms visible pencil strokes into smooth, realistic tones. Several tools and methods can help you achieve this effect.
Tortillions and blending stumps are tightly rolled paper tools designed specifically for blending graphite. A tortillion has a pointed tip for small areas, while a stump is larger for broad blending. Simply rub the tool over your graphite in small circular motions to smooth the tones.
Brush blending uses a soft brush (like a mop brush) to gently smooth graphite. This technique works well for large areas and produces a very soft, atmospheric effect.
Finger blending is the most accessible method—just use your finger to smudge the graphite. However, the oils from your skin can cause uneven results over time, so use this technique sparingly on finished work.
Layered blending involves applying graphite, blending it smooth, then adding more graphite on top. Repeating this process builds rich, deep values with smooth transitions that single-layer blending cannot achieve.
Essential Tools and Accessories for Graphite Drawing
Beyond pencils, a few key accessories make graphite drawing easier and more enjoyable.
Kneaded eraser: This moldable eraser lifts graphite without damaging paper. Shape it to a point for highlights or press it flat for broad lifting. It’s essential for creating highlights in your drawings.
Vinyl or plastic eraser: For clean, complete erasing. These erasers remove graphite completely and work well for correcting mistakes or creating sharp edges.
Paper: Smooth paper (like Bristol board) works best for detailed graphite work. Textured paper adds character but makes smooth blending harder. Medium-weight paper (80-100 lb) handles multiple layers well.
Pencil sharpener: A good sharpener keeps your points ready for detail work. A craft knife gives you more control over the point shape—useful for exposed-lead techniques.
Spray fixative: A light coat of fixative prevents smudging on finished drawings. Workable fixative lets you continue drawing on top, while final fixative seals the piece permanently.
Common Beginner Mistakes to Avoid
Learning from common pitfalls will accelerate your progress with graphite pencils.
Pressing too hard: This is the number one mistake beginners make. Heavy pressure creates dark, shiny marks that resist erasing and look flat. Build values gradually with multiple light layers instead.
Starting with soft pencils: Jumping straight to 6B or 8B skips the foundation work. Always start with harder pencils for your sketch and initial shading, then gradually move to softer grades.
Smudging with your hand: Resting your drawing hand on the graphite surface creates unintentional smudges. Place a piece of scrap paper under your hand to protect your work.
Using only one pencil: A single pencil can only produce a limited value range. Using multiple grades from your set gives you the full spectrum from light to dark.
Neglecting pencil maintenance: A dull point limits your ability to add details. Keep your pencils sharp and store them in a case to prevent the leads from breaking inside.
Frequently Asked Questions
What order do graphite pencils go in?
Graphite pencils are ordered from hardest to softest: 9H, 8H, 7H, 6H, 5H, 4H, 3H, 2H, H, F, HB, B, 2B, 3B, 4B, 5B, 6B, 7B, 8B, 9B. H pencils are hard and produce light lines, HB is medium, and B pencils are soft and produce dark lines. Most drawing sets include a selection from this range.
Do you have to sharpen graphite pencils?
Yes, graphite pencils need regular sharpening for best results. A sharp point is essential for fine details, while a blunt or rounded point works for broad shading. You can use a standard pencil sharpener, a craft knife for more control, or sandpaper to shape the lead tip. Many artists sharpen to a long exposed point for versatility.
How to use a drawing pencil set?
Start with harder pencils (H, 2H) for light initial sketches and guidelines. Move to medium grades (HB, B) for building outlines and light shading. Use softer pencils (2B-4B) for mid-tones and shadows, and the softest grades (6B-9B) for your darkest values. Build up gradually from light to dark for the best results.
What is the difference between a regular pencil and a graphite pencil?
A regular pencil (like a No. 2 or HB) uses a mixture of graphite and clay designed for writing. Graphite pencils in art sets use the same materials but come in a full range of grades from very hard (9H) to very soft (9B). This range allows artists to create a wide spectrum of values and textures that a single writing pencil cannot achieve.
Conclusion
Learning how to use a graphite pencil set is one of the most rewarding skills any aspiring artist can develop. By understanding pencil grades, practicing core techniques like hatching and blending, and avoiding common beginner mistakes, you’ll see real improvement in your drawings. Start with the basics outlined in this guide, practice regularly, and you’ll be amazed at what you can create with just a set of graphite pencils.