
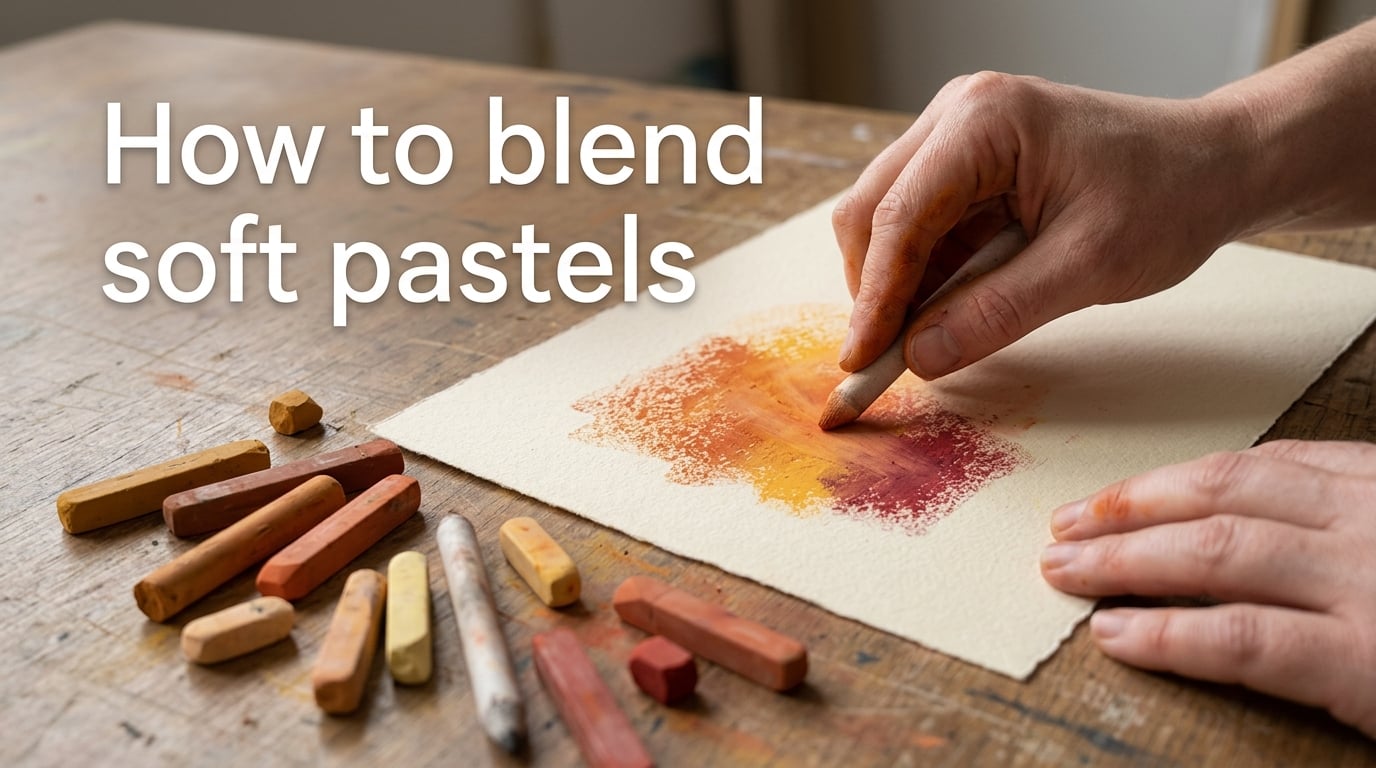
Soft pastel blending is the process of smoothing and merging pastel pigments on paper using fingers, tools, or solvents to create soft transitions between colors. If you’ve ever tried to blend soft pastels and ended up with muddy patches or colors that seem to vanish, you’re not alone — this is one of the most common frustrations beginners face. In this guide, I’ll walk you through every major blending technique step by step, so you can choose the right approach for your artwork and avoid the mistakes that trip up most newcomers.
Whether you’re working on portraits, landscapes, or abstract pieces, understanding how to blend soft pastels properly will transform your work. The techniques I cover here range from simple finger blending to solvent-based underpainting, and each one produces a distinct effect. I’ve tested all of these methods over years of pastel work, and I’ll share exactly what works and what doesn’t.
Table of Contents
How to Blend Soft Pastels: The Essential Techniques
There are six main methods for blending soft pastels. Each technique creates a different texture and level of smoothness, and experienced pastel artists often combine several methods in a single painting. Here’s a quick overview before we dive into the details:
1. Finger blending — using your fingertips to push pigment into the paper
2. Blending stumps and tortillions — tightly rolled paper tools for controlled blending
3. Sponge and Sofft tools — micropore sponges for soft, even coverage
4. Colour shapers — silicone-tipped tools for precise blending
5. Rubbing alcohol underpainting — wet technique that creates a paint-like base
6. Optical layering — dry layering that creates the illusion of blending without physical smudging
Let me walk through each technique so you can see exactly how it works and when to use it.
Finger Blending
Finger blending is the most intuitive technique and where most pastel artists start. Your fingertips act as warm, flexible blending tools that give you direct control over the pigment. Here’s how to do it properly:
Step 1: Apply a layer of soft pastel to your paper using light, side-strokes.
Step 2: Using the pad of your index or middle finger, make small circular motions over the pastel.
Step 3: Move from darker areas into lighter areas to avoid muddying your light tones.
Step 4: Wipe your finger on a clean cloth between color transitions to prevent unwanted mixing.
The advantage of finger blending is the level of control it provides. You can feel exactly how much pigment is moving and where it’s going. It’s perfect for small areas, smooth skin tones in portraits, and soft cloud edges in skies.
The downside is that finger blending transfers skin oils to your paper, which can affect how future layers adhere. It’s also messy and imprecise for larger areas. Reddit users on r/Softpastel recommend wearing thin cotton or latex gloves to keep your hands clean while still getting the tactile control of finger blending. If you’re working on sanded paper like UArt, gloves are practically essential — the abrasive surface will shred bare fingertips during extended blending sessions.
Blending Stumps and Tortillions
Blending stumps are tightly rolled paper cylinders with pointed tips, and tortillions are similar but made from a single rolled sheet, giving them a sharper point. Both tools are inexpensive and give you much more control than fingers. Here’s how to use them:
Step 1: Pick up some pastel pigment by gently rubbing the stump or tortillion across a colored area of your painting.
Step 2: Apply the pigment to the target area using small circular motions.
Step 3: Build up the blend gradually, layering multiple passes rather than pressing hard.
Step 4: Clean your stump by rubbing it on fine sandpaper when switching between colors.
Stumps are excellent for detailed work — think the bridge of a nose in a portrait or the edges of tree branches. They let you blend tiny areas without affecting surrounding details. However, they can pick up too much pigment and leave streaky marks if you press too hard. Start gentle and build up.
Sponge and Sofft Tools
Sofft tools are micropore sponge applicators made specifically for pastel work. They come in various shapes — knife shapes, pointed tips, and flat covers that fit over different applicator handles. Standard kitchen sponges and cosmetic sponges also work well for pastel blending.
Step 1: Choose your sponge shape — flat edges for broad areas, pointed tips for details.
Step 2: Lightly drag the sponge across the pastel surface using gentle, even pressure.
Step 3: Work in one direction to avoid lifting pigment off the paper.
Step 4: Layer additional pastel colors and blend again to deepen saturation.
Sponges produce the softest, most even blends of any tool. They’re ideal for skies, large background areas, and creating atmospheric effects. The main limitation is that they can over-blend quickly, removing the texture and sparkle that makes pastel paintings vibrant. Use them selectively — for backgrounds and skies, not foreground details.
Colour Shapers
Colour shapers (sometimes called clay shapers) have silicone or rubber tips mounted on handles like paintbrushes. They come in two main tip shapes: chisel and cup (rounded). The silicone surface pushes pigment without absorbing it, which gives you more predictable results than sponges or stumps.
Step 1: Select your tip shape — chisel for edges, cup for broader blending.
Step 2: Use the side of the tip to push pigment in small, controlled motions.
Step 3: Apply light pressure and increase gradually. The silicone grips pigment firmly.
Step 4: Wipe the tip clean between colors — they’re easy to clean with a cloth.
Colour shapers are particularly useful for portrait work and any subject where you need precise control over where pigment goes. They don’t absorb pigment like stumps, so you lose less color during blending. The trade-off is that they can create harder edges if you’re not careful — they require a lighter touch than fingers or sponges.
Rubbing Alcohol Underpainting
This technique transforms soft pastels into something that behaves more like watercolor or paint. By applying pastel dry first and then activating it with isopropyl alcohol, you can create smooth, saturated underpaintings that serve as a base for additional dry layers. Here’s how to do it:
Step 1: Block in your base colors using broad strokes of soft pastel. Don’t worry about precision — this is just a foundation.
Step 2: Dip a stiff brush or sponge into isopropyl rubbing alcohol (70% or higher).
Step 3: Brush the alcohol over your pastel layer using confident strokes. The pigment dissolves and spreads like paint.
Step 4: Let it dry completely (usually 5-10 minutes) before applying dry pastel layers on top.
The alcohol evaporates quickly and doesn’t damage your paper, but you should work in a well-ventilated area. This method creates rich, painterly effects that are impossible to achieve with dry blending alone. Artists who use this technique often apply alcohol underpainting for their background and mid-ground, then finish with dry blending for foreground details.
The key advantage is that alcohol underpainting adheres pigment to the paper surface much more firmly than dry application, which means subsequent layers won’t lift or muddy the base colors. It also covers paper tooth more completely, reducing the white specks that show through heavily blended areas.
Optical Layering and Dry Blending
Not all pastel artists blend in the traditional sense. Optical layering — also called dry layering or scumbling — involves placing strokes of different colors close together so the eye mixes them from a distance. This technique preserves the sparkle and vibrancy that physical blending can destroy.
Step 1: Apply your first color in light, directional strokes.
Step 2: Layer a second color on top using strokes in a slightly different direction or at an angle.
Step 3: Add a third or fourth color in the same area, each stroke slightly overlapping the previous ones.
Step 4: Step back from your painting to see how the colors visually merge at viewing distance.
The howtopastel.com community has strong opinions on this: many experienced pastelists argue that layering preserves the luminosity of pastel pigments in a way that blending cannot. Pastel particles sit on top of each other and reflect light individually, creating a vibrant, glowing effect. When you physically blend those particles, you crush them into the paper tooth and lose that reflective quality.
This doesn’t mean you should never blend — it means you should blend intentionally. Many professional pastel artists use blending for backgrounds, skies, and soft shadows, then switch to optical layering for foreground details, textures, and focal points. The contrast between blended and unblended areas adds visual interest to your painting.
Choosing the Right Paper for Blending
Your paper choice has a massive impact on how well your pastels blend. The texture of your paper — called “paper tooth” — determines how much pigment it can hold and how easily that pigment moves when you blend.
Smooth papers like Canson Mi-teintes have a moderate tooth that works well for finger blending and stumps. The pastel sits more on the surface, making it easier to move around. However, smooth papers hold fewer layers, so you can’t build up the rich, saturated color that heavily textured papers allow.
Sanded papers like UArt and LuxArchival have a gritty surface coated with fine mineral particles. They grab pigment aggressively and hold many layers, making them the top choice for serious pastel artists. The downside for blending is that the grit can damage fingers and tools — finger blending on UArt is genuinely painful without gloves.
Pastelmat by Clairefontaine is a coated paper with a unique velvety surface. It holds many layers like sanded paper but is much gentler on fingers and tools. Many portrait artists prefer Pastelmat because it allows smooth blending while still gripping enough pigment for rich color. It’s an excellent middle-ground choice for beginners.
Velour paper has a soft, fabric-like surface that produces incredibly smooth blends with almost no effort. However, velour holds pigment loosely — you can’t layer heavily on top of blended areas, and fixative doesn’t work well on velour. It’s best for finished works where you won’t need to make corrections.
For most beginners learning how to blend soft pastels, I recommend starting with Pastelmat or a mid-tooth paper like Canson Mi-teintes. These surfaces are forgiving, affordable, and give you room to experiment without the frustrations of sanded paper or the limitations of velour.
Common Blending Mistakes and How to Fix Them
This is the section most blending guides skip, but it’s where I see beginners struggle the most. Here are the most common blending problems and what to do about them.
Color lightens or disappears when you blend. This is the number one frustration, and it was the exact question on StackExchange: “Every time I try to blend the colour seems to lighten.” The cause is almost always too much pressure. When you press hard, your blending tool picks up pigment instead of spreading it. The fix is to use light, feathery pressure and build up your blend with multiple passes instead of one aggressive one. Also, try starting with more pigment than you think you need — you can always blend it out, but you can’t add back what’s been removed.
Colors turn muddy. Muddy blending happens when you mix complementary colors (like orange and blue) or push too many different hues into the same area. The fix is to plan your color transitions. Blend adjacent colors on the color wheel — yellows into oranges, blues into greens — and avoid blending complementary pairs directly. If you do get mud, let it sit and layer a fresh, clean color on top once the area is dry.
Over-blending removes texture. A common beginner mistake is blending everything until it’s perfectly smooth. This kills the sparkle of pastel and makes paintings look flat and lifeless. The fix is to blend selectively — leave some areas with visible strokes, scumble textured passages, and save smooth blending for backgrounds, skies, and shadows. The contrast between smooth and textured areas creates visual energy.
Blending stumps leave streaks. Streaks happen when your stump is dirty or when you press unevenly. Clean your stump regularly on fine sandpaper, and use consistent, gentle pressure in circular motions. If streaks persist, switch to a softer tool like a Sofft sponge for that area.
Paper won’t accept more layers after blending. If your paper tooth gets filled up with blended pigment, new layers won’t stick. The fix is to use a workable fixative spray between layers — it restores some tooth to the surface. Alternatively, switch to a heavier-tooth paper for your next painting, or use alcohol underpainting as your base layer, which bonds pigment to the surface without filling the tooth.
Blending Tips for Specific Subjects
Different subjects call for different blending approaches. Here’s what I’ve found works best for the most popular pastel subjects.
Skies and clouds. Use a Sofft sponge or chamois cloth for the smooth gradients in the sky. Start with your lightest color at the horizon and work upward. For clouds, apply white or light grey pastel on top of the sky and blend just the bottom edges — leave the tops of clouds with soft, unblended strokes to keep them looking fluffy. Many pastel artists blend skies extensively but leave foregrounds untouched, creating a natural depth effect.
Portraits and skin tones. Finger blending with gloves works beautifully for skin because it creates the smooth, luminous quality that mimics real skin. Use colour shapers for precise areas like the nose bridge, lips, and eye sockets. Build skin tones in thin, transparent layers — blend gently between each layer rather than applying heavy pigment in one go. The Reddit pastel community recommends starting with an alcohol underpainting in a warm mid-tone, then building details on top.
Landscapes and foliage. Use optical layering for trees, grass, and foliage to preserve texture and color vibrancy. Blend the background hills and distant trees more than the foreground — atmospheric perspective means distant objects appear smoother and cooler in color. For foreground texture, scumble colors side by side instead of physically blending them.
Animal fur. Fur requires a combination of techniques. Blend the underlying body shape with a stump or sponge to establish the form, then add directional strokes on top to suggest individual hairs. Use a sharp tortillion or colour shaper tip for the direction of the fur grain. Don’t blend the hair strokes themselves — their texture is what makes fur look realistic.
Frequently Asked Questions
What can you use to blend soft pastels?
You can blend soft pastels using your fingers, blending stumps, tortillions, micropore sponges (like Sofft tools), colour shapers with silicone tips, chamois cloth, cotton buds, or even rubbing alcohol applied with a brush. Each tool produces a different texture and level of smoothness, so the best choice depends on your subject and desired effect.
How to properly blend pastels?
To blend pastels properly, apply light pressure in small circular motions, working from dark colors into light. Start with more pigment than you think you need, use gentle pressure to avoid lifting color, and build up the blend with multiple passes. Always wipe your blending tool between color transitions to prevent muddying.
Do soft pastels blend with water?
Soft pastels are dry media and don’t blend with water the way watercolor does. However, you can dissolve soft pastel pigment with rubbing alcohol (isopropyl alcohol), which creates a paint-like underpainting. Water can also be used on certain papers, but alcohol is more effective because it evaporates faster and doesn’t warp the paper.
What is the best way to smudge pastels?
The best way to smudge soft pastels depends on the effect you want. For smooth, even blending, use a micropore sponge or Sofft tool. For detailed areas, use a blending stump or colour shaper. For quick, broad blending, your fingers work well — just wear cotton gloves to protect both your skin and the paper from oils. Light pressure and circular motions produce the best results.
Conclusion
Learning how to blend soft pastels is one of the most rewarding skills you can develop as a pastel artist. The six techniques covered here — finger blending, stumps, sponges, colour shapers, alcohol underpainting, and optical layering — give you a complete toolkit for any subject and style. Start with the technique that feels most natural, practice it on scrap paper until you understand how pressure and motion affect the result, then expand into the other methods as your confidence grows.
Remember that the best pastel artists don’t blend everything. They blend strategically — smooth backgrounds, soft shadows, atmospheric skies — and leave texture where it adds energy and life to the painting. Experiment with combining techniques, pay attention to your paper choice, and don’t be afraid to leave some areas unblended. The contrast between smooth and textured passages is what makes pastel paintings sing.