
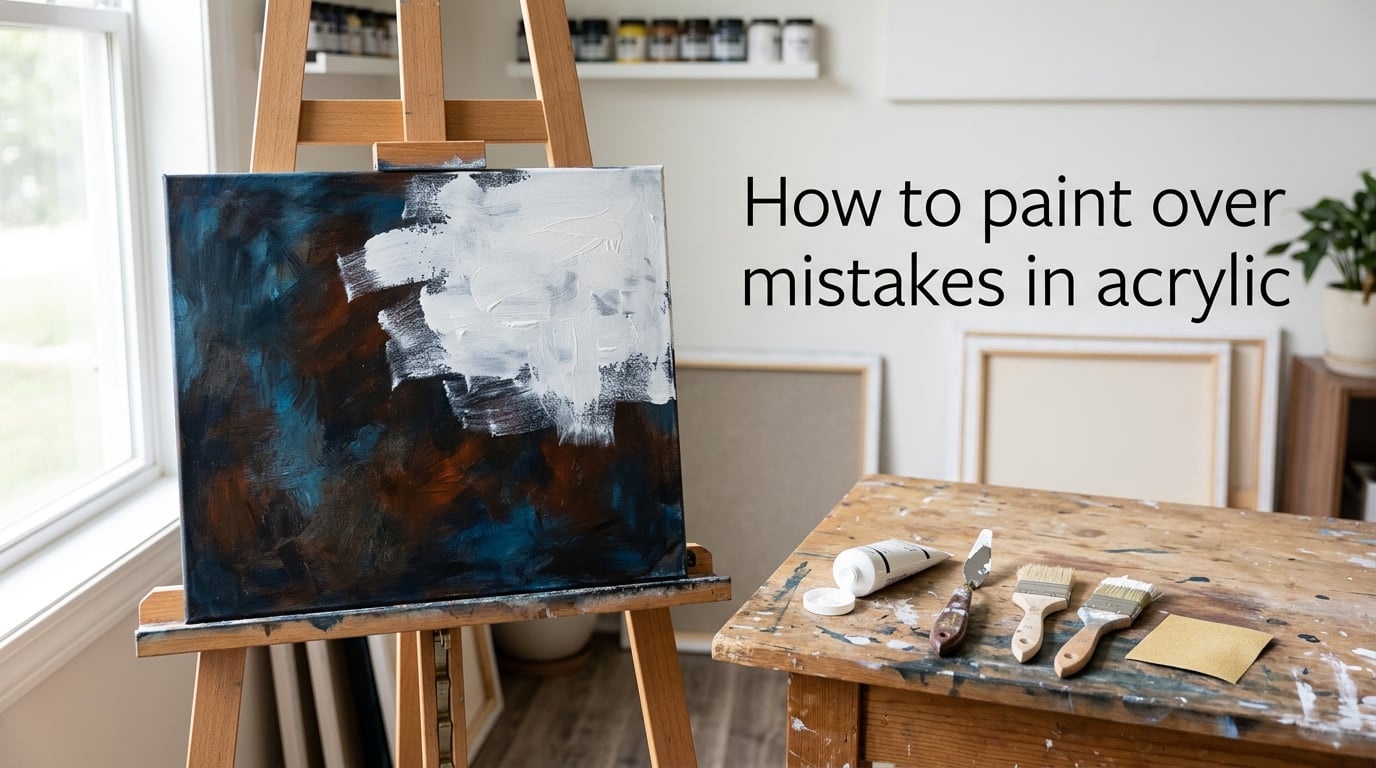
I learned to paint with acrylics because a friend told me they were the most forgiving medium on the planet. Years later, after hundreds of canvases, I still believe it. Every “ruined” painting I’ve ever thrown into a closet has come back to life with a little white paint, patience, and the layering technique I’m about to walk you through.
If you’ve ever stared at a brush stroke you wish you could take back, this guide will show you exactly how to paint over mistakes in acrylic. We’ll cover wet fixes, dry fixes, dark-to-light coverage, canvas reuse, and when it’s smarter to scrap the canvas and start fresh.
Table of Contents
What Makes Acrylic Paint So Forgiving for Fixing Mistakes
Acrylic paint is water-based, dries in minutes, and forms a permanent plastic-like film once cured. That means three things working in your favor when you make a mistake.
First, acrylics dry fast, so you don’t have to wait days to paint over an error. Second, once dry, acrylic layers don’t reactivate the way oil paints do, so your new color sits on top without muddying the layer below. Third, acrylics are opaque, especially artist-grade pigments like titanium white, which gives you real coverage power when you need to bury a dark color under a light one.
Compare that to watercolor, where every correction risks staining the paper, or oils, where drying times stretch into weeks. Among the common painting mediums, acrylic sits in the sweet spot: fast enough to iterate, stable enough to layer. That’s why beginners and professional artists alike treat acrylics as the friendliest medium for course-correction.
Tools and Materials You’ll Need to Fix Acrylic Mistakes
Before you start fixing, gather your supplies. Most of these are studio staples you probably already own.
- Titanium white acrylic paint: Artist-grade titanium white is the single most important tool for covering mistakes. It has the highest opacity in any paint lineup and covers dark colors in fewer coats than student-grade alternatives.
- Gesso: A primed acrylic base layer used to prep surfaces. Gesso is thicker than paint and creates a textured “tooth” that helps new layers grab on.
- Palette knife: Useful for scraping off wet or tacky paint, and for applying thick gesso layers over an old painting.
- Sandpaper (220 and 400 grit): Fine-grit sandpaper smooths dried acrylic ridges so your next layer goes on evenly.
- Clean water and paper towels: Essential for wet-paint corrections and cleaning brushes between layers.
- Acrylic medium or isolation coat: A clear layer that seals a finished painting before you repaint, preventing the new color from soaking into the old one.
- Flat and round brushes: A flat brush paints clean edges over mistakes. A round brush lifts wet paint from small areas.
- Denatured alcohol or rubbing alcohol: Breaks down dried acrylic for spot removal. Use sparingly to avoid damaging the layer underneath.
If you only buy one thing for this process, make it a quality tube of titanium white. The rest you can improvise.
How to Fix Wet Acrylic Paint Mistakes
Wet acrylic paint is the easiest mistake to undo, but you only have a window of one to two minutes before it starts to set. Move quickly.
Step 1: Stop painting immediately. The longer you work over a wet mistake, the more you spread pigment into surrounding areas.
Step 2: Blot the mistake with a damp paper towel or a clean, wet brush. Press, don’t wipe. Wiping smears pigment into adjacent strokes.
Step 3: For stubborn wet mistakes, rinse your brush thoroughly, then gently scrub the area in small circles to lift the pigment. Pat dry with a clean towel.
Step 4: Let the area dry completely, then repaint with the correct color. Even after a successful wet fix, the canvas will absorb a little water, so the next coat may behave slightly thinner than usual.
One trick I use constantly: keep a slightly damp brush in my non-painting hand. The moment I see a stroke going wrong, I lift the wet paint immediately and come back to it later. It saves more paintings than anything else in my kit.
How to Fix Dry Acrylic Paint Mistakes Layer by Layer
Once acrylic paint dries, you can’t wipe it away with water anymore. But you can bury it under new layers. This is the core technique every acrylic painter uses.
Step 1: Let the mistake dry fully. Rushing this step is the most common beginner error. Touch the surface with your fingertip. If it feels cool or tacky, wait longer. Acrylic feels dry to the touch in 10 to 20 minutes, but it cures harder over the next 24 hours.
Step 2: If the mistake has a thick ridge or texture, sand it smooth with 220-grit sandpaper using light pressure. Wipe away dust with a damp paper towel.
Step 3: Apply a layer of titanium white directly over the dried mistake. Use a flat brush and paint in one direction to keep edges clean. Let this layer dry completely.
Step 4: Apply a second coat of white if the original color is still showing through. Dark colors like deep reds, blacks, and phthalos often need two to three white layers before disappearing.
Step 5: Once the white coverage looks solid, mix and apply your correct color on top. Two thin coats of color beat one thick coat because thick coats streak and dry with visible brush marks.
The key principle: each layer must dry fully before the next goes on. Stack wet paint and you’ll get muddy, translucent results that never fully cover the mistake below.
How to Cover Dark Colors with Light Acrylic Paint
Going from dark to light is the hardest fix in acrylic painting. Dark pigments are dense and stubbornly visible under lighter colors. Here’s the method that actually works.
Step 1: Let the dark paint dry thoroughly. Skip this and your white coat will mix into the wet dark paint, creating a gray smear.
Step 2: Apply a thin coat of titanium white with a flat brush, working in long, even strokes. Don’t try to cover the dark color in one pass. Acrylic dries quickly, so each stroke stays where you put it.
Step 3: Let the first white layer dry, then add a second. Most dark colors disappear after two coats of artist-grade titanium white. Student-grade white may need three.
Step 4: For extremely dark colors like deep black or phthalo blue, consider applying a thin layer of gesso instead of white paint first. Gesso is formulated to be opaque and will cover more aggressively than regular paint.
Step 5: Once the white or gesso layer is solid, apply your final color in thin coats. Building up gradually gives you a cleaner result than one thick coat.
Many beginners ask how many layers of white they need to cover a dark color. The honest answer: usually two to three, but it depends on the pigment underneath, the opacity of your white, and how thickly you apply each coat. Test on a corner of the canvas first.
Using White Paint and Gesso as a Base Layer
Titanium white and gesso serve similar roles but behave differently. Knowing when to use each saves time and layers.
Titanium white is paint. It dries to a flexible, slightly glossy film that bonds to acrylic layers underneath. It’s the right choice when you plan to paint over the corrected area with color immediately.
Gesso is a primer. It contains more filler and creates a slightly textured, matte surface. Use gesso when you want to “reset” a section of canvas, when the surface has lost its tooth from overpainting, or when you need maximum opacity in a single coat.
For covering small mistakes, titanium white is faster and easier to blend. For covering large mistakes or repainting an entire canvas, gesso gives you a fresh start with better tooth for the next round of paint.
One professional technique worth knowing: the isolation coat. If your original painting is finished and varnished, brush on a thin layer of clear acrylic medium (often called an isolation coat) and let it dry before repainting. The medium seals the old paint so the new layers don’t soak in or lift pigment from underneath.
How to Paint Over an Existing Acrylic Painting
Sometimes you don’t have a small mistake. You have an entire painting you don’t like. Good news: acrylic canvas is reusable, with limits.
Step 1: Decide whether to fix or repaint. We’ll cover the decision framework in the next section.
Step 2: If you’re repainting, sand the entire surface with 220-grit sandpaper to knock down heavy texture and impasto. Don’t sand down to bare canvas.
Step 3: Apply one or two thin coats of white acrylic paint or gesso over the entire canvas. Let each coat dry fully. This neutralizes the old color so it doesn’t bleed through your new painting.
Step 4: Paint your new composition on top as you would on a fresh canvas.
There are real limitations here. Once you’ve lost the tooth of the canvas, the paint behaves differently and doesn’t pull off the brush the same way. Some artists intentionally prime with a colored ground so a thin paint layer reveals the old color underneath. Others accept that heavily repainted canvases have a slightly slick, less absorbent surface. Plan for these quirks instead of fighting them.
When to Fix a Mistake and When to Start Over
Not every mistake deserves to be fixed. Knowing when to repair and when to repaint is a skill that saves hours of frustration.
Fix it when:
- The mistake is small, localized, and easy to cover with white and color.
- The surrounding painting is worth saving and the fix will not be visible.
- You can identify exactly what went wrong and know how to correct it.
- The canvas still has good tooth and absorbency.
Start over when:
- More than 30 percent of the canvas needs correction.
- The mistakes are structural, like bad proportions or a fundamentally flawed composition.
- The canvas has been overpainted so many times it has lost all tooth and feels plastic.
- You’re emotionally done with the painting and forcing a fix feels like punishment.
I’ve kept a “fix pile” of canvases for years, and I usually revisit them in a fresh mood with fresh eyes. Half the time the original mistake wasn’t as bad as I thought. The other half, gesso and a new composition fix what frustration couldn’t.
Pro Tips from Experienced Acrylic Painters
After talking to working artists and reading forum threads on r/acrylicpainting, r/painting, and r/modelmakers, here are the tips that come up most often.
Work in thin layers. Beginners often load too much paint on the brush trying to cover a mistake in one pass. Multiple thin layers give better coverage and dry faster without cracking.
Use a hair dryer between layers. A hair dryer on a low setting speeds up drying between coats. Just keep the dryer moving and at least 20 centimeters away from the surface to avoid blistering.
Match your finish. If the original painting is matte, fix mistakes with matte paint. Mixing gloss and matte creates visible patches even after color is matched.
Varnish first if the painting is finished. Model makers on Reddit consistently recommend varnishing a base layer before detail work. The varnish seals the color so future corrections don’t lift it.
Keep a test swatch canvas. Paint leftover colors on a scrap canvas and label them. When you need to match a color for a fix, you have the exact reference without mixing from memory.
Common Beginner Mistakes and How to Avoid Them
Most beginner mistakes come from rushing or underestimating how acrylic behaves. Here are the issues I see most often, and how to dodge them.
Painting over wet paint. Acrylic feels dry fast, but it cures slowly. Adding another color before the previous layer fully dries causes muddy color shifts and cracking weeks later. Wait at least 10 to 20 minutes between layers.
Using too much water. Acrylic paint thinned with too much water loses its binding strength and can peel later. Use a flow improver or acrylic medium for thinning instead of straight water.
Using the wrong white. Zinc white is more transparent than titanium white and works poorly for covering mistakes. Always reach for titanium when you need to bury a color.
Skipping the sanding step. Dried acrylic ridges telegraph through new layers. A few seconds of light sanding makes a fix invisible.
Being afraid to make mistakes. Acrylic is forgiving specifically so you can experiment without disaster. The artists I respect most are the ones who treat mistakes as information rather than failure.
Frequently Asked Questions
How can I fix mistakes in acrylic painting?
Let the mistake dry completely, then cover it with titanium white paint. Once the white layer is dry, repaint with the correct color in thin coats. For wet mistakes, blot or rinse the paint immediately with a clean wet brush.
Can you paint over already painted acrylics?
Yes. Once acrylic paint dries, it forms a stable layer that new paint can sit on top of without reactivating. Make sure each layer dries fully before adding the next, and you can paint over acrylics as many times as you like.
How do I cover a mistake in acrylic paint?
Apply two to three thin coats of titanium white over the dried mistake, letting each coat dry fully. Then paint your correct color on top in thin layers. For very dark colors, start with gesso for maximum opacity.
What does adding rubbing alcohol to acrylic paint do?
Rubbing alcohol breaks down dried acrylic paint and can lift pigment when applied with a brush or cotton swab. Use it sparingly for spot corrections because it can also eat into the layer underneath if you scrub too hard.
How many layers of white does it take to cover dark acrylic paint?
Two to three thin layers of artist-grade titanium white typically cover dark colors like black, deep red, or phthalo blue. Student-grade white may need three to four coats. Let each layer dry fully before adding the next.
Does gesso cover acrylic paint mistakes?
Gesso works well as an opaque base layer for covering large mistakes or repainting a whole canvas. It is thicker and more matte than regular paint and creates tooth for the next layer to grab onto.
Final Thoughts on Painting Over Acrylic Mistakes
Learning how to paint over mistakes in acrylic is really about trusting how forgiving the medium is. Wet mistakes get blotted. Dry mistakes get buried under white. Whole paintings get gessoed and reborn. The process is the same whether you’re a first-day beginner or a working artist.
Keep a tube of titanium white, a flat brush, and a little patience nearby. Those three things handle the vast majority of acrylic painting mistakes. And the next time you stare at a “ruined” canvas, remember: it isn’t ruined. It’s just waiting for its next layer.