
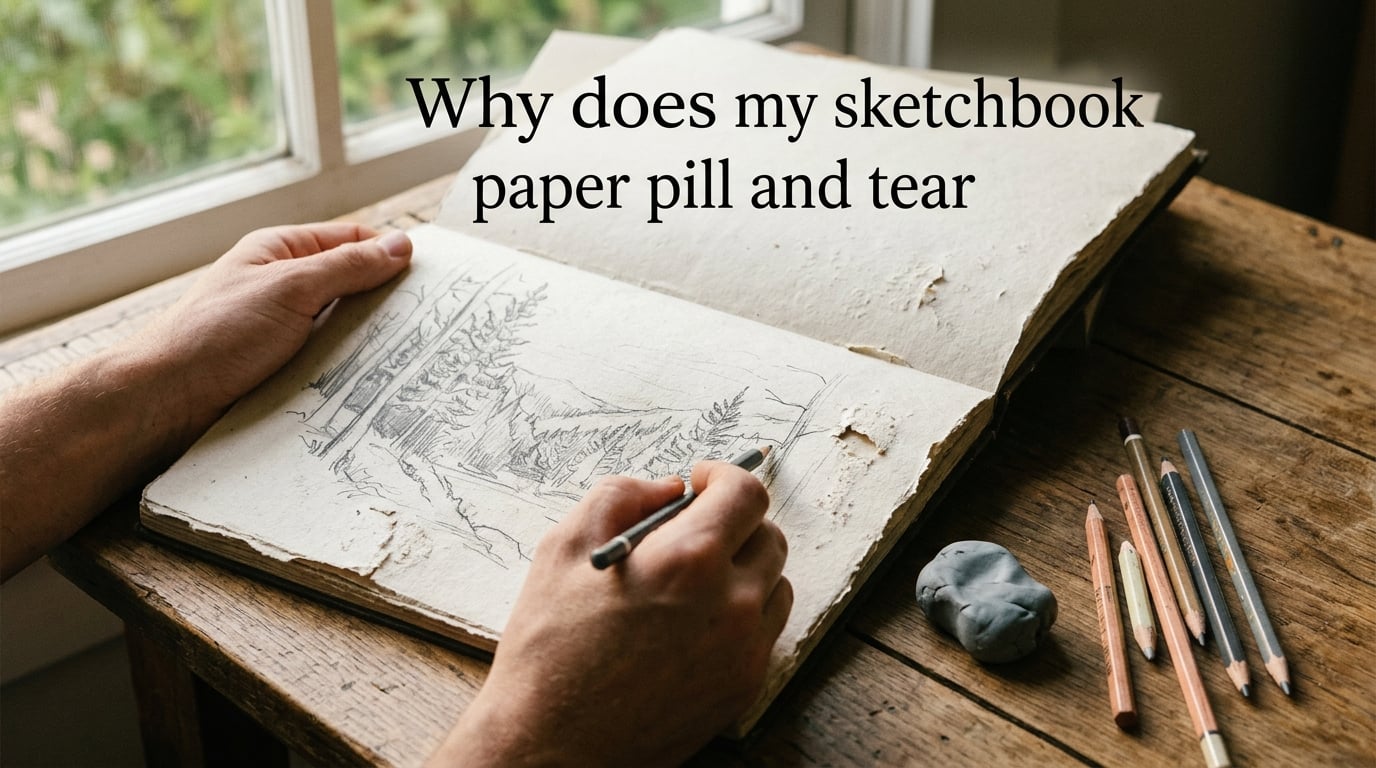
There’s nothing more frustrating than watching your sketchbook paper pill up into little fuzz balls or tear right through as you work. If you’ve been asking yourself “why does my sketchbook paper pill and tear,” the short answer is that it comes down to three things: the paper’s fiber composition, how much stress you’re putting on the surface, and whether the paper has proper sizing to protect its fibers.
I’ve spent years testing different sketchbooks across graphite, colored pencil, watercolor, and gouache, and paper damage is one of the most common complaints I hear from fellow artists. As of 2026, the most common culprit is still cheap wood-pulp paper being pushed past its limits. The good news? Once you understand what’s actually happening at a fiber level, you can fix the problem for good.
In this guide, I’ll walk through exactly what causes pilling and tearing, how to diagnose your specific issue, and the practical steps you can take to protect your work.
Table of Contents
Quick Diagnostic: Symptom to Cause
Before we get into the details, here’s a quick-reference guide. Match your symptom to the most likely cause:
Fuzz balls forming while drawing: Your paper has short wood-pulp fibers that are being lifted by friction. This usually means you’re working on cellulose paper without proper sizing.
Paper surface breaking during the first watercolor wash: The paper isn’t rated for wet media, or you’re using too much water on a lightweight sheet. Look for 300gsm or heavier paper designed for watercolor.
Tearing when you erase: You’re either pressing too hard, using an overly aggressive eraser (electric erasers are notorious for this), or the paper’s surface has already been weakened by overworking.
Paper ripping when removing from the sketchbook: You’re lifting the page away from the binding plane. The fix is to keep the page flat and slide it along the perforation instead.
Pilling after applying solvent to colored pencil: Solvent softens the paper’s surface fibers, especially on externally-sized paper. This is a known issue even on quality brands like Stonehenge.
What Is Paper Pilling and Tearing?
Paper pilling is when tiny fiber balls or fuzz form on the surface of your paper as you draw, paint, or erase. It happens when friction pulls up the short fibers that make up the paper’s surface layer. Tearing occurs when those fibers don’t just lift—they break apart completely, creating a visible hole or rip in the paper.
Both pilling and tearing are signs that the paper’s surface is being stressed beyond what it can handle. The root cause almost always traces back to fiber composition, the paper’s sizing treatment, or the amount of physical force being applied during your creative process.
Why Does Sketchbook Paper Pill?
Pilling isn’t random. There are specific, identifiable reasons why it happens, and understanding them is the first step to preventing it.
Fiber Composition: Cotton vs Cellulose vs Wood Pulp
The single biggest factor in whether your paper will pill is what it’s made of. Most budget and mid-range sketchbooks use cellulose (wood-pulp) paper. Think of wood pulp like MDF board—it’s made by pressing short, chopped fibers together under heat and pressure.
Those short fibers don’t hold together well under stress. When you drag a pencil across the surface or scrub with a brush, the friction lifts them up into little pills. Reddit users in r/Gouache have compared cellulose paper directly to “pressed sawdust,” and honestly, that’s not far off.
Cotton paper, by contrast, uses long natural fibers that interlock much more tightly. 100% cotton sheets resist pilling dramatically better because those longer fibers don’t lift up as easily. If you’re constantly dealing with pilling, switching to a cotton-based sketchbook is the single most effective fix.
Sizing: Internal vs External
Sizing is a treatment applied to paper that controls how it absorbs moisture and how durable its surface is. There are two types, and they matter a lot for pilling resistance.
Internal sizing is mixed into the paper pulp before the sheet is formed. It protects the fibers throughout the entire thickness of the paper. This is your first line of defense against pilling.
External sizing (also called surface sizing) is applied to the outside of the sheet after it’s made. It creates a protective barrier on the surface but doesn’t penetrate deeply.
As the experts at Legion Paper explain, when solvent is added to a paper surface that only has external sizing, the fibers soften and become prone to pilling—especially under heavy pressure. Papers with good internal sizing hold up much better because the protection goes all the way through.
Pressure and Tool Technique
How hard you press matters enormously. Heavy-handed sketching with graphite or colored pencils mechanically pulls at the paper’s surface fibers. Every stroke under pressure is a tug-of-war between your pencil tip and the paper.
Layering compounds the problem. Colored pencil artists who build up 8-10 layers are essentially sanding the surface with each pass. After enough layers, even quality paper starts to pill because you’ve worn through its protective surface treatment.
Solvent and Moisture Interaction
Liquids are paper’s natural enemy when it comes to pilling. Water, paint thinner, mineral spirits, and blending solvents all soften the sizing that holds paper fibers together.
Watercolor artists see this when they scrub back and forth over a wet area—the combination of moisture and friction destroys the paper surface almost instantly. Colored pencil artists using odorless mineral spirits (like Gamsol) to blend will notice pilling appear after the solvent dries, because the sizing has been compromised.
Eraser Damage
Not all erasers are created equal, and some will destroy your paper faster than your drawing tools will.
Electric erasers (like the popular Derwent model) are the worst offenders. They spin at high speed and physically grind away paper fibers. One Reddit artist in r/sketchbooks reported their electric eraser eating through Canson Art Book 300gsm paper—impressive paper that should have held up fine under normal use.
Rubber and vinyl erasers are moderately aggressive. They work by gripping and pulling fibers, which can cause pilling on soft or unsized paper.
Kneaded erasers are the gentlest option. They lift graphite off the surface by pressing onto it rather than rubbing, so they cause virtually no surface damage.
Why Does Sketchbook Paper Tear?
Tearing takes the damage one step further than pilling. Instead of fibers lifting up, they’re being pulled apart entirely.
Overworking the Surface
Paper has a limit to how much abuse it can take. When you keep layering, blending, and reworking the same area, you’re progressively weakening the fiber structure. Eventually, the surface gives out. Watercolor artists who go back into a wash multiple times trying to fix it will see the paper break apart. Colored pencil artists who burnish too aggressively on the same spot face the same outcome.
Sharp Tools and Aggressive Techniques
Palette knives, scratching tools, and even hard pencil points (like an H4 used for fine detail) can physically cut into the paper surface. If you use these tools with any downward pressure, you’re scoring the fibers and creating a weak point where tearing will start.
Removing Pages from the Sketchbook
This is one of the most common tearing causes, and it’s completely preventable. When you lift a page up and away from the sketchbook spine to tear it out, you’re pulling the paper against the perforation at an angle. The page rags and tears unevenly.
The correct technique is to keep the page flat against the binding plane and gently slide it along the perforation line—don’t lift it up. As one Reddit user in r/Watercolor explained: “Don’t lift off the plane at all.” This one change prevents the vast majority of removal-related tears.
How to Prevent Paper Pilling
Here are the most effective strategies I’ve found for keeping your paper surface intact:
1. Choose the right fiber composition. Opt for 100% cotton paper whenever possible. If you’re on a budget, look for at least 25% cotton blended with cellulose. Pure wood-pulp paper will always pill under stress.
2. Check the sizing. Look for paper that specifically mentions internal sizing. Externally-sized papers are more vulnerable to moisture and solvent damage.
3. Match your paper weight to your medium. Use at least 200gsm for mixed media, 250gsm for colored pencil layering, and 300gsm+ for watercolor or gouache. Thin paper under 150gsm will pill under almost any medium.
4. Reduce pressure. Train yourself to draw with a lighter hand. If you can see deep indentations on the back of your paper, you’re pressing too hard.
5. Limit solvent use. When blending colored pencils with solvent, apply sparingly with a small brush rather than flooding the area. Let each application dry fully before adding more.
6. Use a kneaded eraser. Switch from rubber or vinyl erasers to a kneaded eraser for most erasing tasks. Reserve aggressive erasers for areas where you’ve already built up enough paper thickness to handle it.
7. Work in one direction. Scrubbing back and forth with brushes or pencils creates more friction than working in consistent, directional strokes. Try to minimize the number of passes over any single area.
How to Prevent Paper Tearing
Tearing prevention builds on the same principles but focuses on structural protection:
1. Don’t overwork areas. If a section of your drawing isn’t working, it’s better to stop and start fresh on a new page than to keep pushing the paper past its limit. Know when to walk away from a passage.
2. Use appropriate erasing technique. Erase in one direction rather than scrubbing. Lift your eraser at the end of each stroke instead of dragging it back. This reduces the mechanical stress on the fibers.
3. Support the page while you work. Place a stiff board or extra sheet of paper under your working page. This prevents flex and bending while you draw, which can cause creases that turn into tears.
4. Remove pages correctly. As I mentioned above, keep the page flat against the plane of the sketchbook when removing it. Fold gently along the perforation first, then separate slowly.
5. Use masking fluid carefully. If you use masking fluid for watercolor, apply it to fully dry paper and remove it as soon as possible. The longer it sits, the more aggressively it bonds to the fibers. When removing, peel slowly at a low angle rather than pulling straight up.
Paper Type Comparison: Which One Should You Use?
Here’s a quick comparison of the three main paper types to help you choose:
100% Cotton Paper — The gold standard for durability. Long interlocking fibers resist pilling and tearing. More expensive, but worth it if you work with wet media or heavy layering. Brands like Stonehenge, Saunders Waterford, and Lanaquarelle are trusted by professional artists. Best for watercolor, gouache, colored pencil, and mixed media.
Cellulose (Wood-Pulp) Paper — The most common type in affordable sketchbooks. Short fibers are more prone to pilling under friction or moisture. Works well for dry sketching with graphite and light colored pencil work, but struggles with wet techniques. Brands like Canson XL and Strathmore 400 Series offer decent cellulose options.
Cotton-Cellulose Blends — A middle ground. These papers mix cotton and wood-pulp fibers for improved durability at a lower price than 100% cotton. Good for artists who use multiple mediums. Stillman & Birn Zeta series is a well-regarded blend option.
Recommended GSM by Medium:
Graphite sketching: 120-150gsm is sufficient for light pencil work. Go heavier if you tend to press hard.
Colored pencil layering: 200-250gsm minimum. The surface needs to withstand 6-10 layers of wax or oil-based pigment.
Watercolor and gouache: 300gsm is the standard. Anything lighter will buckle and pill under washes. Some artists prefer even heavier sheets (356gsm) for large wet-on-wet work.
Mixed media: 250-300gsm gives you the versatility to switch between dry and wet techniques in the same sketchbook.
How to Repair Damaged Paper
If the damage is already done, here are a few repair techniques that can save your work:
For pilled areas: Gently roll a clean kneaded eraser over the pilled surface. This picks up the loose fiber balls without further damaging the paper underneath. Don’t rub—just press and lift.
For small tears: Apply a thin piece of acid-free artist’s tape or archival mending tissue to the back of the tear. Press it down gently with a bone folder or the back of a spoon. This “back-patching” method holds the fibers together and becomes invisible from the front.
For larger holes: Cut a small patch of matching paper slightly larger than the hole. Adhere it to the back of the page with archival glue, then let it dry under a flat weight. The patch provides structural support, and you can draw or paint over the repaired area.
Keep in mind that repairs work best on dry media. Watercolor and gouache over a patched area may show texture differences, so plan your composition accordingly.
Frequently Asked Questions
Why does my watercolor paper keep pilling?
Watercolor paper pills when its fibers are being lifted by the combination of moisture and friction. The most common causes are using wood-pulp or cellulose paper that lacks adequate sizing, scrubbing back and forth with a wet brush, or using paper that’s too lightweight for wet techniques. Switching to 300gsm 100% cotton paper and minimizing brush passes over wet areas will solve most watercolor pilling problems.
What are the signs that watercolor paper is bad?
Signs of poor-quality watercolor paper include pilling or fuzzing during the first wash, the surface breaking down when you try to lift paint, excessive buckling or warping when wet, and colors looking dull or uneven because the sizing isn’t holding pigment properly. If your paper pills with light pressure before you even apply paint, the fiber composition is likely the issue.
How do I stop graphite from transferring in my sketchbook?
Graphite transfers when layers of pencil rub against the opposite page or adjacent pages. Place a sheet of glassine paper or clean copy paper between pages to create a barrier. You can also apply a light workable fixative spray to graphite drawings once they’re finished—this locks the pigment to the surface and prevents smudging.
How do I prevent smudging in my sketchbook?
To prevent smudging, work from the top of the page down or from left to right (or right to left if you’re left-handed) so your hand doesn’t rest on finished areas. Use a piece of scrap paper under your drawing hand as a barrier. A light fixative spray applied between layers also helps lock graphite and charcoal in place.
What are three common mistakes that damage watercolor paper?
The three most common mistakes are: using too much water on lightweight paper, which causes pilling and buckling; scrubbing back and forth with a brush on a wet surface, which tears the fibers; and repeatedly lifting and rewetting the same area, which overworks the sizing until it breaks down.
What paper do professional artists use?
Most professional fine artists use 100% cotton, acid-free paper with internal sizing. Popular choices include Stonehenge for drawing and colored pencil, Arches and Saunders Waterford for watercolor, and Stillman u0026amp; Birn Zeta for mixed-media sketching. The specific brand depends on the medium and the artist’s preferred texture, but cotton content and good sizing are non-negotiable for serious work.
How do I fix a ripped piece of paper?
For small tears, place a thin strip of acid-free artist’s tape or archival mending tissue on the back of the tear and press gently. For larger holes, cut a patch of matching paper and adhere it to the back with archival glue, then dry under a flat weight. These back-patching methods provide structural support and become nearly invisible from the front.
Final Thoughts
If you’ve been wondering why your sketchbook paper pills and tears, the answer almost always comes down to fiber quality, sizing, and technique. Cheap wood-pulp paper with inadequate sizing will pill under nearly any medium—it’s not your fault, it’s the material.
Switching to 100% cotton paper with good internal sizing is the single biggest improvement you can make. Pair that with lighter pressure, appropriate paper weight for your medium, and gentle erasing technique, and you’ll see a dramatic reduction in both pilling and tearing. Your artwork deserves a surface that can keep up with your creativity.