
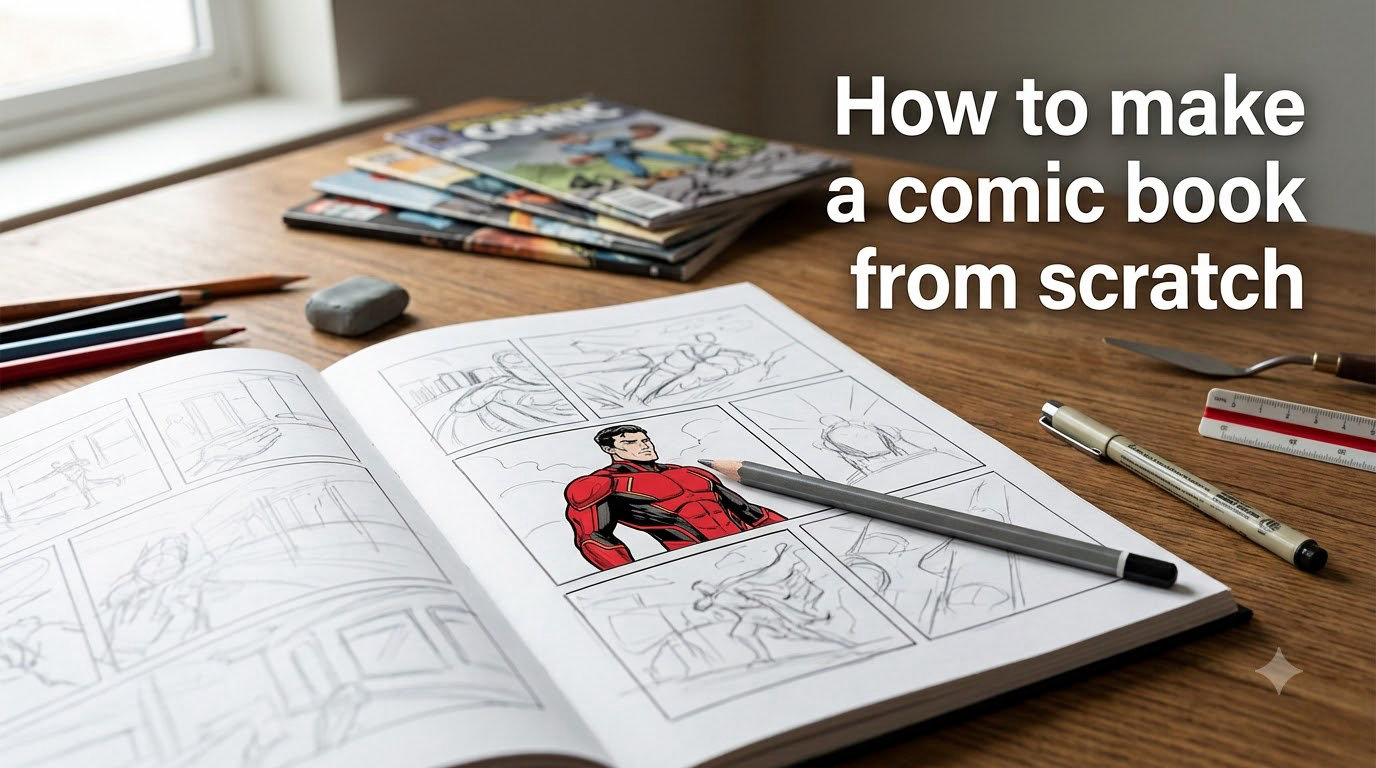
Learning how to make a comic book from scratch is one of the most rewarding creative projects you can start today. I have helped first-time creators go from a blank page to a finished 24-page mini-comic, and I will walk you through the exact same pipeline. By the end of this guide, you will know how to write a script, design characters, thumbnail pages, ink, color, letter, and publish your first comic – whether that is a print zine, a webtoon, or a PDF you share online.
Comics combine writing, drawing, and visual storytelling in a way no other medium does. You do not need an art degree or a publisher to get started. You need a story, a few basic tools, and a process you can actually finish. We will cover all three.
Table of Contents
What Is a Comic Book and Who Should Make One?
A comic book is a story told through a sequence of illustrated panels, usually combined with speech bubbles, captions, and sound effects, and bound together as a booklet or published online. The key word is sequential – each panel is a single beat in the story, and the reader’s eye moves through them in order.
Comics come in many formats, and each one has a different rhythm:
- Comic book – the classic stapled pamphlet, usually 22 to 32 pages, like a single issue of a superhero title.
- Graphic novel – a longer, self-contained story bound as a trade paperback or book.
- Mini-comic – a small, often photocopied zine of 4 to 16 pages, perfect for first projects and conventions.
- Webcomic – serialized online, typically formatted for vertical scrolling on sites like Webtoon or Tapas.
- Manga – Japanese-style comics, usually read right-to-left, often published first in anthologies or magazines.
Anyone with a story to tell can make a comic. That includes students doing a school project, hobbyists who want a creative outlet, writers who want to try visual storytelling, parents making a book for their kids, and aspiring professional cartoonists building a portfolio. You do not need to be a great artist. Stick figures, stylized shapes, and minimalist drawings all work – the medium is forgiving.
How to Make a Comic Book from Scratch: 9 Steps to Your First Comic
If you only have five minutes, here is the entire process. I will expand each step in its own section below, but this list captures the full pipeline.
- Pick your concept and genre – choose a story with a clear conflict you can tell in 5 to 24 pages.
- Write a comic script – break the story into panels with action, dialogue, and captions.
- Design your characters and setting – create reference sheets and a visual world.
- Thumbnail every page – sketch tiny layouts to plan pacing before drawing anything final.
- Pencil the pages – draw the clean artwork on the final page size.
- Ink the pages – trace over the pencils with black ink (or digital equivalent).
- Letter the dialogue and sound effects – add speech balloons, captions, and SFX.
- Color the pages – apply flat colors, then shading and effects.
- Publish, print, or share online – export a PDF, upload to a webcomic platform, or send to a printer.
That is the whole game. Now let us walk through each step with the detail you need to actually do it.
Step 1: Pick a Concept and Genre You Can Finish
The single biggest predictor of whether you finish your comic is whether you picked the right scope. A 200-page epic space opera is not the right first project. A 5-page story about a kid who loses their dog and finds it again is.
Start with a logline – one sentence that captures your protagonist, their problem, and what is at stake. For example: A shy teenager accidentally texts the school bully and must survive 24 hours of accidental friendship. If you can pitch it in a sentence, you can draw it in 8 pages.
Pick a genre you already love reading. Slice-of-life, romance, mystery, fantasy, sci-fi, memoir, horror – all work. The genre tells the reader what to expect, which lets you skip explaining the basics and focus on the specific story.
Two practical rules keep you from over-scoping:
- Set a page limit before you start. Five pages, ten pages, twenty-four pages – pick the number and let the story fit inside it.
- Use a familiar setting. A school, a coffee shop, an apartment, a backyard. Real places cut your workload dramatically.
Step 2: Write a Comic Book Script That Artists Can Draw
A comic script is not a novel. It is a blueprint for a visual story. Each panel describes what the reader sees, plus what they hear (dialogue) and know (captions). There are two common formats:
- Marvel method – the writer plots the story, the artist draws it, then the writer adds dialogue. Good for tight writer-artist teams.
- Full script – the writer describes every panel in detail, including camera angle, action, and dialogue, before any drawing begins. The most beginner-friendly format.
I recommend the full script for your first comic. It forces you to think visually and gives you a checklist to work through panel by panel.
Every script – and every comic story – is built from the same five basic elements of comic book writing:
- Exposition – the setup. Where are we, who is here, what is normal?
- Inciting incident – the event that breaks the normal and starts the story.
- Rising action – a series of complications that build tension.
- Climax – the moment of greatest conflict.
- Resolution – the new normal at the end of the story.
For each panel in your script, write a single line of description plus the dialogue. A panel description might read: Panel 1: Wide shot of an empty classroom at night. Moonlight through the windows. Then add the dialogue underneath. Keep panel descriptions to one or two sentences. The script is a sketchpad, not a novel.
Step 3: Design Characters and Settings Readers Will Remember
Characters are what readers remember. A great story with forgettable characters falls flat. A weak story with a vivid protagonist can carry 20 pages.
Start with silhouettes. If you squint at your character and cover their face, you should still recognize them. Think of how Batman, Spider-Man, and the Hulk are recognizable as pure shapes. That comes from exaggerated silhouettes – a cape, big shoulders, oversized head, or distinctive posture.
Build a reference sheet for every main character:
- Front, side, and three-quarter views of the head and body.
- A neutral expression and two emotional extremes (happy and angry, or scared and sad).
- Distinctive props or clothing – the hat, the weapon, the badge, the backpack.
- Color palette – three or four main colors that always appear together.
For settings, draw a single establishing shot – one wide image that shows where the story takes place. Readers use it as a mental anchor. You do not need to draw every brick of every wall, but you do need one consistent location image per major scene.
Step 4: Thumbnail Your Pages and Plan Panel Layouts
Thumbnailing is the most skipped step by beginners, and the one Reddit creators most often say they regret skipping. A thumbnail is a tiny, rough sketch of an entire page – usually drawn at the size of a postage stamp – that shows where every panel, balloon, and caption will go.
The point of a thumbnail is not to make art. It is to solve pacing. You are asking: Does this page read well? Does the eye flow through the panels in the right order? Is the story clear at this size?
Stick figures are fine. Boxes with X through them are fine. The uglier your thumbnails, the better – it means you are focusing on layout, not art.
Two rules guide good panel layout:
- The 180 rule – keep your camera on one side of the action. If two characters are talking, draw an imaginary line between them, and never put the camera on the opposite side. Crossing the line disorients readers because left and right suddenly swap.
- Establishing shot first – start a new scene with one wide panel that shows the location, then move to closer shots.
Plan the page turn as a storytelling tool. End a page on a quiet moment that makes the reader want to flip, or end it on a cliffhanger that demands the next page.
Step 5: Pencil the Pages
Penciling is the clean artwork on the final page size, drawn over your thumbnails. This is where your character designs, settings, and panel layouts all come together into actual drawings.
You can pencil on paper with a soft lead pencil (2B or HB), or you can pencil digitally with a stylus and tablet. Digital pencils are easier to erase, resize, and adjust, but paper pencils give you a traditional feel and scan cleanly at 600 DPI.
Most comic artists draw at about 1.5x the final print size to leave room for corrections. If your final comic is 6.625 by 10.25 inches (the standard US comic trim), draw your pencils on 10 by 15 inch paper.
Three penciling tips from working artists:
- Keep a consistent light source across every panel on a page. Shadows should fall the same way.
- Leave space for balloons. Plan empty background areas where dialogue will sit.
- Draw background details lightly. The eye reads foreground figures first; backgrounds only need to be believable, not detailed.
Step 6: Ink the Pages
Inking turns your soft pencil drawings into bold, high-contrast artwork. Traditional ink is usually done with a dip pen, brush, or fineliner. Digital ink is done with a stylus and pressure-sensitive brush in software like Clip Studio Paint or Procreate.
The classic inking tools are:
- Fineliner pens (0.05, 0.1, 0.3, 0.5 mm) – the most beginner-friendly option.
- Dip pens – a metal nib held in a handle, dipped in ink. Gives expressive line variation but has a learning curve.
- Brushes – traditional sumi brushes or digital brush pens give the boldest, most varied lines.
Inking discipline matters more than inking talent. Trace the pencil lines you want to keep, leave out the construction lines, and vary your line weight – thicker lines for foreground and shadow, thinner lines for background and detail.
If you ink on paper, scan at 600 DPI in grayscale or line-art mode. This gives the inker clean lines for digital cleanup and a high-enough resolution to print sharp at any size.
Step 7: Lettering, Speech Bubbles, and Sound Effects
Lettering is what turns silent artwork into a comic. It includes three jobs: placing speech balloons, writing dialogue inside them, and adding captions and sound effects.
Speech balloons follow a few conventions:
- Standard balloon – a smooth oval with a tail pointing to the speaker. Used for normal speech.
- Thought balloon – a cloud-shaped balloon with small bubbles trailing off. Used for thoughts.
- Spike balloon – a jagged balloon for shouting or radio noise.
- Whisper balloon – a dashed outline, often with smaller text. Used for soft voices.
Place balloons in the upper half of panels whenever possible. The reader’s eye enters a panel at the top, hits the dialogue first, then moves to the action. Captions (the rectangular boxes that set time and place) usually sit at the top of a panel or page.
For sound effects, draw them large and stylize them to match the action – jagged for crashes, swirly for magic, sharp for punches. Common comic book SFX fonts include Komika, Badaboom, and CC Wild Words.
Step 8: Coloring (Digital or Hand-Drawn)
Color is optional, but it adds enormous production value. A colored comic looks twice as finished as the same comic in black and white.
There are two workflows:
- Hand coloring – markers, watercolors, or colored pencils on the original art. Beautiful but slow, and every copy needs a new painted page.
- Digital coloring – colored in Photoshop, Clip Studio Paint, or Procreate after scanning. Faster, easier to fix, and you can print unlimited copies.
Most beginners should start with digital. The basic process is:
- Lay down flat colors (no shading) under a “flat color” layer.
- Add shadows on a separate layer, using a soft brush at low opacity.
- Add highlights on a third layer, using a small brush.
- Adjust each panel’s mood with color temperature – warmer for sunny scenes, cooler for tense scenes.
A practical tip: choose a limited color palette for the whole book. Six to ten colors across the entire comic gives you visual unity and saves you from choosing colors on every panel.
Step 9: Publish Your Comic Book
This is the step you should think about on day one, even if it feels early. Knowing how you will publish changes how you make the comic.
There are three publishing options, and they each favor different comics:
- Webcomic or webtoon – upload pages to Webtoon, Tapas, or your own site. Vertical scroll (webtoon) or page-by-page (traditional webcomic). Zero cost, instant audience, no printing.
- Print-on-demand – upload a print-ready PDF to Amazon KDP, IngramSpark, or Lulu. They print and ship each copy as ordered. No upfront cost, you earn royalties on each sale.
- Small press or traditional – pitch your comic to an indie publisher (like Scholastic Graphix, Oni Press, or Iron Circus) or self-publish through offset printing for a print run of 200+ copies. Higher upfront cost, higher per-copy profit.
For a first comic, webcomic plus print-on-demand is the lowest-risk route. You learn the whole pipeline, get your work in front of readers, and can always offset a print run later if demand exists.
For mini-comics, photocopy your pages, fold a saddle-stitched booklet, and bring a stack to your local comic shop or convention. Many first-time creators sell their entire print run of 50 copies this way.
Tools and Software for Making Comics (Free vs. Paid)
The right software depends on your medium. Here is the comparison I wish I had when I started – the tools most comic creators actually use in 2026, with what each one does well and where it falls short.
| Tool | Price | Best for | Learning curve |
|---|---|---|---|
| Clip Studio Paint | One-time license | All-in-one comic production (pencils, inks, panels, lettering) | Medium |
| Procreate (iPad) | One-time license | Drawing and painting comics digitally on iPad | Low |
| Adobe Photoshop | Monthly subscription | Coloring and photo-manipulation work | Medium-High |
| Adobe Fresco | Monthly subscription (free tier) | Live brushes and watercolor effects on iPad | Low |
| Krita | Free and open source | Painting and inking on a budget | Medium |
| Medibang Paint | Free | Entry-level digital comic creation on tablet or desktop | Low |
| Pixton / Make Beliefs | Free tier / subscription | Comics without drawing – drag-and-drop templates | Very low |
| Canva | Free tier / subscription | Quick comic strips with templates | Very low |
If you are brand new and want to test the medium, start with a free option like Krita, Medibang Paint, or a template tool like Pixton. If you know you will publish a full comic, Clip Studio Paint is the industry standard for independent creators – it has built-in panel tools, balloon shapes, and SFX fonts.
For paper-and-pencil workflows, your essential kit is:
- A drawing board or large clipboard.
- HB, 2B, and 4B pencils.
- A kneaded eraser and a vinyl eraser.
- Fineliner pens in 0.3, 0.5, and 0.8 mm.
- Brush or dip pen for variable line weight.
- 60 lb or 70 lb bright white paper.
How Much Does It Cost to Make a Comic Book?
This is one of the most-asked questions in r/makecomics and r/comicbooks. The honest answer: anywhere from a few dollars to several thousand, depending on how you make it.
Here is a realistic breakdown by approach. These are typical ranges based on what working artists and producers quote in 2026.
| Cost area | DIY (you do everything) | Collaborative (you hire help) | Professional team |
|---|---|---|---|
| Pencils per page | Your time only | About $40 per page | About $100+ per page |
| Inks per page | Your time only | About $30 per page | About $75+ per page |
| Colors per page | Your time only | About $50 per page | About $100+ per page |
| Lettering per page | Your time only | About $10 per page | About $25 per page |
| Software | Free (Krita) to about $50 one-time (Clip Studio) | Same | Same |
| Paper and ink supplies | About $30 to $80 one-time | About $30 to $80 | About $30 to $80 |
| Printing 24-page comic | About $3 to $8 per copy (offset) | Same | Same |
| Print-on-demand | About $5 to $10 per copy (KDP, Lulu) | Same | Same |
| Webcomic publishing | Free | Free | Free |
A self-drawn 24-page black-and-white mini-comic photocopied at your local print shop can cost less than $1 per copy in supplies. A fully colored, professionally lettered print-on-demand graphic novel will run several thousand dollars if you hire collaborators.
Two tips that keep costs manageable:
- Keep your first comic short. A 5-page mini-comic costs a fraction of a 200-page graphic novel.
- Pay collaborators per page, not per project. It keeps budgets predictable for both of you.
5 Beginner Mistakes to Avoid When Making Your First Comic
These are the pitfalls that come up over and over in r/comic_crits, r/ArtistLounge, and r/makecomics. Avoid them and you will save yourself months of rework.
- Skipping thumbnails. The fastest way to get stuck is to draw finished pages without a layout pass. Every working creator thumbnails first, even if it is stick figures on a napkin.
- Over-scoping your story. A 100-page fantasy epic is not a first comic. Pick a 5 to 24 page story you can finish in a few weeks.
- Ignoring page turns. The moment the reader turns the page is the most powerful moment in your comic. End pages on cliffhangers or revelations, not random moments.
- Drawing too detailed backgrounds. Your characters carry the story. Use simplified backgrounds and let the eye focus on faces and action.
- Not getting feedback before publishing. Show your comic to two or three trusted readers first. The most common note from first-time creators is that they did not know their dialogue was confusing until someone else read it.
Hand-Drawn vs. Digital Comic Workflow: Which Should You Choose?
Both workflows produce great comics. They differ on cost, speed, and feel.
| Factor | Hand-drawn (paper and ink) | Digital (tablet and software) |
|---|---|---|
| Upfront cost | Low (about $30 to $80 for supplies) | Higher (tablet about $300+, software about $50) |
| Per-page speed after learning | Slower | Faster (undo, copy, paste, recolor) |
| Look and feel | Organic, textured, unique | Clean, smooth, infinite corrections |
| Easy to publish digitally | Requires scanning at 600 DPI | Export directly to PDF |
| Easy to fix mistakes | Harder (white-out, paste-overs) | Trivial (undo, layers) |
| Best for | Mini-comics, art-focused projects, traditional feel | Webcomics, print-on-demand, colored comics, large runs |
You can also combine the two. Many professional cartoonists pencil on paper, scan the pencils, then ink, color, and letter digitally. This hybrid workflow gives you the texture of pencil with the flexibility of digital inking.
Legal Basics: Original Characters, IP, and Working with Collaborators
Three legal points matter for first-time comic creators:
- You own your original characters by default. In the United States, copyright exists the moment you draw a character. You do not need to register, though registering with the US Copyright Office strengthens your rights if you ever sue for infringement.
- Put collaborator agreements in writing. If you hire an artist, colorist, or letterer, sign a short agreement that names who owns the final art, who gets credited, and how royalties split. A one-page agreement prevents years of dispute.
- Do not use other people’s characters without permission. Fan art is a gray area – it is technically copyright infringement but is usually tolerated if it is not for sale. If you want to sell, work with original characters or license existing ones.
For most first comics, this is overkill. But the moment money or co-creators enter the picture, these agreements save friendships and income.
Comic Book Glossary: Terms Every Beginner Should Know
Comics have their own vocabulary. Here are the terms you will hear in every tutorial, forum, and publisher pitch.
- Panel – a single framed image on a comic page.
- Gutter – the space between panels.
- Splash page – a full-page image, usually dramatic or important.
- Establishing shot – a wide panel that shows the setting of a new scene.
- Speech balloon – the bubble that contains a character’s dialogue.
- Sound effect (SFX) – onomatopoeia drawn into the artwork (BOOM, POW, CRASH).
- Cliffhanger – a panel that ends a page on an unresolved question, encouraging the reader to turn the page.
- 180 rule – the rule that keeps the camera on one side of a conversation so left and right stay consistent.
- Mini-comic – a small, often photocopied comic, usually 4 to 16 pages.
- Webtoon – a digital comic formatted for vertical scrolling on phones.
Frequently Asked Questions
How to create your own comic book?
Start with a one-sentence logline, write a full script panel-by-panel, design characters with reference sheets, thumbnail every page, pencil and ink the artwork, add lettering and color, then publish as a webcomic, print-on-demand, or mini-comic. The full 9-step process is in the guide above.
What is the 180 rule in comics?
The 180 rule is a filming and comic convention that keeps the camera on one side of an imaginary line drawn between two characters. If you stay on the same side, left and right stay consistent. If you cross the line, the characters appear to swap sides, which disorients readers.
What are the 5 basic elements of comic book writing?
The five basic elements are exposition (the setup), inciting incident (the event that breaks the normal), rising action (complications that build tension), climax (the moment of greatest conflict), and resolution (the new normal at the end). Every comic story – from a 5-page mini to a 300-page graphic novel – follows this arc.
How much does it cost to create a comic book?
Costs range from nearly free (DIY with paper, pencils, and photocopies) to several thousand dollars (full-color, professional team). Producers commonly quote pencils at about $40 per page, inks at $30 per page, colors at $50 per page, and lettering at $10 per page. A self-drawn 24-page black-and-white mini-comic can be produced for less than $1 per copy.
How long does it take to make a comic book?
A first 5-page mini-comic typically takes a beginner 2 to 6 weeks working a few hours per day. A 24-page short comic usually takes 2 to 6 months. A full-color graphic novel of 100+ pages typically takes 1 to 3 years for a working creator. Thumbnailing and penciling consume the most time.
Conclusion: Finish Your First Comic and Start the Next One
That is the full process for how to make a comic book from scratch – from picking a concept you can finish, through writing, drawing, inking, lettering, coloring, and publishing. The pipeline is the same whether you make a 5-page mini-comic, a 24-page zine, or a 200-page graphic novel. What changes is the time and depth, not the steps.
The most important thing you can do today is start small. Pick a 5-page story, sketch two character reference sheets, thumbnail one page, and draw it. Finish it, even if it is rough. Publishing your first comic – on a blog, in a print-on-demand store, or photocopied at your local library – teaches you more than another year of tutorials.
Then start the next one. Every comic you finish gets faster and better than the last.