
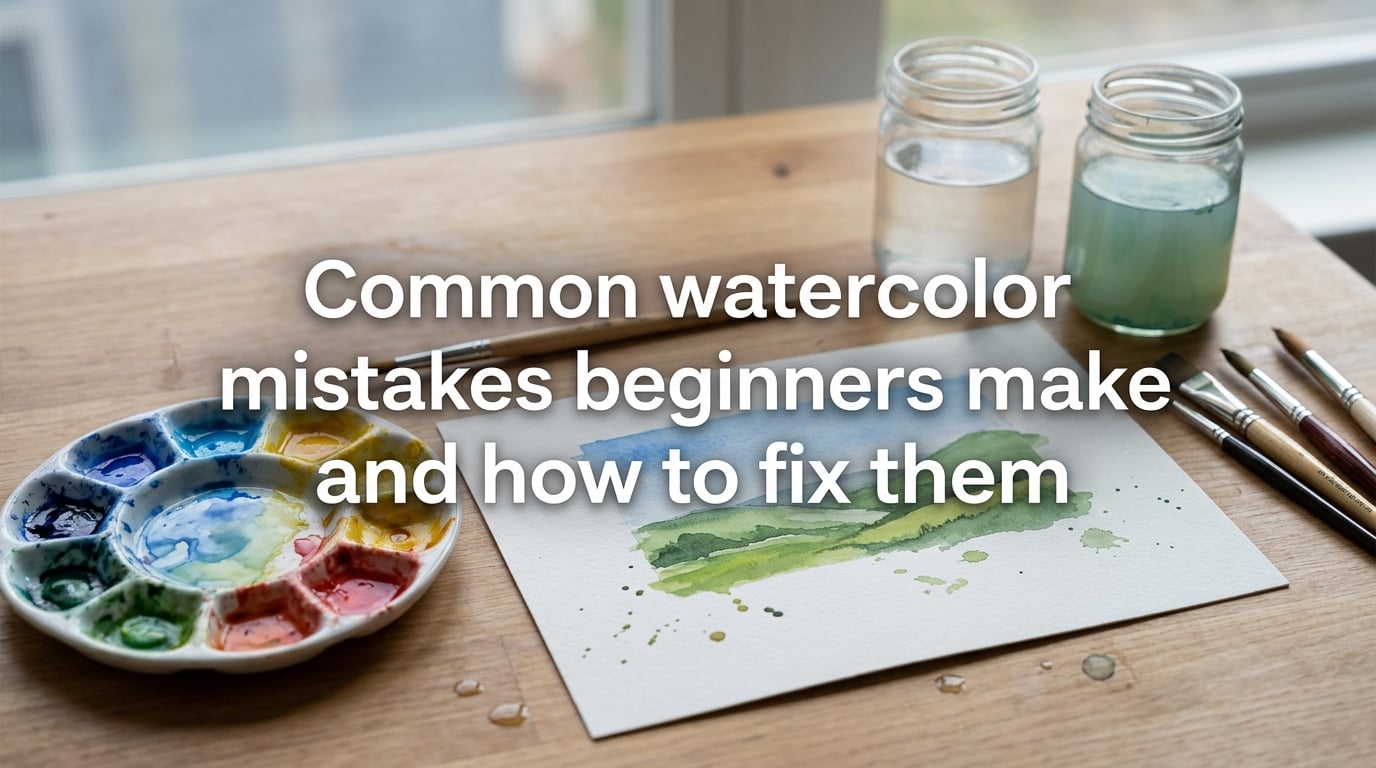
Learning watercolor is exciting—until your first painting turns into a muddy mess. The truth is, every beginner makes the same handful of common watercolor mistakes, and recognizing them early saves weeks of frustration. In this guide, I’ll walk you through the 10 most frequent errors beginners make and exactly how to fix each one.
Table of Contents
Why Watercolor Is Unforgiving (And Why That’s OK)
Watercolor is famously the medium where you can’t hide. Unlike acrylics or oils, you can’t paint over mistakes easily. The pigment stains the paper fibers, and water moves paint in unpredictable ways.
But here’s what experienced artists know: watercolor’s “unforgiving” nature is actually its greatest strength. Once you understand how water and pigment behave, you get luminous, fresh paintings that no other medium can achieve.
The mistakes below aren’t failures—they’re learning moments. Every professional watercolorist made these same errors. The difference is they learned to recognize and correct them.
10 Common Watercolor Mistakes Beginners Make
1. Overworking the Painting
This is the number one mistake beginners make. You keep adding brushstrokes, trying to “fix” areas, and end up with a stiff, lifeless painting. Watercolor rewards spontaneity—each fresh brushstroke adds energy.
What happens: Colors become muddy, the paper starts to pill, and you lose the fresh, transparent quality that makes watercolor special.
The fix: Step back every 10-15 minutes. Ask yourself: “Does this area need more paint, or am I just fussing?” Usually, you’re fussing. Put the brush down and let the painting breathe. A slightly unfinished watercolor almost always looks better than an overworked one.
2. Using Too Much Water
Water control is everything in watercolor. Beginners often overload their brushes, creating uncontrollable puddles that bloom and back-run across the paper.
What happens: Paint pools in unwanted areas, creates cauliflower marks (those dark-edged blooms), and bleeds into adjacent sections you wanted to keep clean.
The fix: Load your brush, then touch it to a paper towel to remove excess moisture. You want the brush damp, not dripping. Practice the “damp brush test”—touch the brush to scrap paper. If it leaves a shiny puddle, it’s too wet. If it leaves a faint mark, it’s perfect.
3. Not Letting Layers Dry Between Washes
Patience is a watercolorist’s most valuable skill. When you paint a new layer over a still-damp one, the colors mix on the paper rather than glazing cleanly over each other.
What happens: Beautiful color separations disappear, edges bleed, and your painting develops muddy undertones. Those crisp details you planned become soft, undefined shapes.
The fix: Use a hair dryer on low heat to speed drying, or simply work on multiple paintings simultaneously. Touch the paper—it should feel cool and completely dry, not slightly tacky. If in doubt, wait another minute.
4. Using Too Many Colors at Once
Beginners love reaching for every tube on the shelf. More colors mean more beautiful paintings, right? Wrong. Too many pigments competing for attention creates visual chaos.
What happens: Your painting looks busy and disconnected. Colors clash rather than harmonize. You can’t achieve the luminous glow that comes from layering related hues.
The fix: Limit yourself to three colors per wash. A basic palette of six to eight colors can mix virtually any hue. Start with a warm yellow, a cool blue, and a warm red—then expand slowly. Harmony comes from restraint.
5. Choosing Poor-Quality Paper
This mistake sabotages beginners before they even start painting. Student-grade paper with wood pulp can’t handle water the way 100% cotton paper does.
What happens: Paper pills when you try to lift paint, buckles when wet, and absorbs pigment unevenly. You’re fighting the surface instead of working with it.
The fix: Invest in at least one pad of 100% cotton paper (Arches, Fabriano Artistico, or Saunders Waterford). Yes, it costs more—but you’ll improve faster because the paper behaves predictably. Practice on cheaper paper, but do your real learning on quality stock.
6. Forgetting to Preserve White Paper
Watercolor gets its luminosity from the white paper shining through transparent pigment. Beginners often paint over everything, then wonder why their paintings look flat and dull.
What happens: You lose the sparkle and freshness that makes watercolor unique. Without white paper as a light source, paintings appear heavy and opaque.
The fix: Plan your whites before you start. Use masking fluid to protect small areas, or simply paint around highlights. The white of your paper is your brightest “color”—use it intentionally.
7. Starting with Details Instead of Big Shapes
It’s tempting to dive into that beautiful flower petal or the intricate tree bark. But starting with details locks you into compositions that might not work overall.
What happens: Your painting lacks cohesion. Individual elements might look good, but the whole composition feels disconnected. You also lose the loose, spontaneous quality that makes watercolor appealing.
The fix: Block in big shapes first with light washes. Get the overall composition working before adding details. Spend 70% of your painting time on the big shapes and only 30% on details. Details should be the reward, not the starting point.
8. Working Only in the Center of the Canvas
Beginners often focus intensely on one area—the center of interest—and neglect the rest. This creates a painting that looks like a spotlight on an empty stage.
What happens: The edges remain white and disconnected from the center. Your painting lacks atmosphere and the sense of a complete environment.
The fix: Work the entire painting at once, rotating between areas. Keep the whole surface at a similar stage of completion. This approach creates unity and ensures your background integrates with your subject.
9. Using Dirty Water
It sounds simple, but contaminated rinse water ruins more paintings than beginners realize. That murky brown puddle transfers unwanted pigment to every brushstroke.
What happens: Colors lose their vibrancy. Clean washes become muddy. You think your mixing is wrong, but the water is the culprit.
The fix: Keep two jars of water—one for rinsing and one for clean mixing. Change the rinse water frequently, especially when switching between warm and cool colors. Clean water is free; murky water costs you paintings.
10. Skipping Value Planning
Many beginners focus entirely on color and ignore value—the lightness or darkness of shapes. Without value contrast, paintings appear flat regardless of how beautiful the colors are.
What happens: The painting lacks depth and focal points. Everything seems to sit on the same plane. Your eye doesn’t know where to look.
The fix: Before painting, create a small thumbnail sketch using only three values: light, medium, and dark. If your value structure works in grayscale, it will work in color. Squint at your subject—this simplifies values and reveals the structure.
How to Fix Watercolor Mistakes: 3 Rescue Techniques
Blotting Wet Paint Immediately
The fastest fix is catching the mistake while the paint is still wet. Keep a clean paper towel or kitchen cloth within reach at all times.
Press the cloth firmly onto the wet area—don’t rub, as this spreads the paint. The cloth absorbs the pigment before it stains the paper fibers. This technique works within the first 30 seconds of a stroke, so speed matters.
The Lifting-Out Technique
For slightly dried mistakes, use a damp “thirsty brush” to lift pigment. A clean, barely damp brush reactivates the paint, allowing you to blot it away.
This works best with non-staining colors (like cadmium yellow or burnt sienna) and less well with staining pigments (like phthalo blue or alizarin crimson). Test on scrap paper if you’re unsure which category your paint falls into.
Painting Over with Glazing
When paint has fully dried, you can often correct mistakes by glazing over them. Apply a darker value over the error area, adjusting the surrounding values to match.
This technique requires patience—each layer must dry completely before the next. But it can save paintings that seem beyond repair. Many professional watercolorists consider glazing the most powerful correction tool.
Frequently Asked Questions
What are some common mistakes people make when painting watercolor?
The most common watercolor mistakes include overworking the painting, using too much water, not letting layers dry, using too many colors at once, choosing poor-quality paper, forgetting to preserve white paper, starting with details instead of big shapes, working only in the center, using dirty water, and skipping value planning.
What is the golden rule of watercolor?
The golden rule of watercolor is to work from light to dark. Since watercolor is transparent, you cannot paint light over dark the way you can with opaque mediums. Preserve your lightest values from the beginning and build up darker values gradually through glazing layers.
How do you fix watercolor mistakes?
You can fix watercolor mistakes using three main techniques: blotting wet paint immediately with a clean cloth, lifting out partially dried paint with a damp thirsty brush, or painting over dried mistakes using glazing layers to adjust values and colors.
What does vinegar do to watercolor?
Vinegar can be used to create interesting texture effects in watercolor. When dropped into wet paint, vinegar repels the pigment and creates organic, cell-like patterns. Some artists use it as a creative technique for backgrounds and abstract effects.
What does rubbing alcohol do to watercolor?
Rubbing alcohol creates distinctive textural effects when dropped into wet watercolor. It repels the pigment and creates small, circular marks that resemble organic textures. Like vinegar, it is used as a creative technique rather than a correction method.
What are some tricks for beginners in watercolor?
Key tricks for beginners include using only three colors per wash to maintain harmony, keeping two water jars (one for rinsing, one clean), working the entire painting at once rather than one area, limiting your palette to six to eight colors total, and planning your values with a small thumbnail sketch before painting.
Conclusion
Making common watercolor mistakes is part of every beginner’s journey—and every mistake teaches you something valuable about how water and pigment behave. The ten errors in this guide are the ones I see most often, and now you know exactly how to fix each one. Start with quality paper, limit your palette, work light to dark, and remember: a slightly imperfect painting with fresh brushstrokes always looks better than an overworked one. Keep painting, keep learning, and watch your skills grow.