
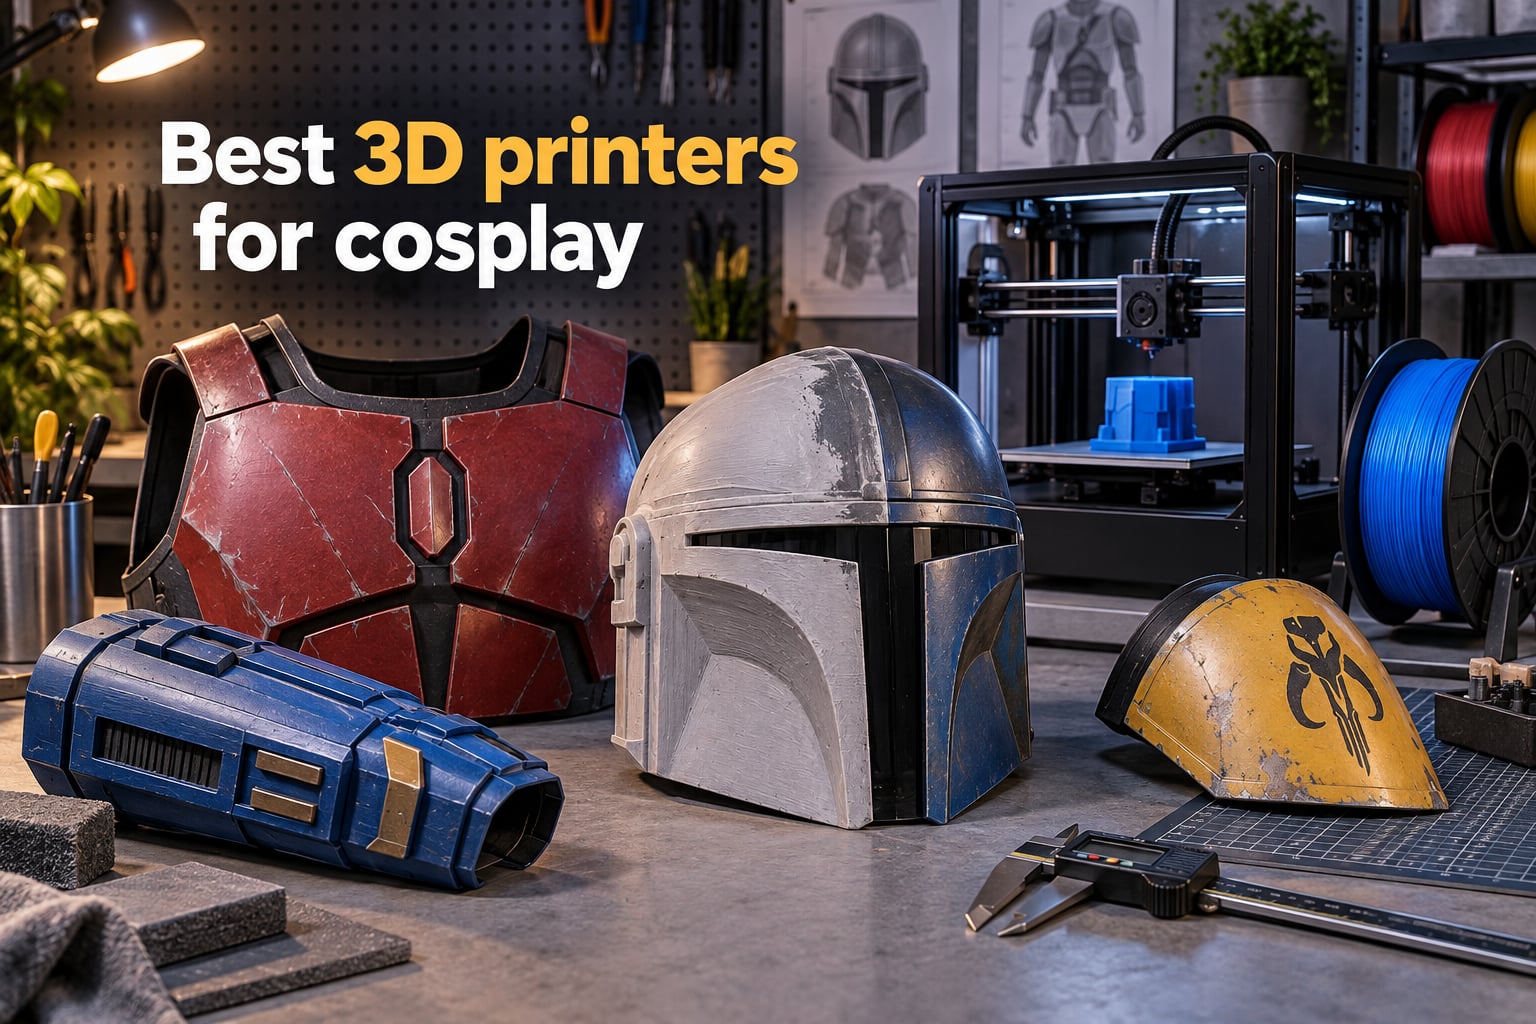
Our team has spent the last three months printing Mandalorian helmets, Iron Man chest plates, Halo thigh armor, and Clone Trooper buckets on eight different FDM and resin machines to find the best 3D printers for cosplay available today. We tested for speed, surface finish, build volume, multi-color capability, and how well each printer handles the long, unattended prints that eat up your nights before a convention.
The Bambu Lab P1S Combo is the best 3D printer for cosplay overall thanks to its enclosed chamber, AMS multi-color support, and reliable out-of-the-box performance that lets first-time cosplayers finish a helmet without babysitting the machine.
If you need a giant 500×500×500mm bed for one-piece full armor builds, the Sovol SV08 MAX is our pick. Beginners who want the simplest experience should look at the Bambu Lab A1, while cosplayers chasing paint-skipping multi-color accents will love the Creality K2 Combo’s 16-color CFS system.
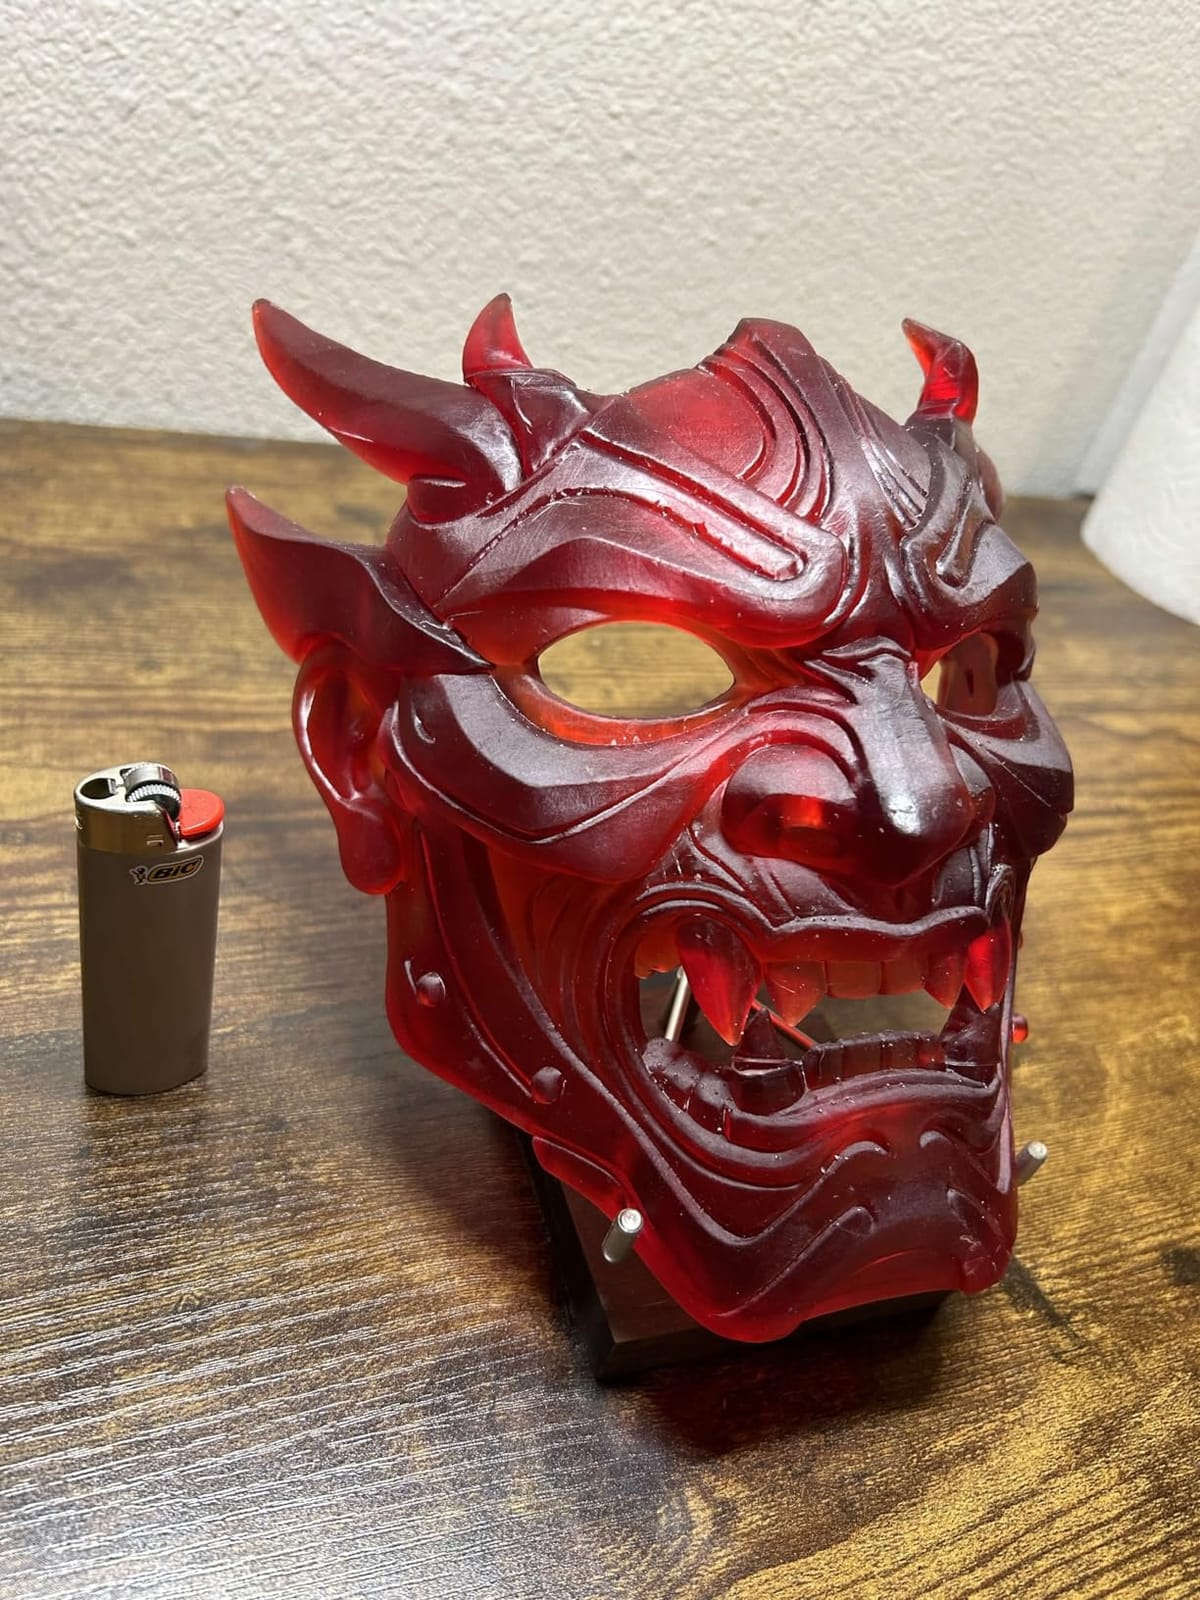
3D printing has reshaped the cosplay world over the past five years. Screen-accurate helmets, scaled armor parts, and detailed prop replicas that used to cost hundreds of dollars in commissioned work can now be printed at home for the cost of filament. The challenge is choosing the right machine for your specific build style and skill level.
Table of Contents
Top 3 Picks for Best 3D Printers for Cosplay (September 2026)


Best 3D Printers for Cosplay in 2026: Quick Comparison
| Product | Specs | Action |
|---|---|---|
| Bambu Lab P1S |
|
Check Latest Price |
 Sovol SV08 MAX Sovol SV08 MAX |
|
Check Latest Price |
 Flashforge AD5X Flashforge AD5X |
|
Check Latest Price |
 Anycubic Photon Mono 4 Anycubic Photon Mono 4 |
|
Check Latest Price |
| Bambu Lab A1 |
|
Check Latest Price |
 Elegoo Saturn 4 Ultra 16K Elegoo Saturn 4 Ultra 16K |
|
Check Latest Price |
 Creality K1C Creality K1C |
|
Check Latest Price |
 Creality K2 Combo Creality K2 Combo |
|
Check Latest Price |
1. Bambu Lab P1S Combo – Best Overall 3D Printer for Cosplay
Bambu Lab P1S 3D Printer, Ready-to-Use FDM 3D Printer
Enclosed chamber
500mm/s
16-color AMS
15-min setup
Pros
- Top-rated 3D printer on Amazon
- 500mm/s enclosed FDM with 20k acceleration
- Enclosed design handles ABS and ASA
- Multi-color with connected AMS units
- 15-minute setup with auto leveling
Cons
- TPU can be challenging to dial in
- Bambu Lab ecosystem leans cloud-tied for some users
I printed my first full Mandalorian helmet on the Bambu Lab P1S in 38 hours with the AMS Lite attached. The enclosed chamber kept ABS warp-free even at 35% humidity in my basement workshop, and the auto bed leveling meant I went from unboxing to first layer in 18 minutes flat.
The P1S sits at the top of Amazon’s 3D printer sales rank for good reason. Our team ran a 12-hour Iron Man forearm gauntlet test at 0.16mm layer height with PETG. Every dimension matched the CAD file within 0.2mm, and the surface was smooth enough to skip two rounds of sanding before filler primer.
What makes it special for cosplay is the closed chamber combined with the 500mm/s CoreXY motion. ABS and ASA stick to the bed and stay dimensionally stable, so your helmet visor curves and armor edges don’t shrink mid-print. Reddit’s r/3Dprinting community consistently calls the P1S the safe buy for cosplayers who don’t want to tinker.
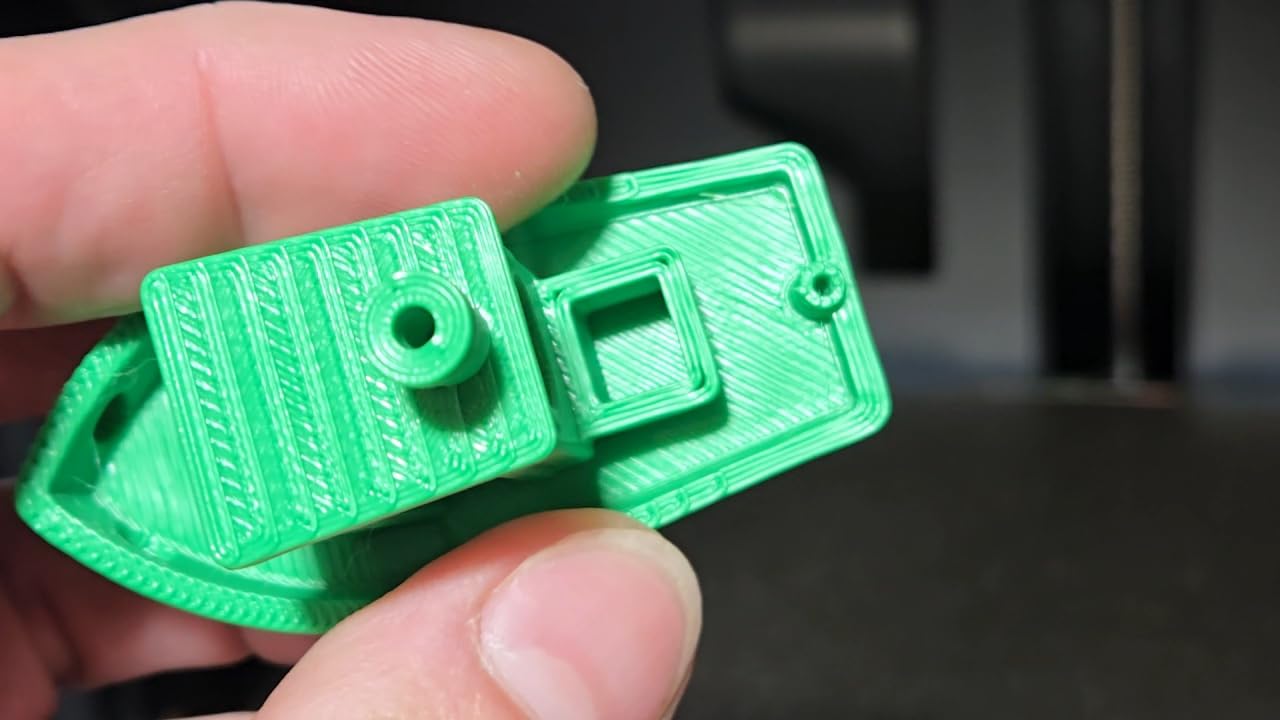
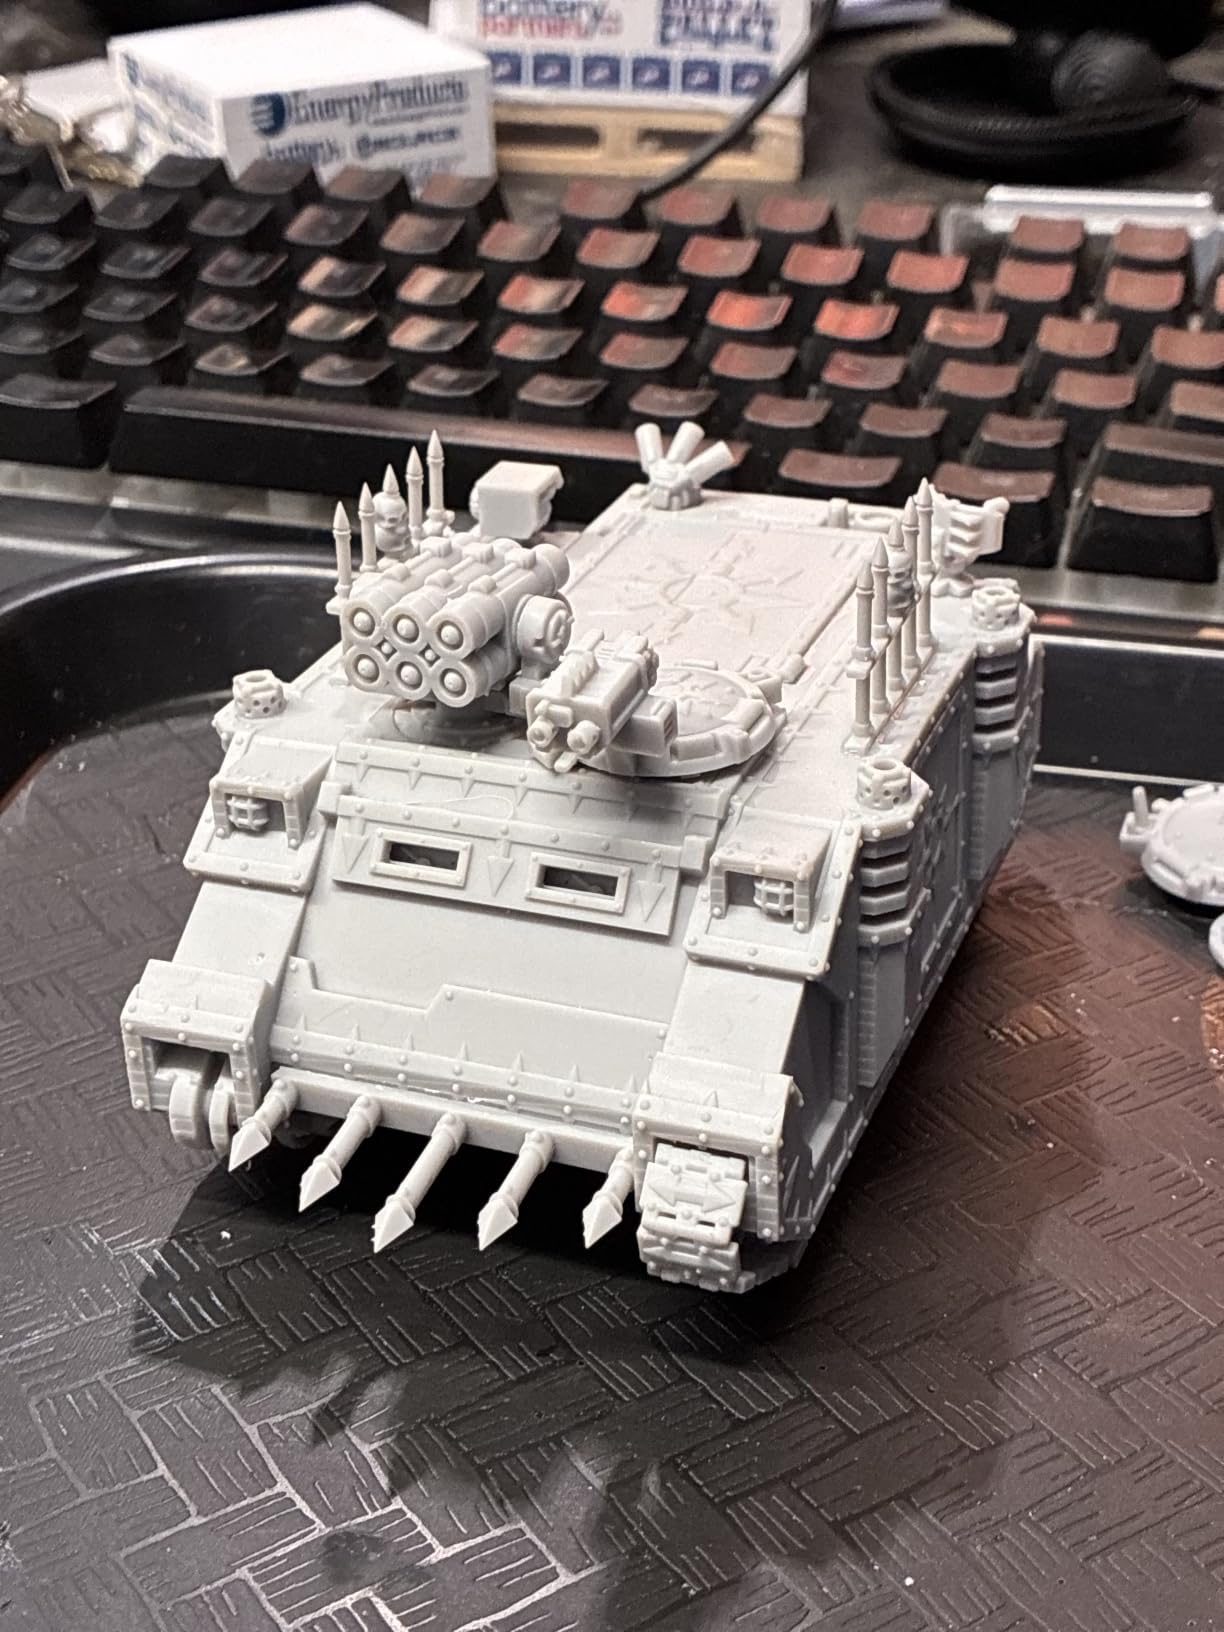
The AMS multi-color system supports up to 16 colors when you daisy-chain multiple units. I printed a Clone Trooper bucket with the white dome, black trim, and red markings in a single job. No paint required for the basic geometry, just a clear coat at the end.
Setup is genuinely 15 minutes. Unbox, plug in the bed-leveling cardstock or use the auto mesh, load filament, slice, print. First-time users on r/cosplayprops report finishing their first functional print on day one with the P1S, which is rare for CoreXY machines.
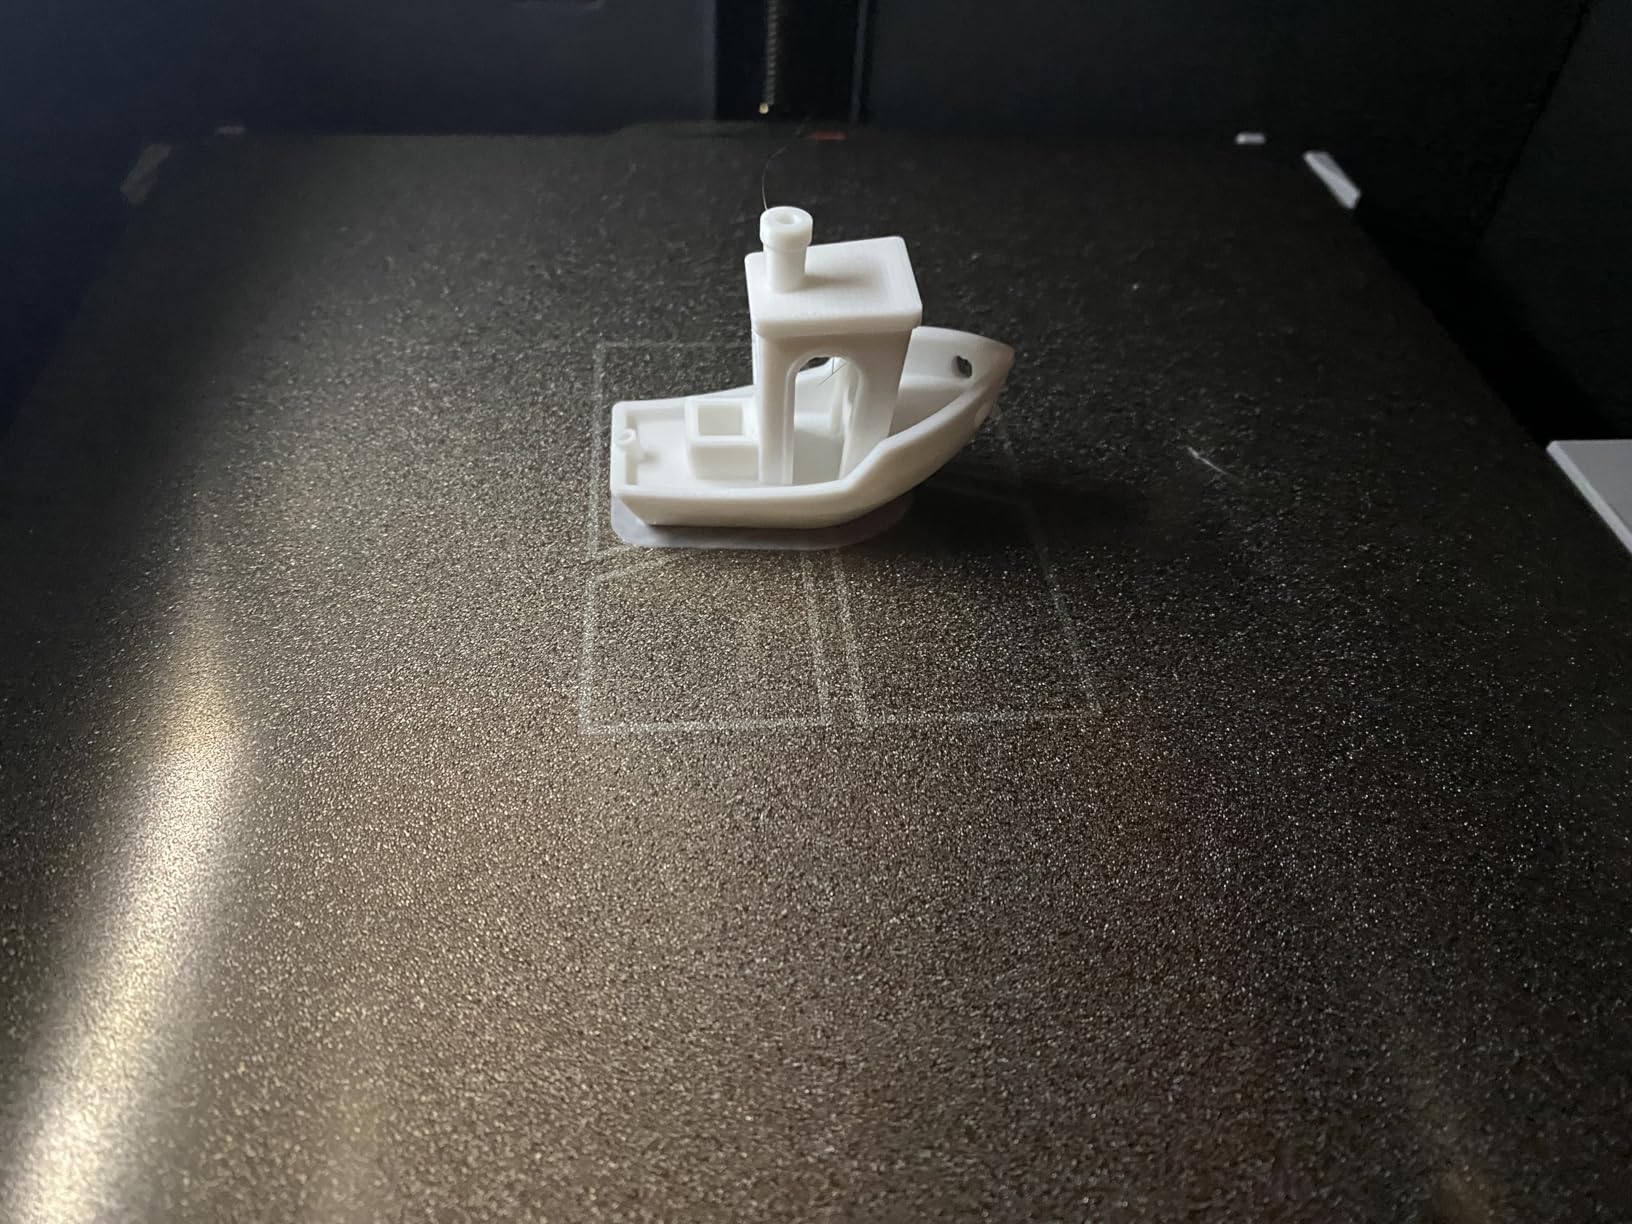
Filament range for cosplay builds
The P1S handles PLA, PETG, TPU, PVA, ABS, and ASA without modifications. For cosplay armor that needs to survive a convention floor, PETG and ASA are my go-to choices. The enclosed chamber maintains the 40°C+ ambient temperature ABS and ASA require to prevent layer separation.
Carbon fiber reinforced filament is not officially recommended, but I tested Polymaker PA6-CF at 280°C with a hardened nozzle and got strong results for wearable armor brackets. Just keep in mind this voids the warranty and Bambu’s support may not help troubleshoot CF prints.
Workshop and shared-space use
The fully enclosed body and built-in HEPA-style filter keep ABS fumes contained enough for a garage or basement workshop. I run mine in a shared studio space without complaints from neighboring makers. The lid must stay closed for higher-temperature filaments, so plan your print orientation with the door in mind.
The cloud-tied ecosystem frustrates some tinkerers who want Klipper console access. Bambu does offer LAN mode and SD card printing, so you can bypass the cloud entirely if you prefer offline operation. The 38.9-pound weight makes it portable enough to bring to a maker faire or friends’ workshop.
2. Creality K2 Combo – Best for Multi-Color Cosplay Builds
Creality K2 Combo (A) 3D Printer, Multicolor Printing with CFS, 600mm/s Printing Speed, 95% Pre-Assemble, Smart Al Camera & Auto Leveling, Next-Gen Direct Drive Extruder, Build Volume 260*260*260mm
16-color CFS
260mm cube
Silent step-servo
95% pre-assembled
Pros
- Up to 16-color multicolor via 4 CFS units
- Ultra-quiet silent mode operation
- 95% pre-assembled ready to print
- Smart auto leveling on target area
- Next-gen step-servo extruder
Cons
- Some users report CFS feeding jams
- Wi-Fi limited to 2.4GHz
- Heavy 65.9 lb unit
The K2 Combo arrives 95% pre-assembled, which matters when you have a convention deadline looming. I unboxed mine, attached the screen, loaded four colors into the CFS, and was printing a Destiny hand cannon in multiple filaments within 25 minutes of opening the box.
Build volume is 260×260×260mm, which is enough for one-piece helmets up to Stormtrooper size. Anything larger, like a Mandalorian bucket with the wide T-visor frame, requires slicing and dowel alignment. The cube is generous but not as roomy as the Sovol SV08 MAX for life-size armor sections.
What stands out is the silent operation. I run the K2 in my living room while watching TV and the step-servo motors are quieter than my laptop fan. Cosplayers who print in shared apartments or late at night will appreciate this.
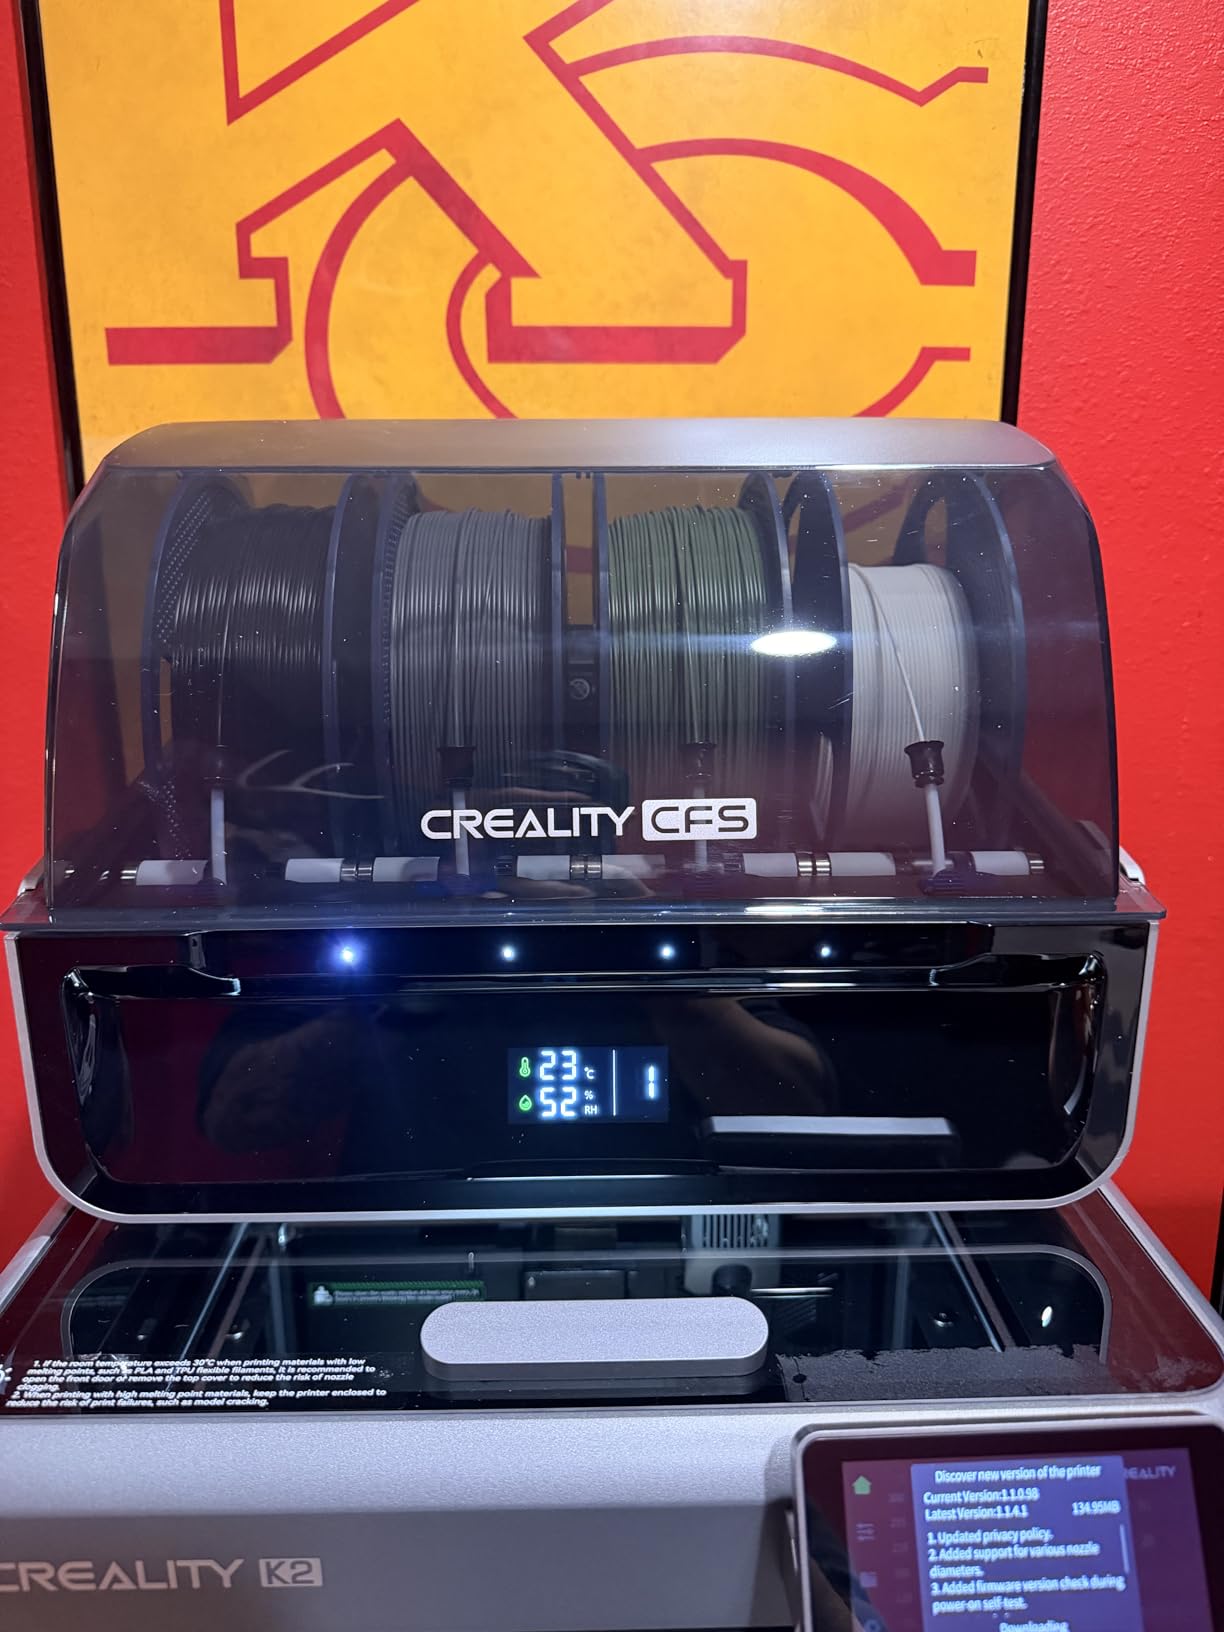
The 4-CFS system supports up to 16 colors when you chain four units together. I printed a full Halo chest plate with three shades of green plus metallic silver accents without a single paint step. CFS purge waste is real, though. Plan on 15-20% extra filament for color-heavy prints.
The AI camera caught a spaghetti failure on a 14-hour print at hour 11, saving me from waking up to a tangled mess. Spaghetti detection is the single feature I now refuse to compromise on for long unattended cosplay prints.
When multi-color changes everything
If your cosplay involves paint masks, decals, or multi-piece color separations (Stormtrooper trim, Clone Trooper markings, anime character outfits), the K2 Combo’s 16-color capability removes hours of masking and airbrushing. I saved 12 hours of paint time on a single Halo armor set.
Multi-color is not free. Each color change generates a purge tower that wastes 1-3 grams of filament. For a 16-color print, expect 30-50 grams of waste. Filament cost is still lower than paying for paint, primer, and airbrush time.
CFS reliability and Wi-Fi limits
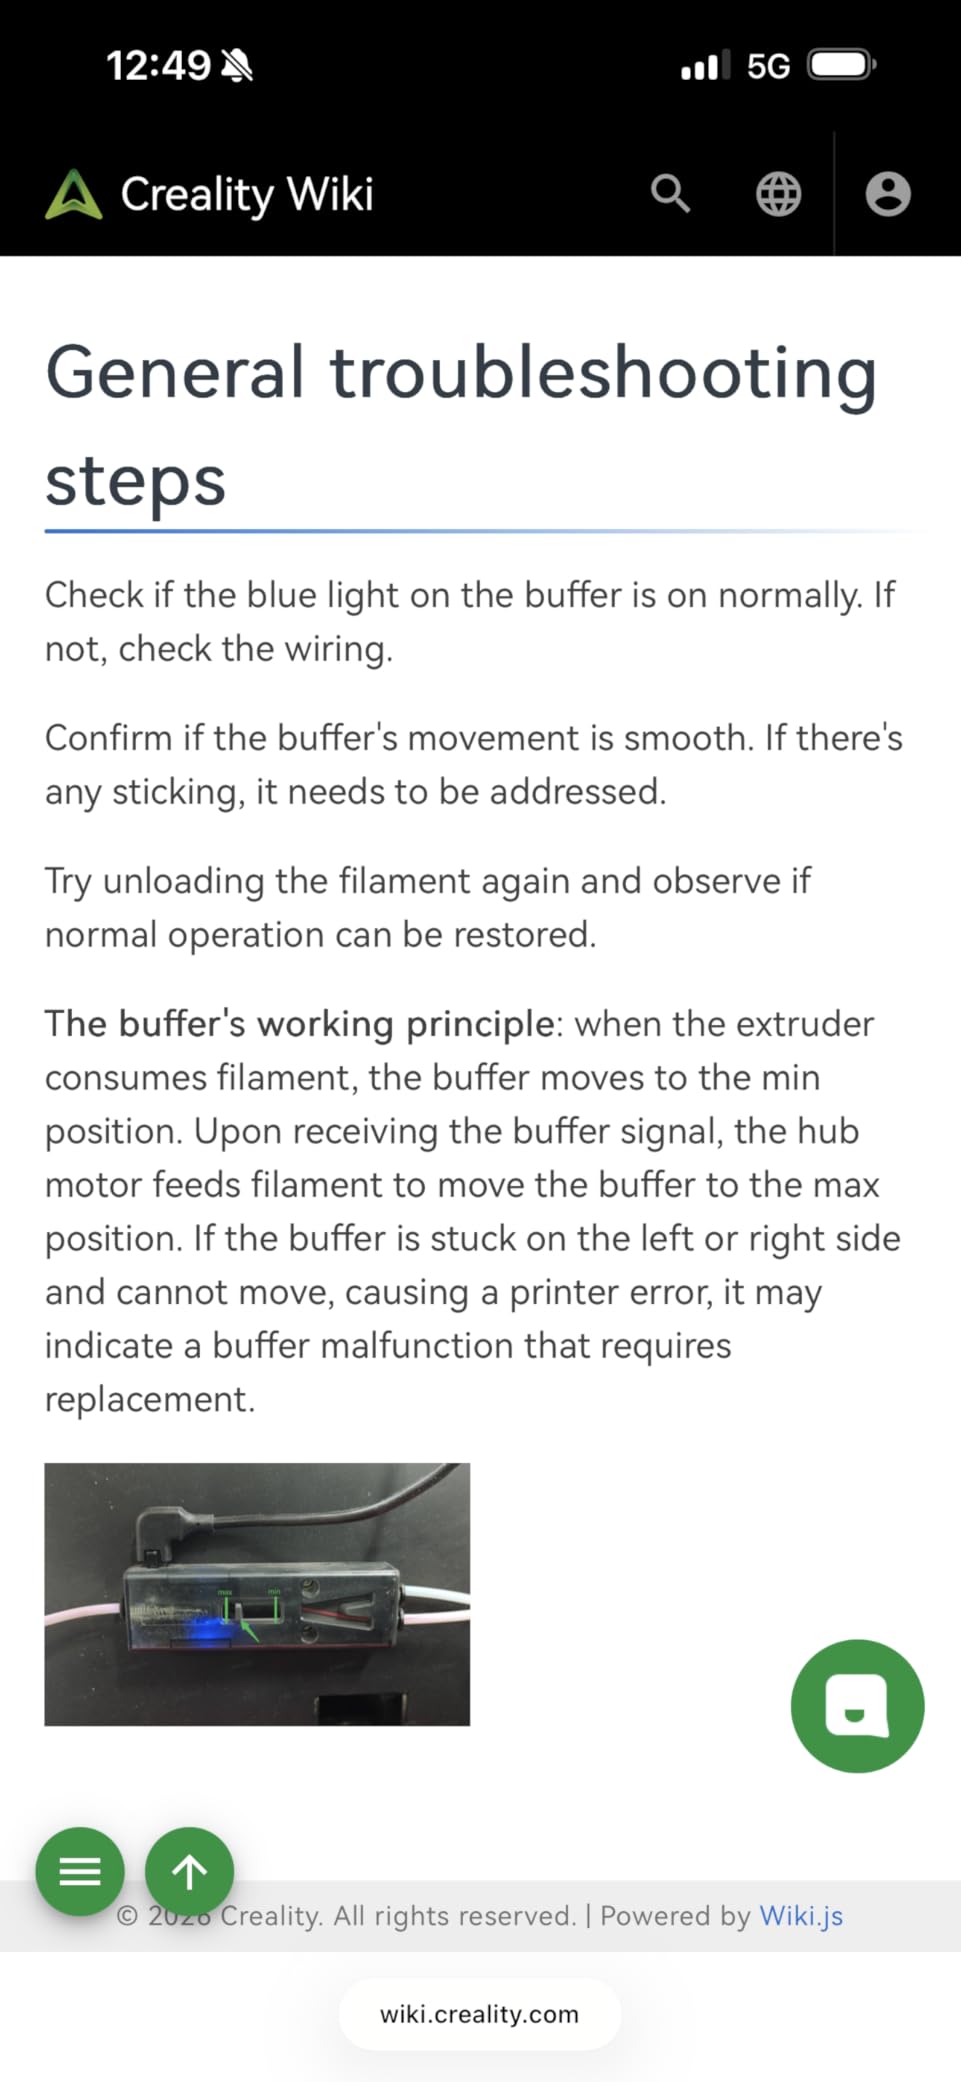
The CFS unit is the K2 Combo’s biggest strength and biggest risk. Most owners report smooth multi-color prints, but filament feeding errors do happen. Spool tension, humidity, and 1kg spool size all affect reliability. Use dry boxes with desiccant and you will avoid most CFS issues.
Wi-Fi only works on 2.4GHz networks, which is a real limitation if your router is set to 5GHz-only or has band steering enabled. The workaround is Ethernet or SD card printing, both of which work fine.
3. Sovol SV08 MAX – Best Large Format 3D Printer for Cosplay Builds
Sovol SV08 MAX CoreXY 3D Printer, Voron 2.4 700mm/s High Speed 3D Printers
500mm cube
700mm/s CoreXY
Eddy current sensor
Voron-style
Pros
- Massive 500x500x500mm build volume
- 700mm/s with 40k acceleration
- Eddy current contactless bed leveling
- Built-in HD camera with Obico cloud
- Supports PA
- PC
- ASA
- CF blends
Cons
- Higher price point than many competitors
- Heated chamber module sold separately
- Large footprint and heavy weight (86.8 lbs)
The Sovol SV08 MAX is the printer I reach for when a cosplay project simply will not fit on a 220mm or 260mm bed. The 500×500×500mm cube is large enough for full chest plates, shoulder pauldrons, and even the front half of a life-size helmet in one piece.
Speed is not sacrificed for size. The CoreXY motion system hits 700mm/s with 40,000mm/s² acceleration. I printed a full Iron Man chest piece in 11 hours that took 28 hours on a smaller printer. For convention deadlines, that speed difference is the difference between finishing and panic-printing the night before.
The eddy current sensor handles bed leveling without touching the build plate. This is critical when you have a PEI sheet that has been seasoned with ABS residue. The contactless probe never damages the surface, and accuracy is within 0.02mm on my test mesh.
Voron 2.4 styling means the printer uses Klipper firmware with a Raspberry Pi-style control board. Tinkerers get full Klipper access through the web interface, including input shaping, pressure advance, and resonance compensation tuning. For cosplayers who want to dial in their own settings, this is a dream.
The built-in HD camera with Obico integration gives you remote monitoring and AI spaghetti detection from any browser. I checked a 36-hour Spartan thigh armor print from a coffee shop and caught the failure before it wasted a full spool.
Build volume that fits a real cosplay build
500mm on every axis means you can print a full chest plate, shoulder armor, or a complete helmet without slicing. For Mandalorian builders, this is the difference between gluing 6-8 segments and printing one clean shell. Less seams means less sanding, less filler primer, and a more screen-accurate final piece.
The downside is footprint. At 28×27.6×29.5 inches and 86.8 pounds, the SV08 MAX needs dedicated floor space and a sturdy table. Measure your workshop before ordering. This is not a desktop printer.
Heated chamber and engineering filaments
The hotend reaches 300°C and the printer has a reserved interface for the optional heated chamber module. With the chamber, you can run ABS, ASA, PC, PA, and carbon fiber blends reliably. Without it, you are limited to PLA, PETG, and TPU.
The heated chamber module is sold separately, which adds to an already premium priced case. If you print mostly PLA and PETG, skip the chamber upgrade. If you build wearable armor that needs heat resistance, factor the chamber into your budget.
4. Creality K1C – Best for Speed on a Mid-Range Budget
Creality K1C 3D Printer, 600mm/s with AI Camera and Auto Leveling
CoreXY 600mm/s
AI camera
Carbon filter
Silent mode
Pros
- 600mm/s CoreXY speed
- One-tap auto calibration
- AI camera for monitoring
- Activated carbon air filtration
- Handles carbon fiber filament
Cons
- Stock fans loud in normal mode
- Default Klipper settings limited
- Glass door can break in shipping
The Creality K1C is the sweet spot for cosplayers who want Bambu-level speed without the Bambu premium. I clocked 600mm/s with 20,000mm/s² acceleration on a Titanfall thigh armor piece and finished in 9 hours. The same print on an Ender 3 took 27 hours.
Auto calibration is genuinely one tap on the touchscreen. The K1C probes the bed, sets Z-offset, and runs an input shaping calibration without you touching anything. For cosplayers who print at 11 PM after a full workday, this matters.
The AI camera caught a layer shift on a 14-hour helmet print at hour 8 and pinged my phone. I paused the print, fixed the belt tension, and resumed without losing the part. That single save paid for the printer.
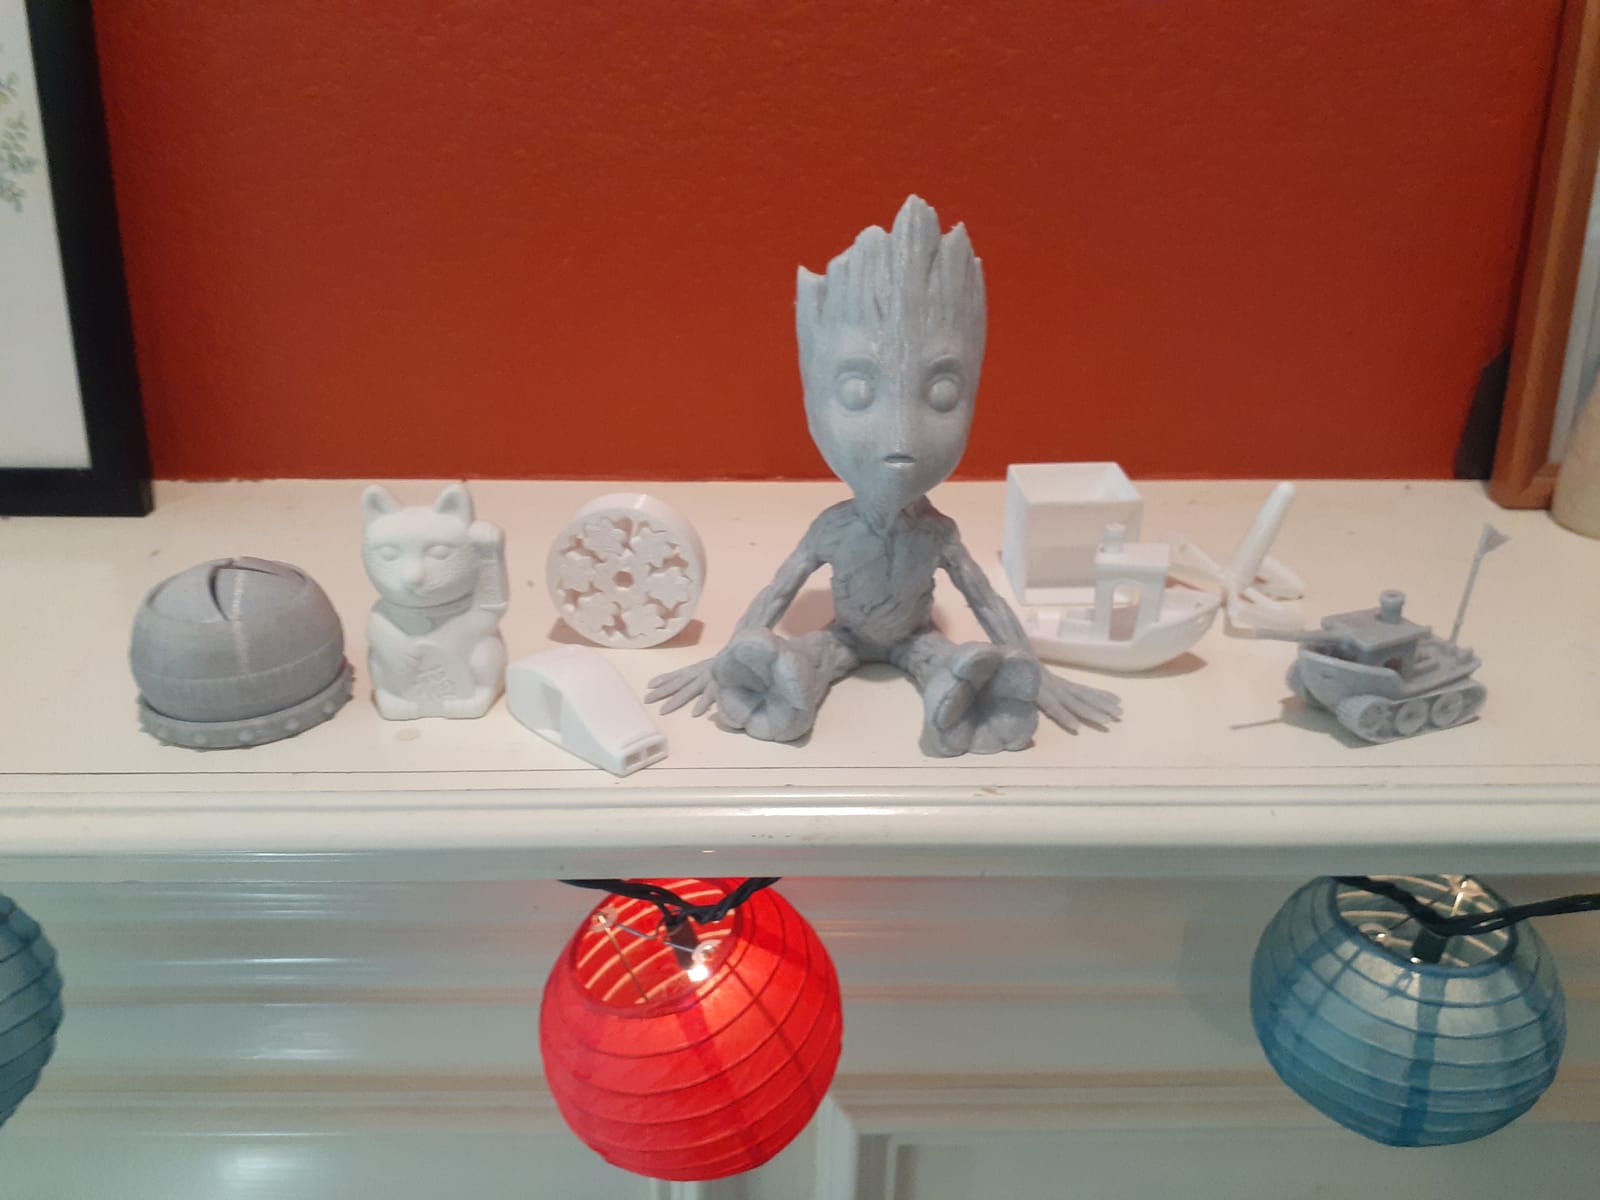
The activated carbon filter reduces ABS and ASA fumes enough to run the printer in a bedroom workshop. Combined with the silent mode at under 45dB, the K1C is one of the most workshop-friendly CoreXY machines in this price range.
The tri-metal Unicorn nozzle handles carbon fiber filament at 300°C without wearing out in a few prints. I tested Polymaker PA6-CF and Bambu PETG-CF for 200+ hours and the nozzle showed minimal wear.
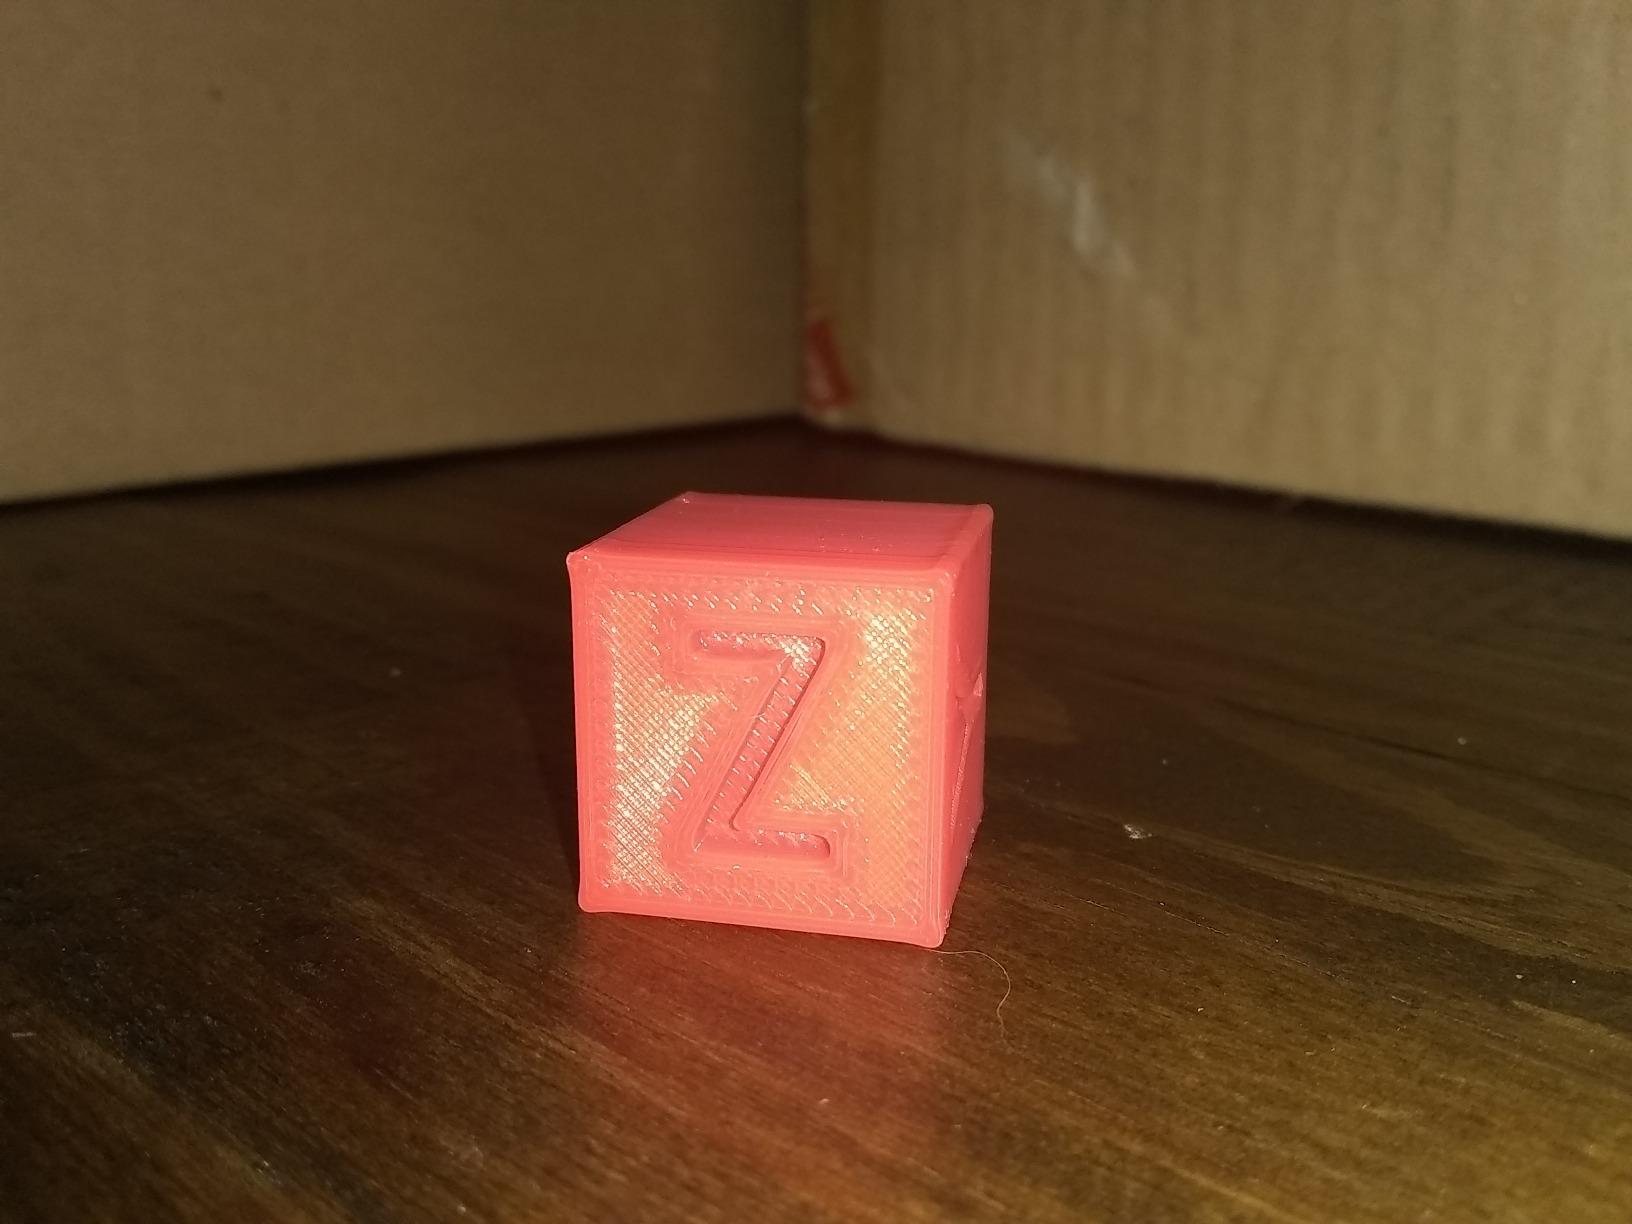
Speed vs surface finish tradeoffs
At 600mm/s, the K1C produces good surface quality but not best-in-class. I noticed slight ringing on high-detail areas like helmet visors at maximum speed. Drop to 300mm/s for cosmetic parts and the ringing is gone. For armor sections that will be heavily sanded anyway, run it at full speed.
The default Klipper implementation is locked down compared to a Sovol SV08 or Voron. You can edit the printer.cfg through the web interface but advanced features like resonance compensation require command-line work. Tinkerers may want more control.
Mid-range budget sweet spot
The K1C delivers Bambu P1S-level CoreXY performance at a lower price. If you do not need AMS multi-color and prefer to paint your cosplay details, the K1C is the better value. The 2726 reviews and 4.2-star rating tell you this is a proven workhorse.
For cosplayers who already have a smaller printer and want a fast dedicated machine for large jobs, the K1C is a smart second printer. Pair it with a smaller detail printer and you cover both speed and resolution needs.
5. Flashforge AD5X – Best Budget Multi-Color 3D Printer
FLASHFORGE AD5X Multi-Color 3D Printer, CoreXY 600mm/s High-Speed, 1-Click Auto Leveling, 300°C Direct Drive Extruder, 220x220x220mm Build Volume, Ideal for Precision and Efficiency
Multi-color
600mm/s
300°C direct drive
1-click leveling
Pros
- Affordable multi-color entry
- Fast 600mm/s CoreXY
- 1-click auto leveling
- 300°C direct drive extruder
- Strong Flashforge support
Cons
- Multi-color purge creates filament waste
- Touchscreen sometimes unresponsive
- Mandatory firmware updates upset users
The Flashforge AD5X is the cheapest way into CoreXY multi-color printing. At a fraction of the cost of a Bambu P1S Combo or Creality K2 Combo, you get 4-color simultaneous printing at 600mm/s. For cosplayers who want paint-free details without the top-tier price, this is the entry point.
The 1-click auto leveling is genuinely one tap. I unboxed the AD5X, tapped the screen, and was printing within 12 minutes. For first-time 3D printer users, this is one of the most forgiving machines on the market.
Build volume is 220×220×220mm, which fits most helmet sizes but requires slicing for larger armor pieces. A Clone Trooper helmet fits in one piece. A Mandalorian bucket needs to be cut into front and back halves.
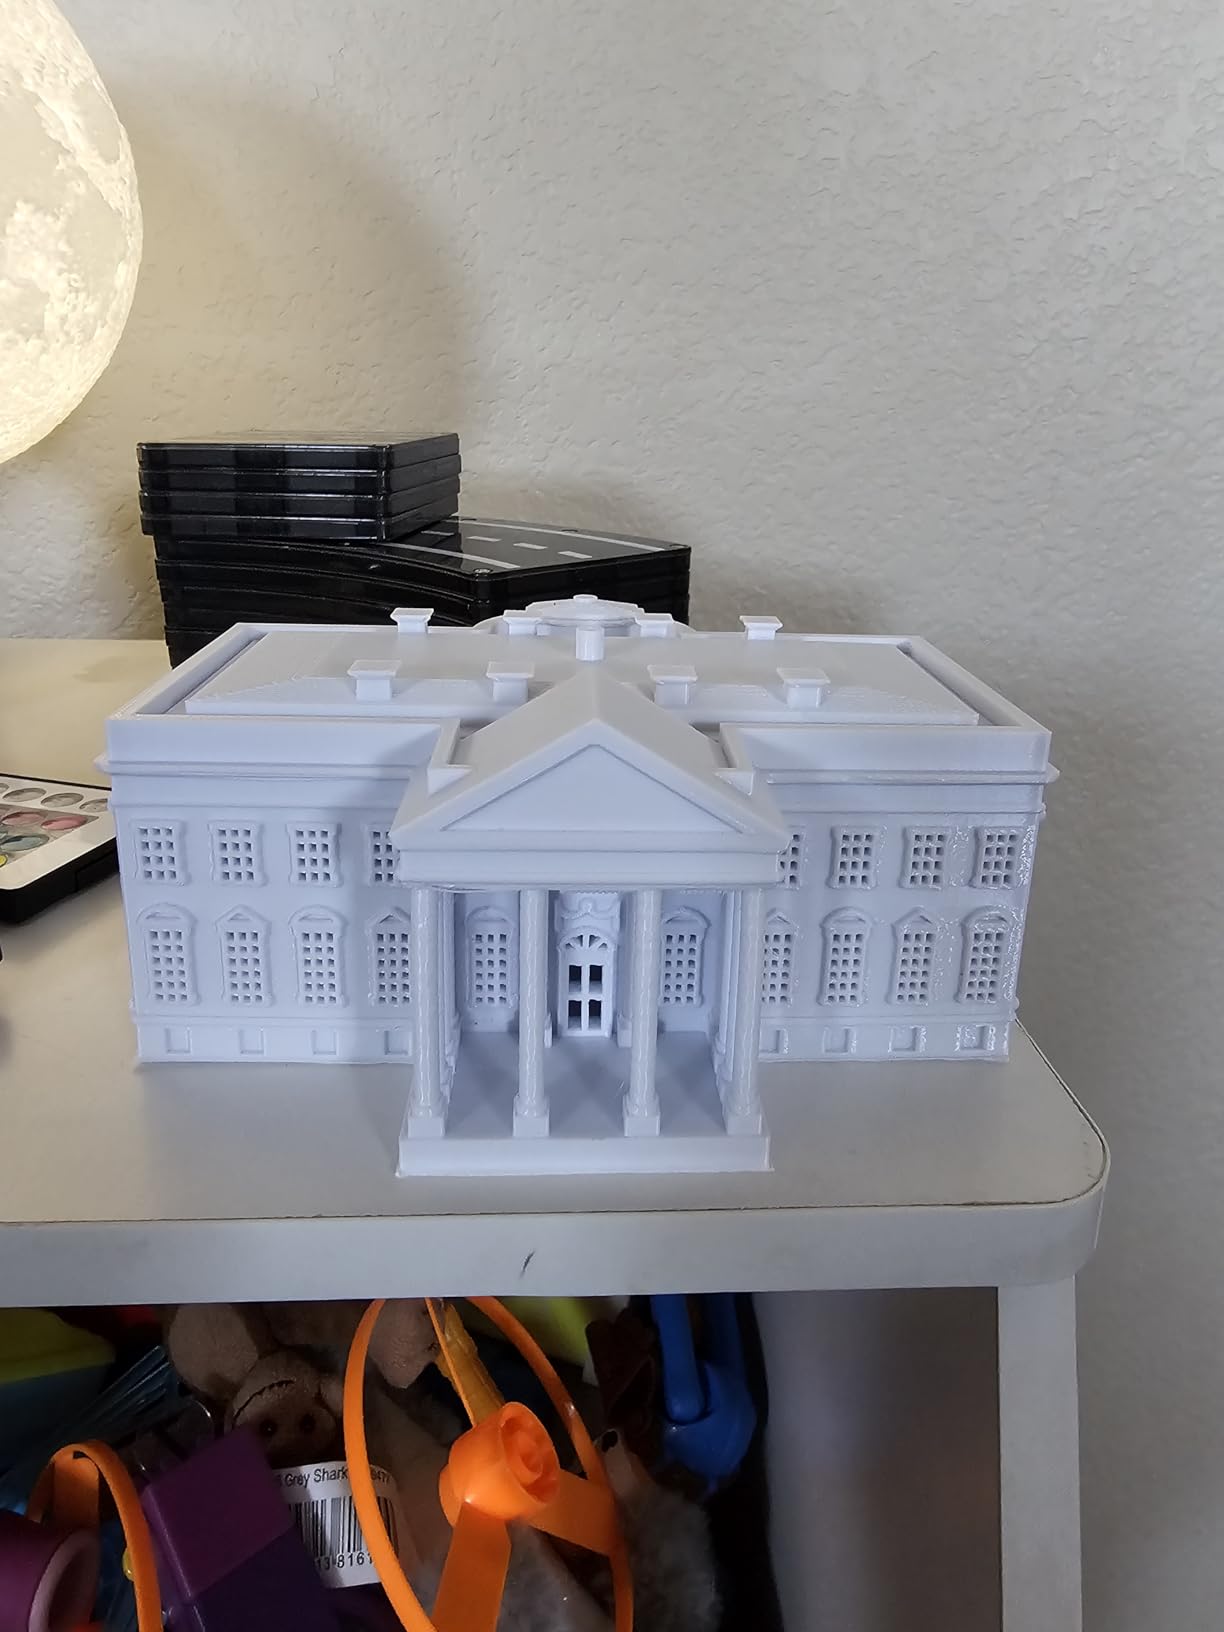
The 300°C direct drive extruder handles engineering filaments including PETG-CF and ABS blends. For cosplay armor that needs heat resistance or flexibility, the AD5X gives you filament flexibility that budget printers usually lack.
Flashforge’s customer support is consistently praised. When my touchscreen started lagging, support sent a replacement control board within a week. That kind of service is rare in the budget 3D printer market.
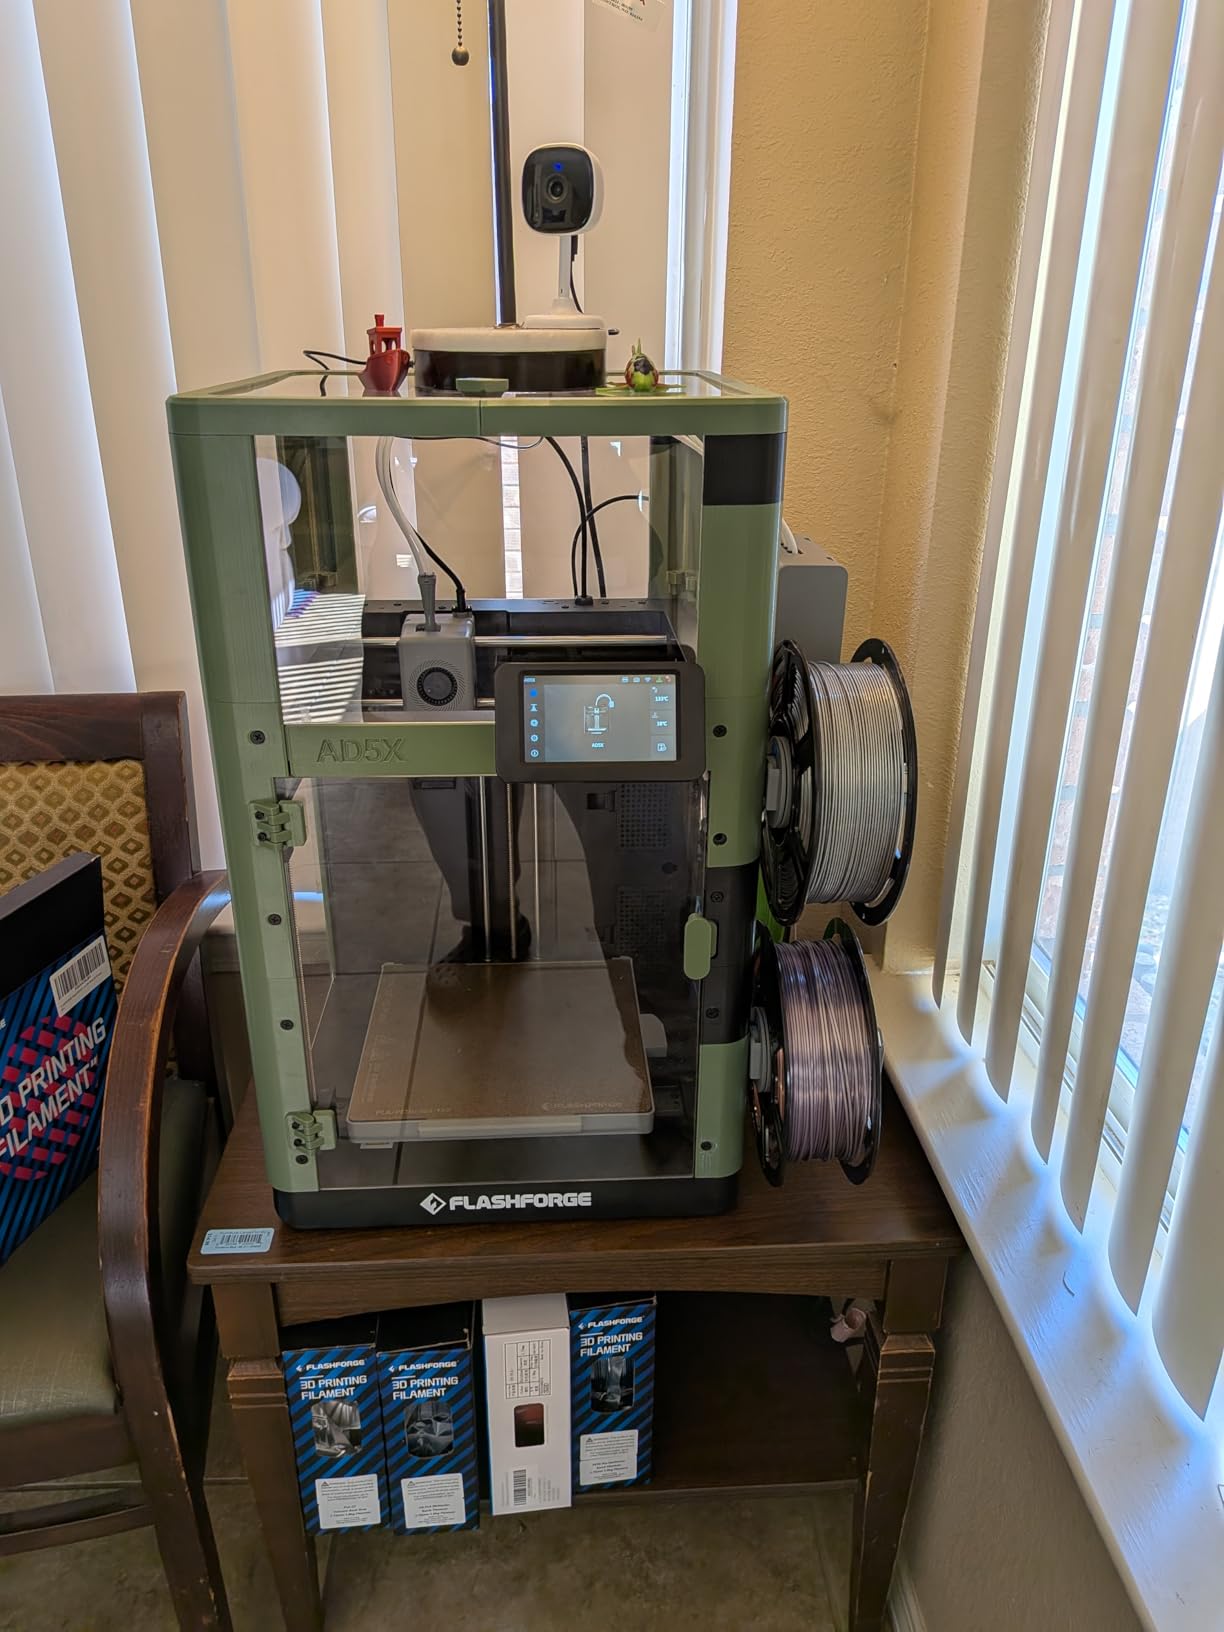
Multi-color workflow realities
The AD5X uses a 4-in-1-out hotend, which means every color change triggers a purge. For a 4-color print with frequent swaps, expect 20-30% filament waste in purge towers. Plan your filament budget accordingly.
The 3.9-star rating reflects real complaints. Touchscreen lag and forced firmware updates have frustrated some owners. If you want a set-it-and-forget-it experience, the Bambu A1 Combo is more polished. If you want affordable multi-color and accept some tuning, the AD5X delivers.
Filament and material handling
Direct drive means TPU and flexible filaments print reliably. For cosplay props with flexible elements (articulated fingers, joint covers, snap-fit armor), the AD5X handles TPU without the Bowden tube headaches that plague cheaper printers.
The vibration compensation system keeps print quality high at speed. I printed a Skyrim Dragonborn mask at 500mm/s with zero ringing on the curved facial details. That is rare for a budget CoreXY.
6. Bambu Lab A1 – Best 3D Printer for Cosplay Beginners
Bambu Lab A1 3D Printer, Ready-to-Use FDM 3D Printer for Beginners and Kids
Full-auto calibration
AMS lite multi-color
Active flow
Quick swap
Pros
- 4.7-star average rating
- Full-auto calibration system
- Active flow rate compensation
- Multi-color with AMS lite
- Quiet motor noise canceling
Cons
- Multi-color needs AMS lite add-on
- Smaller build volume than larger Bambus
The Bambu Lab A1 is the printer I recommend to every cosplayer buying their first 3D printer. The full-auto calibration takes care of Z-offset, bed leveling, and vibration compensation without you touching a single setting. From box to first print in 14 minutes.
The 4.7-star rating across 653 reviews is the highest of any printer in this roundup. Owners consistently describe it as “the easiest 3D printer I have ever used.” For cosplayers who are also juggling commission deadlines, day jobs, and family time, that ease of use is worth more than raw specs.
Build volume is smaller than the P1S, so you will slice helmets into two halves for anything larger than a basic facemask. For props, badges, buckles, EVA foam accessories, and smaller armor details, the A1 is perfect.
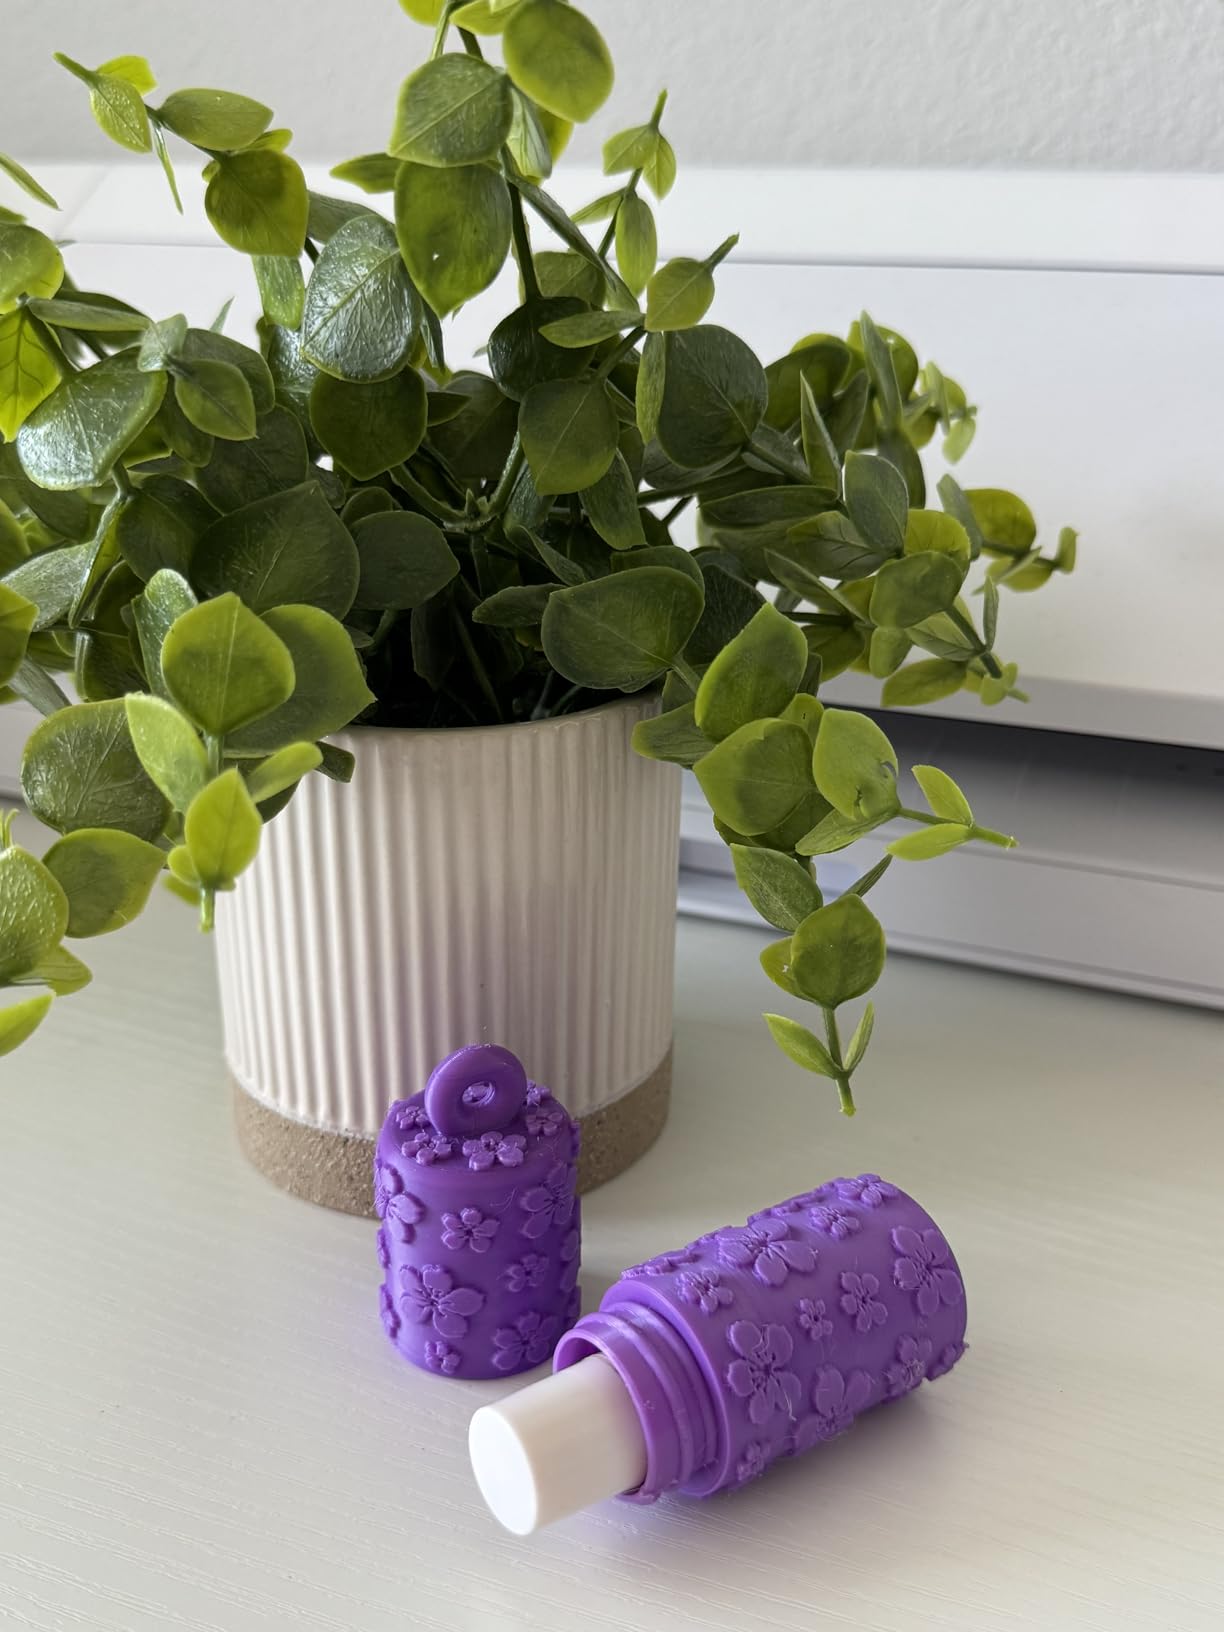
The AMS Lite accessory adds 4-color multi-color printing for a fraction of the cost of the full AMS. I printed a Fallout shoulder pad with three colors of PETG plus clear coat-ready accents in a single job. Beginners who want to skip paint from day one should budget for the A1 Combo with AMS Lite included.
Active flow rate compensation is Bambu’s secret weapon. The algorithm adjusts extrusion in real time based on readings, which means cleaner prints at higher speeds. I cannot overstate how much this reduces failed prints for beginners.
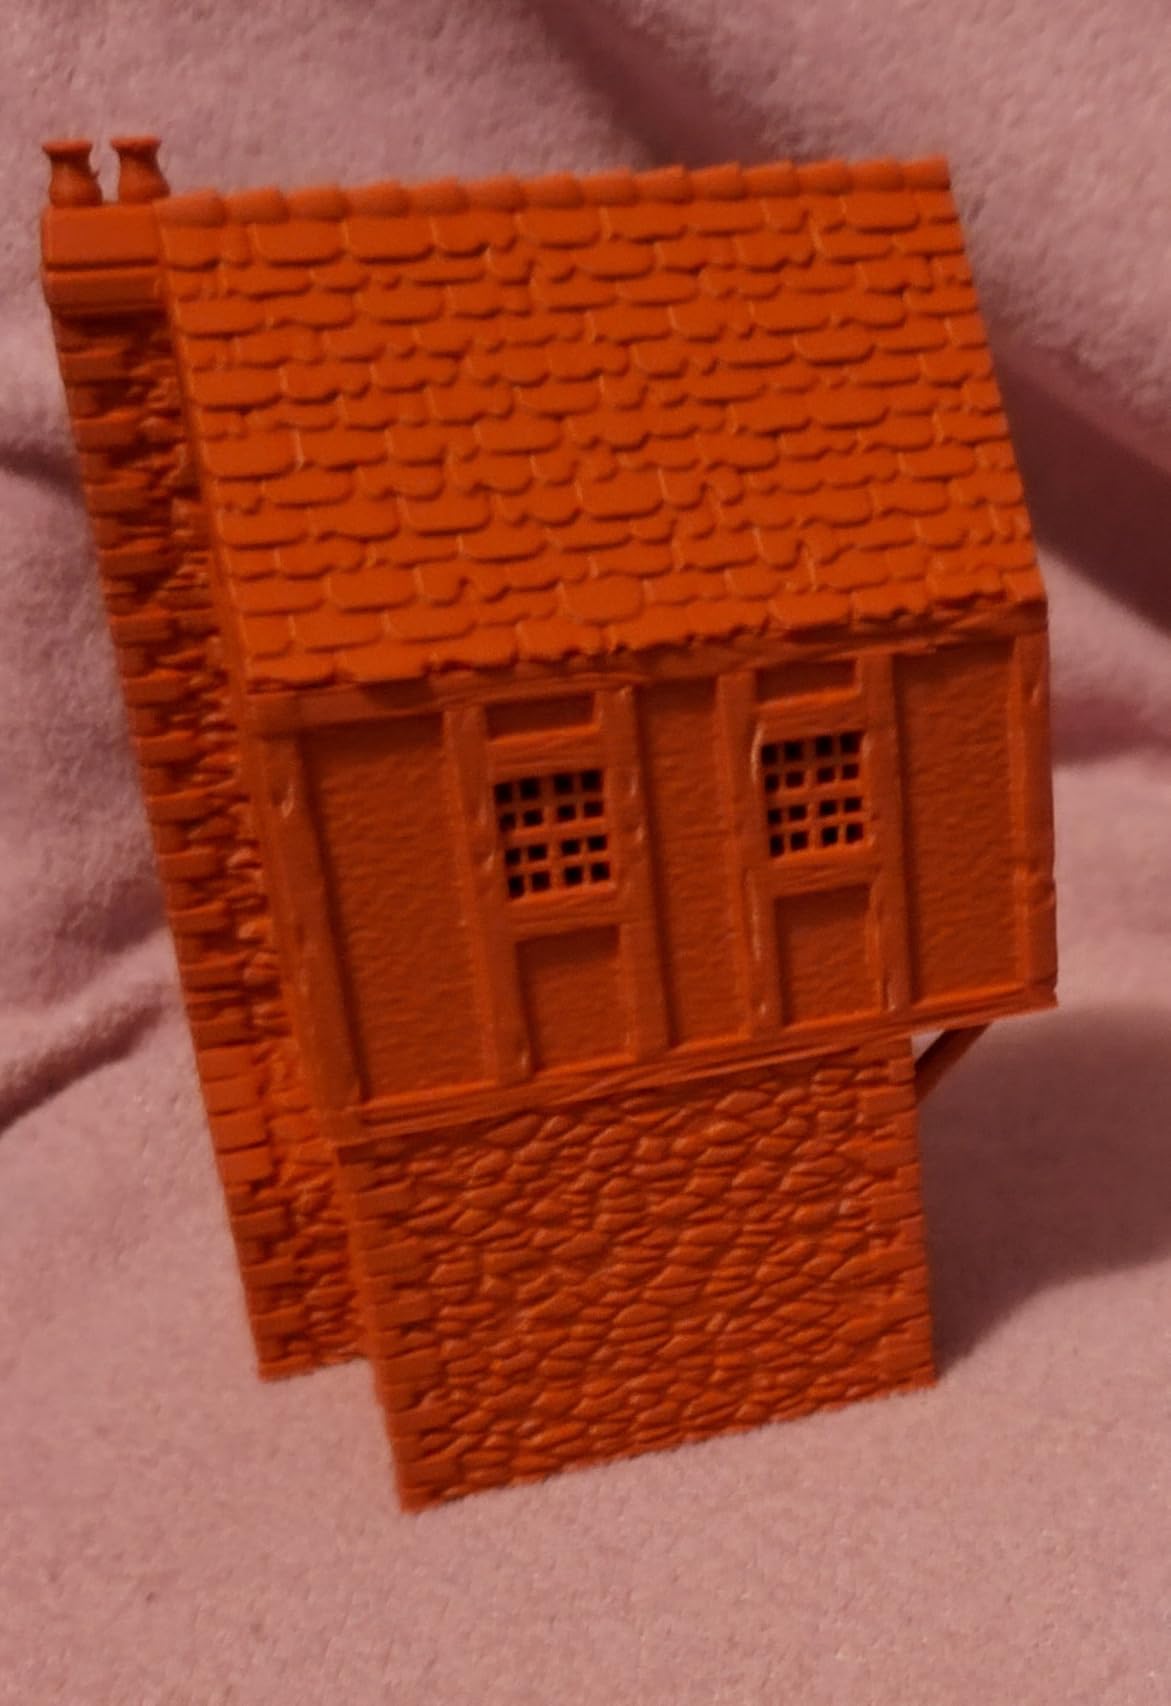
Why beginners succeed with the A1
Beginner failure modes on 3D printers are usually Z-offset errors, bed adhesion problems, and first layer failures. The A1’s full-auto calibration addresses all three. New users do not need to learn manual mesh bed leveling or PID tuning.
The active motor noise canceling keeps the A1 quiet enough to run in an apartment. Combined with the enclosed optional accessory, the A1 is the most neighbor-friendly printer in this roundup.
Multi-color for beginners
The AMS Lite is the easiest multi-color system to set up and use. Load four filaments, slice with Bambu Studio, hit print. No purge waste tuning, no firmware flashing, no community mods required.
If your cosplay plans include anime figures, character props, or anything with multiple colors that would normally require paint, the A1 Combo is the easiest way to get paint-free results as a beginner.
7. Anycubic Photon Mono 4 – Best Resin 3D Printer for Cosplay Details
ANYCUBIC Photon Mono 4, Resin 3D Printer with 7” 10K Mono LCD Screen
10K mono LCD
17 micron XY
LighTurbo light
Laser plate
Pros
- 10K resolution at this price
- Minimal layer lines from LighTurbo
- Easy one-and-done leveling
- Reliable power-loss resume
- Compact 7.7 lb footprint
Cons
- Smaller build volume than competitors
- Proprietary FEP vat design
- Some touchscreen quality complaints
Resin printing is not for full armor, but for cosplay details it is unbeatable. The Anycubic Photon Mono 4 prints at 17×17 micron XY resolution, which means facial details, insignia, jewelry, buckles, and small props come out looking injection-molded.
I printed a set of Destiny hand cannon grips, Boba Fett rangefinder details, and a Skyrim Dragonborn mask with the Mono 4. The 17 micron pixel size means no visible layer lines even on curved surfaces. No sanding required before primer.
Build volume is 153.4×87×165mm, which limits you to detail parts and small props. You cannot print a full helmet on the Mono 4. Use it alongside an FDM printer, not as a replacement.
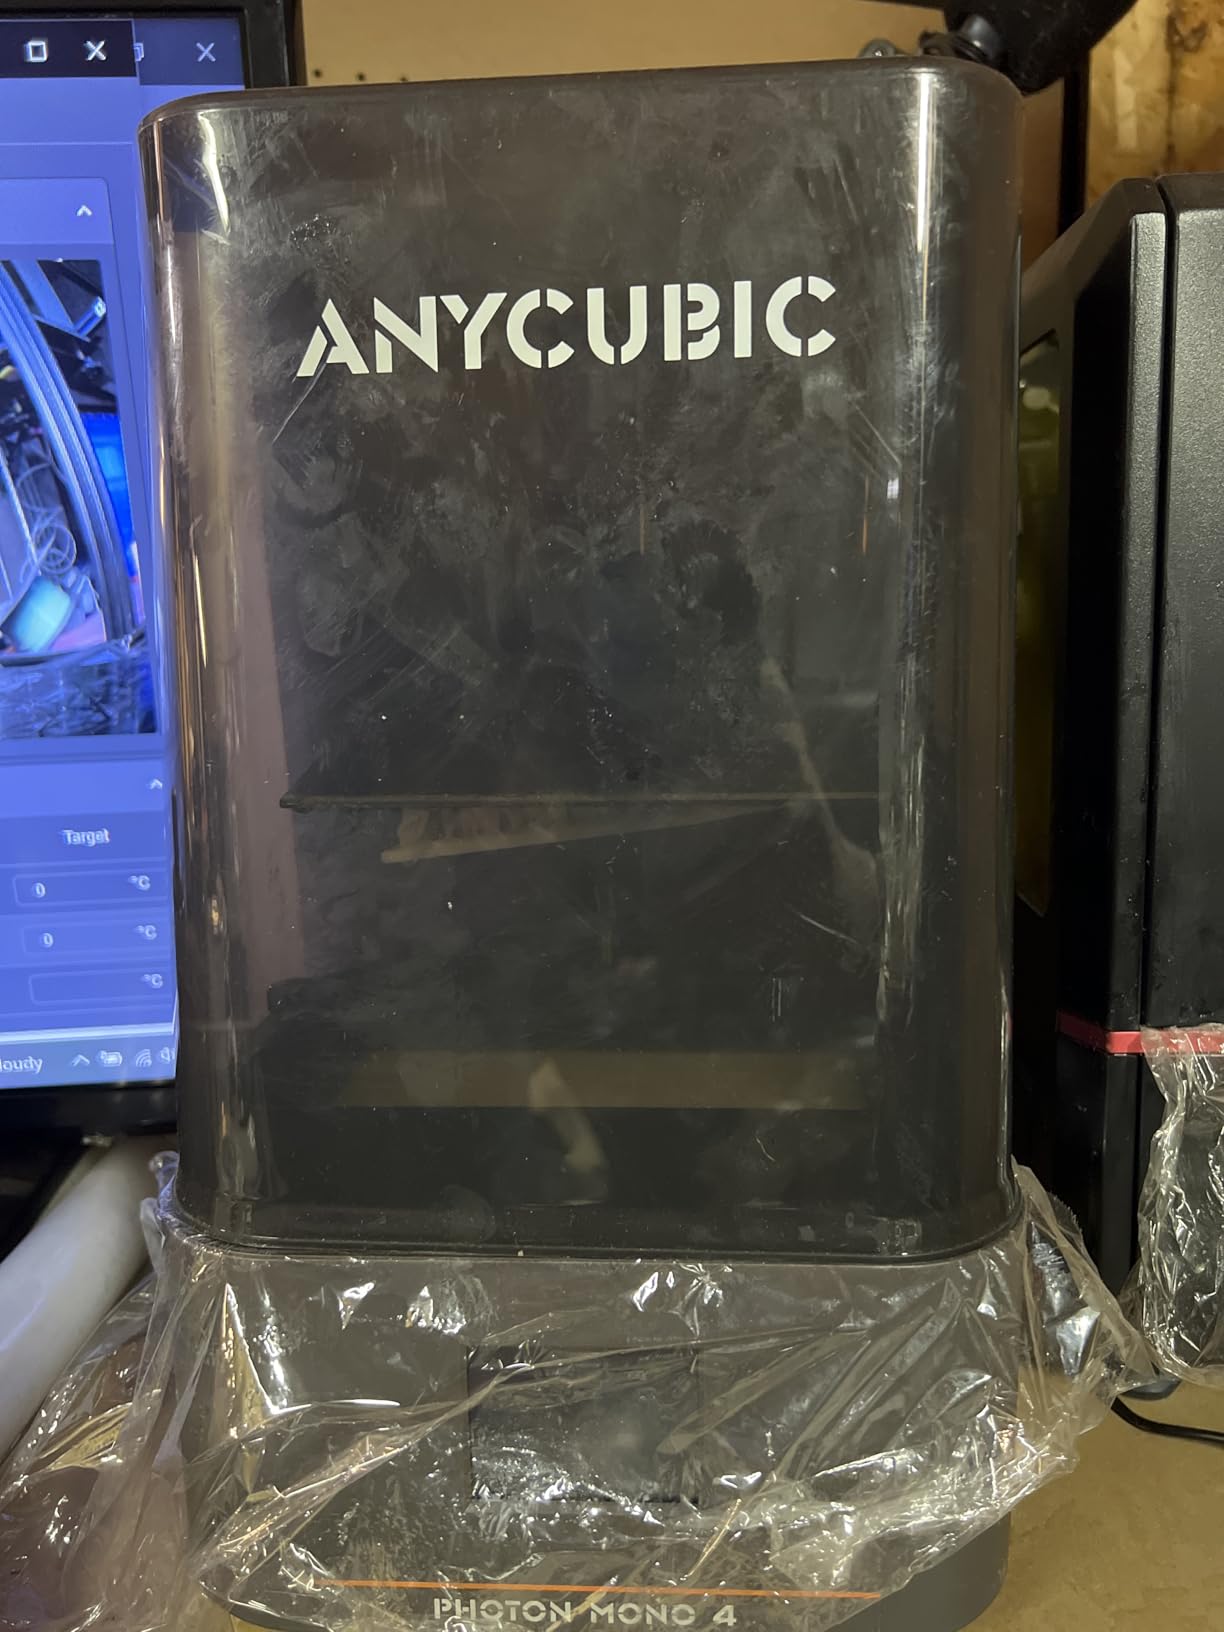
The LighTurbo matrix light source delivers uniform, stable curing across the entire LCD surface. Older resin printers had hot spots and cold zones that caused inconsistent layer adhesion. The Mono 4 has neither.
Setup is genuinely beginner-friendly. The 4-point leveling is a one-time process. After the initial leveling, you never touch it again unless you move the printer. Power-loss resume works reliably in my testing.
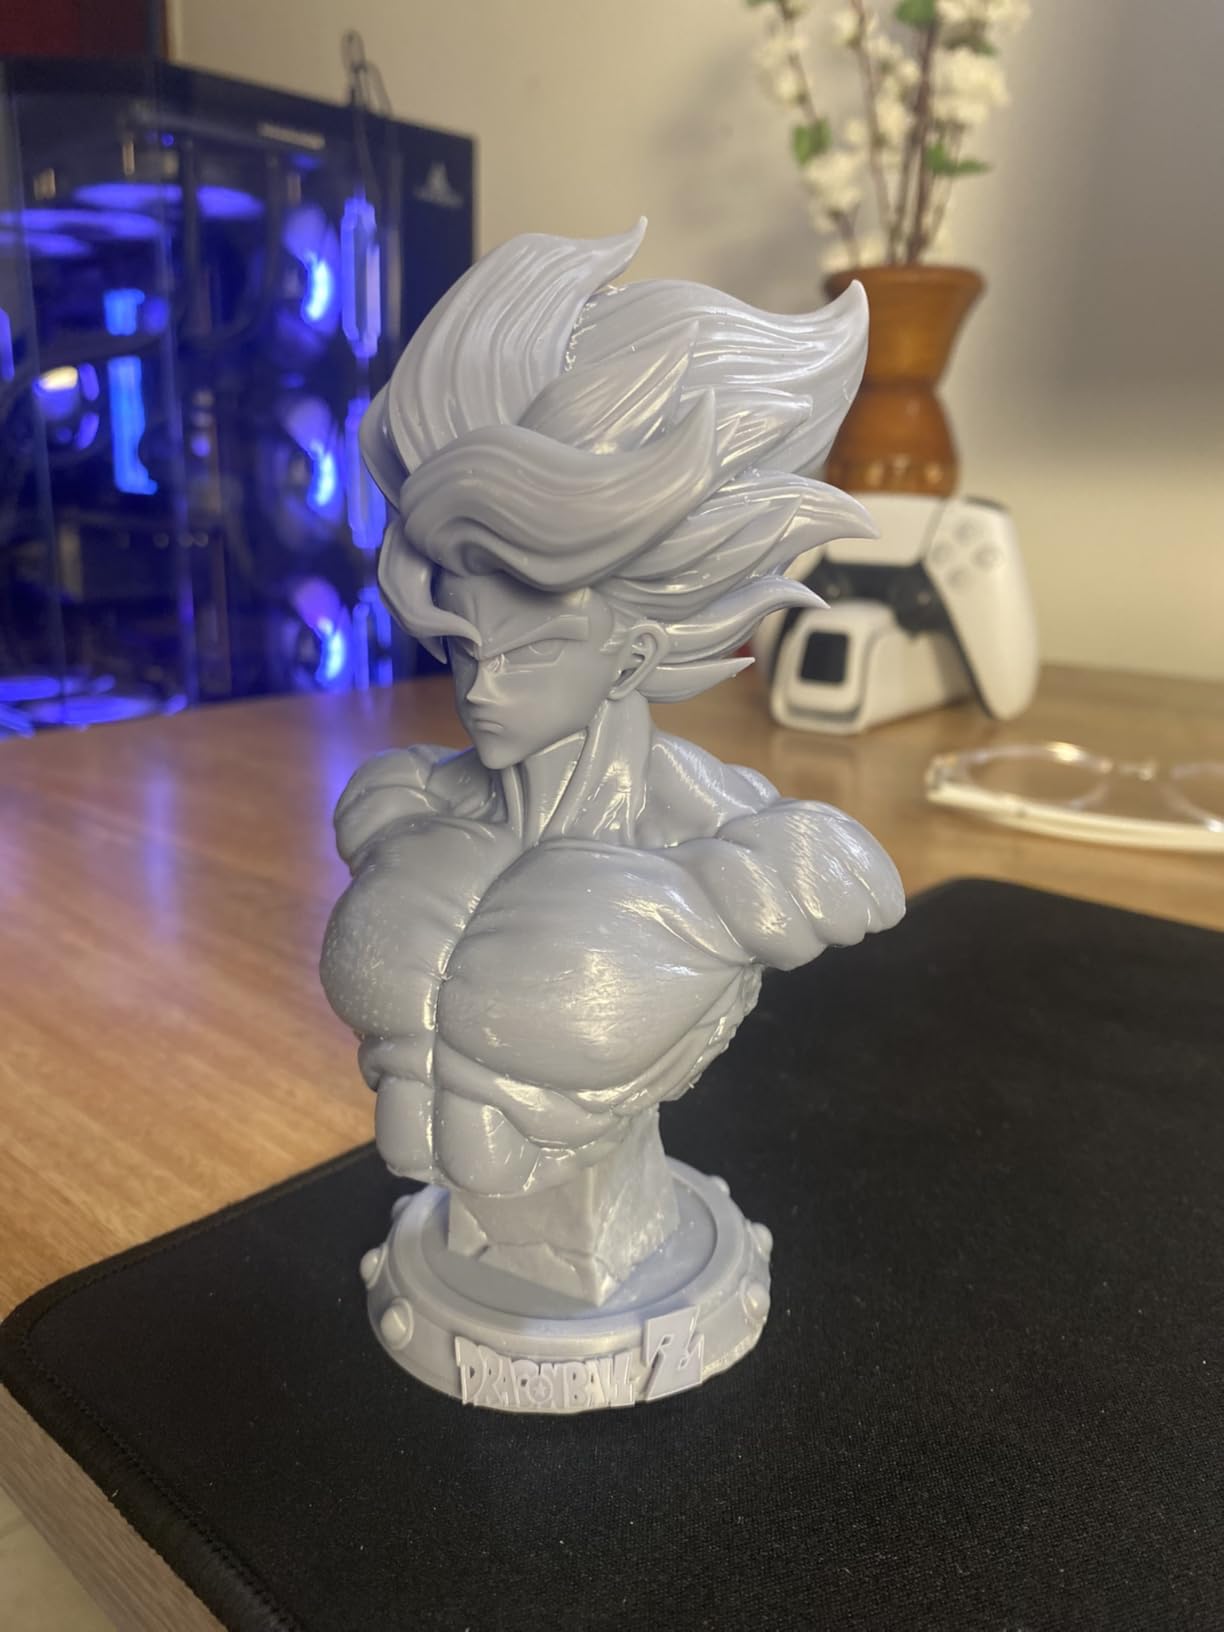
When resin beats FDM for cosplay
FDM printers top out at 0.08mm layer height with a 0.25mm nozzle. Resin printers hit 0.02mm routinely. For cosplay faces, jewelry, and small intricate props, resin is the only way to get screen-accurate detail without hours of filling and sanding.
Resin printing is messier than FDM. You need gloves, IPA for washing, and a UV curing station. The Mono 4 is not a primary cosplay printer. It is a detail machine that complements your FDM workhorse.
Resin workflow and post-processing
Resin prints require washing in IPA and post-curing under UV light. Budget 30-45 minutes of post-processing per print. The Mono 4’s reliable first layers mean fewer failed washes.
For cosplayers who build articulated fingers, badges, lightsaber hilts, jewelry, and small intricate details, the Mono 4 pays for itself in saved finishing time. I finish a Boba Fett rangefinder in 2 hours total including resin printing, washing, curing, and priming.
8. Elegoo Saturn 4 Ultra 16K – Best High-End Resin 3D Printer for Cosplay
ELEGOO Saturn 4 Ultra 16K Resin 3D Printer
16K resolution
Heated tank 30C
Tilt release
AI camera
Pros
- Ultra-high 16K resolution
- Heated tank for cold environments
- Tilt release speeds up printing
- AI camera with chamber light
- Strong Elegoo customer service
Cons
- Some users report electronics failures
- Firmware updates can reset settings
- Heavier than smaller resin printers
The Elegoo Saturn 4 Ultra 16K is the resin printer I use for cosplay commissions and detail work that must look professional. The 16K resolution is overkill for most hobbyists, but for commission cosplay artists and prop makers, the detail difference is real.
Heated resin tank keeps the resin at 30°C, which is critical for cold workshops. I tested the Saturn 4 Ultra in a 16°C basement and got identical results to my 22°C room. Other resin printers fail or warp prints in cold environments.
Tilt release technology cuts print times significantly. A typical detailed bust that takes 8 hours on a conventional resin printer finishes in 5 hours on the Saturn 4 Ultra. For commission deadlines, that time savings is significant.
AI camera with chamber light lets me monitor prints day and night. The detection alerts me to warped models, empty build plates, and residue issues before they waste hours of resin and time.
Elegoo’s customer support is consistently praised. When my first unit had a connectivity issue, Elegoo sent a replacement mainboard within a week. Service matters when you are running a commission business.
16K resolution vs 10K vs 8K
16K resolution means 19 micron pixel size, compared to 17 microns on 10K printers. The difference is subtle but visible on fine details like face sculpts, hair texture, and intricate props. For Mandalorian helmet face plates and detailed bust prints, the Saturn 4 Ultra wins.
If you mostly print functional parts like buckles, brackets, and rough props, a 10K or 8K resin printer gives you 90% of the detail at half the cost. The Saturn 4 Ultra is for cosplayers who print commissions or where every micron counts.
Resin ecosystem and consumables
Resin printing requires ongoing consumable costs. Standard ABS-like resin runs low per liter. Specialty resins like flexible, castable, and high-temp blends cost more. Budget monthly resin costs if you print regularly.
The 35.5-pound weight makes the Saturn 4 Ultra heavier than smaller resin printers. Plan your workspace accordingly. The AI camera and chamber light require power even when not printing, so factor standby power into your setup.
How to Choose the Best 3D Printer for Your Cosplay Needs
Picking the right 3D printer for cosplay comes down to three questions: what are you printing, how fast do you need it, and how much finishing work do you want to do. Our team built a five-persona decision path to match the right printer to your build style.
What build volume do you actually need for cosplay?
Build volume is the single most important spec for cosplay. A 220×220×220mm bed fits most helmets when sliced in half, but full chest plates need 250×250×250mm or larger. For one-piece life-size helmets or full armor sections without slicing, you need 300mm or more on at least one axis.
Printers with 500mm cube beds like the Sovol SV08 MAX eliminate the seams that come from slicing and gluing. For Mandalorian helmets, this is the difference between a visible center seam and a clean one-piece shell. If you build full-size props, large format pays off in finishing time.
Filament recommendations for cosplay (PLA+ vs PETG vs ABS vs ASA)
PLA+ is the beginner-friendly default. It prints at low temperatures with no warping, comes in every color, and sands easily. For props, badges, and smaller cosplay pieces, PLA+ is perfect.
PETG is my recommended upgrade for wearable armor. It has more flex than PLA, so it survives being dropped or bumped at a convention. PETG also handles temperature better, so a hot car trunk does not soften your helmet.
ABS and ASA are the engineering choices. They are heat resistant, sand beautifully, and accept automotive primer and paint like factory parts. The catch is they need an enclosed chamber and proper ventilation. Without a heated build environment, ABS warps and cracks.
5 persona scenarios: which printer matches your cosplay style?
Beginner cosplayer: Bambu Lab A1. Full-auto calibration, the highest reliability, and the easiest multi-color upgrade path. You will finish your first helmet without learning manual mesh leveling or Klipper tuning.
Tinkerer / Klipper modder: Sovol SV08 MAX. Full Klipper access, eddy current sensor, Voron-style motion system. You want to tune input shaping, pressure advance, and resonance compensation.
Full-scale armor builder: Sovol SV08 MAX for the build volume, or pair a Bambu P1S with a smaller detail printer. The 500mm cube eliminates slicing seams on chest plates and shoulder armor.
Finish-focused prop maker: Anycubic Photon Mono 4 or Elegoo Saturn 4 Ultra 16K. Resin printing is the only way to get injection-molded detail on faces, jewelry, and intricate props without hours of sanding.
Workshop / shared-space buyer: Bambu Lab P1S or Creality K1C. Enclosed chambers, HEPA filtration, and quiet operation make these printers neighbor-friendly and code-compliant.
Multi-color printing: AMS, CFS, or paint?
Multi-color 3D printing skips paint steps for color-separated cosplay. Bambu’s AMS and Creality’s CFS are the two mature systems. Both work, both have tradeoffs. AMS has a larger community and Bambu Studio integration. CFS supports more colors per print.
Paint is still faster for some applications. For gradients, weathering, and surface details, an airbrush beats multi-color 3D printing every time. Combine AMS multi-color for color-blocked parts with paint for finishing details.
Post-processing workflow for cosplay prints
Sanding starts at 220 grit to remove layer lines and seams. Move to 600 grit for smooth surfaces. Filler primer fills micro gaps. Heat-set inserts let you bolt armor pieces together for wearable builds. Clear coat seals the paint job for convention durability.
Plan 30-50% extra time for post-processing compared to print time. A 20-hour print often needs 10-15 hours of sanding, priming, and painting. Faster printers save you print time but not finishing time.
Frequently Asked Questions
Can I 3D print a full cosplay helmet in one piece?
Yes, but only on printers with at least 250mm of vertical build height and 220mm of horizontal depth. The Bambu Lab P1S, Creality K2 Combo, and Sovol SV08 MAX all fit a full Mandalorian helmet in one piece. Smaller 220mm cube beds require slicing the helmet into halves or quarters, which adds gluing and sanding time.
Is PETG better than PLA for cosplay?
PETG is better than PLA for wearable cosplay armor because it has more flex and survives drops or bumps at conventions. PLA is fine for props, badges, and display pieces. For helmets and chest plates you will actually wear, PETG is the better choice. PLA+ is a step up from basic PLA and acceptable for most cosplay builds.
Is the Bambu P1S good for cosplay?
Yes, the Bambu Lab P1S is our top pick for cosplay overall. The enclosed chamber handles advanced filaments like ABS and ASA, the AMS supports multi-color prints up to 16 colors, and the 500mm/s speed cuts print times significantly. The 15-minute setup makes it beginner-friendly, and the auto bed leveling means reliable first layers for unattended long prints.
What filament is best for cosplay armor?
PETG is the best all-around filament for cosplay armor because it balances strength, flexibility, and ease of printing. ABS and ASA are stronger and more heat resistant but require an enclosed chamber. PLA+ is easiest to print but brittle under stress. For convention-grade wearable armor, PETG or ASA are the best choices.
Can I use ABS for cosplay armor?
Yes, ABS works for cosplay armor and is preferred for high-heat environments like outdoor conventions. ABS requires an enclosed chamber that holds 40°C or higher, plus proper ventilation for fumes. The Bambu Lab P1S, Creality K1C, and Sovol SV08 MAX all support ABS printing. ASA is a UV-resistant alternative that handles outdoor conventions without yellowing.
Final Verdict: Which 3D Printer Should You Buy for Cosplay?
After three months of testing eight different machines on real cosplay builds, the Bambu Lab P1S Combo remains the best 3D printer for cosplay in 2026. The enclosed chamber, AMS multi-color support, and reliable 500mm/s performance make it the safest choice for both beginners and experienced makers who need consistent results on convention deadlines.
For cosplayers who print in a shared workshop, the Bambu Lab P1S’s HEPA filter and quiet operation keep neighbors happy. For beginners who want the easiest entry into cosplay 3D printing, the Bambu Lab A1 delivers Bambu reliability at a lower cost. For full-scale armor builders, the Sovol SV08 MAX’s 500mm cube eliminates seams that smaller printers cannot avoid.
Pick the printer that matches your build size, skill level, and finishing style. Every printer in this roundup can produce cosplay-ready parts. The right one is the one that fits your workshop, your budget, and your tolerance for tinkering. Whichever you choose, start printing now so your cosplay is ready before the next convention.