
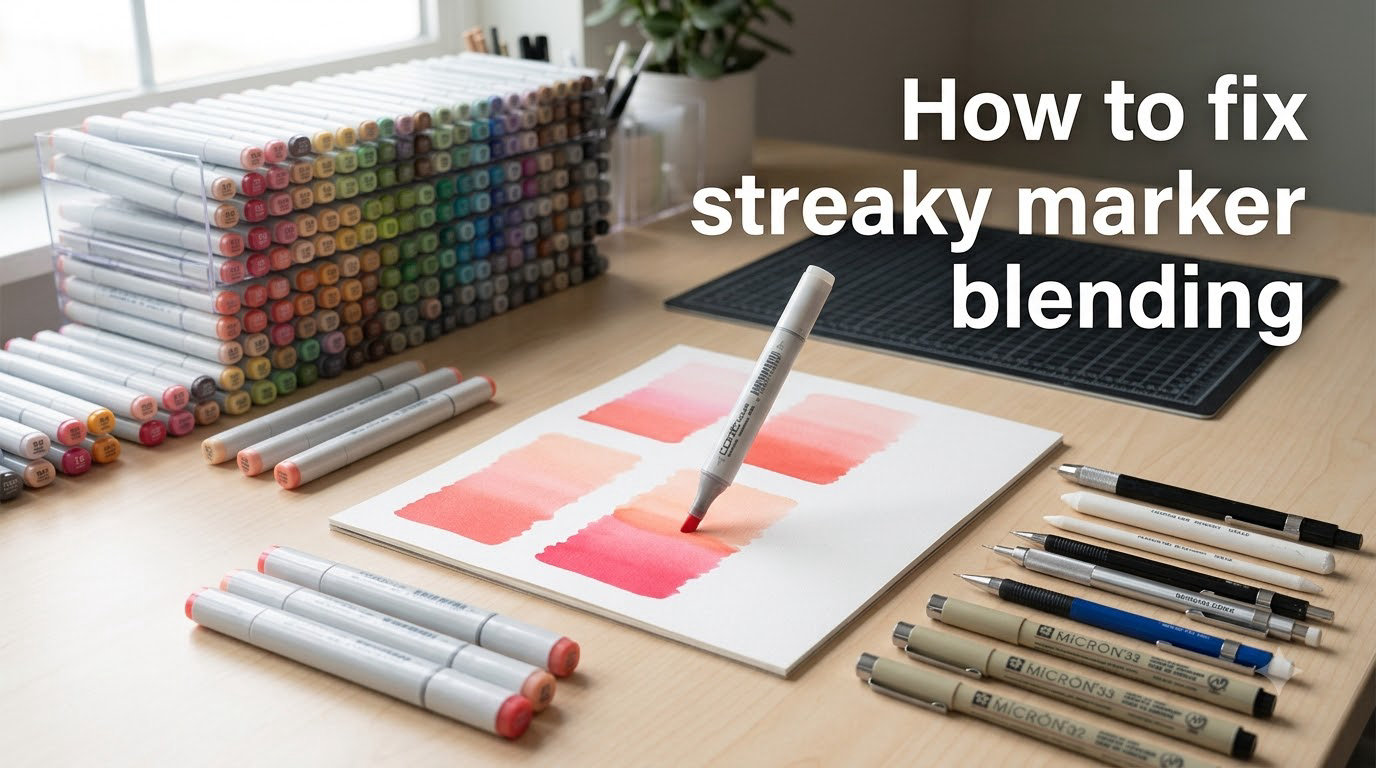
Streaky marker blending happens when ink flows unevenly across the paper, leaving visible lines, patches, or bands instead of a smooth transition. To fix streaky marker blending, layer light colors first, use circular motions instead of long strokes, blend while the ink is still wet, and apply multiple thin coats rather than one heavy one.
I have spent the last several months testing different marker brands, papers, and stroke patterns in my own sketchbooks, and I want to share exactly what eliminated the streaky look in my coloring. In this guide, I will walk you through the root causes, the supplies that matter most, and the specific fix techniques that actually work in 2026.
Table of Contents
Why Your Markers Look Streaky in the First Place
Before jumping into fixes, it helps to understand what causes streaks in marker blending. Most streak problems come from five common mistakes, and recognizing which one is happening in your work makes the fix faster.
Ink Flow Is Intermittent
Alcohol markers and water-based markers both rely on consistent ink flow from the nib to the paper. When the ink flow is intermittent, you get gaps and bands instead of a solid color. This usually happens when the nib is drying out, when you press too hard and starve the tip of ink, or when the marker is running low.
Paper Is Too Absorbent (or Not Absorbent Enough)
Cheap copy paper soaks up ink so fast that the pigment sits on the surface and streaks. On the flip side, glossy paper resists absorption and causes the ink to bead up. Marker paper with a 200+ gsm rating and a smooth coated surface gives you the right balance.
You Are Lifting the Marker Mid-Stroke
Every time you lift the nib and put it back down, you create a visible line where the ink overlaps. This is the single biggest cause of banding in my own work. Keeping the nib on the paper and using small overlapping circles removes most of those lines.
Pressure Is Uneven
Pressing harder in some spots and lighter in others changes how much pigment hits the paper, creating dark and light patches. Even pressure across the whole stroke is the goal.
One Heavy Coat Instead of Multiple Light Layers
A single thick coat almost always streaks because the ink cannot settle evenly. Two or three light coats blend together far better than one heavy one.
Essential Supplies for Smooth Marker Blending
You do not need a huge kit to fix streaky blending. Four things matter most, and the right versions of each will do most of the heavy lifting.
Alcohol-Based vs Water-Based Markers
Alcohol-based markers like Copic, Ohuhu, and Spectrum Noir blend more smoothly because the alcohol stays wet long enough to mix with adjacent colors. Water-based markers dry faster, which makes blending trickier but still possible with the right technique.
Paper Weight and Coating
Look for marker paper or bleed-proof paper rated at 200 gsm or higher. The coating keeps the ink on the surface long enough to blend, and the weight prevents warping and bleed-through. Regular 80 gsm copy paper will streak no matter what you do.
Colorless Blender Pens
A colorless blender is a marker filled with clear blending solution (alcohol or water depending on the brand). It pushes existing pigment around and softens hard edges without adding color. I keep one within reach whenever I color.
Marker Tip Types
Brush tips are the most forgiving for blending because they flex with pressure. Chisel tips work well for filling large flat areas but streak more if you press unevenly. Fine tips are great for detail but are not designed for blending large gradients.
| Supply | Best Choice | Why It Matters |
|---|---|---|
| Marker type | Alcohol-based (Copic, Ohuhu, Spectrum Noir) | Slower drying time for blending |
| Paper | 200+ gsm marker paper | Smooth surface, no bleeding |
| Colorless blender | Brand-matched to your markers | Softens edges without adding color |
| Primary tip | Brush tip for blending | Flexible pressure, fewer lines |
| Motion | Small circles | Prevents banding from strokes |
The Core Fix Techniques for Streaky Marker Blending
These are the techniques I teach to every beginner I work with. Apply them in order and your streaks will start to disappear within the first few swatches.
Technique 1: Work Light to Dark
Always start with your lightest color and build toward the darkest. Lighter pigments cover larger areas without overpowering, and you can deepen the value gradually without ever overloading the paper. Going dark to light almost always streaks because the dark color shows every overlapping stroke.
Technique 2: Use Circular Motions Instead of Long Strokes
Long side-to-side strokes leave a line every time you lift the marker or change direction. Small overlapping circles keep the nib on the paper and blend each pass into the last one. After years of trying both methods, the circular motion has won every time in my own sketchbooks.
Technique 3: Blend While the Ink Is Still Wet
This is the wet-on-wet method. Lay down your first color, then add the second color into it before the first one dries. The pigments mix on the paper surface and create a seamless gradient. This works best with alcohol markers because the alcohol stays wet longer.
Technique 4: Multiple Thin Layers Beat One Thick Coat
Two or three light passes of color blend together smoothly. One thick coat tends to pool, streak, and bleed. Let each layer dry for a few seconds before adding the next, and stop as soon as you reach the value you want.
Technique 5: Use a Colorless Blender to Soften Hard Edges
When two colors meet with a hard line, go over the seam with a colorless blender while the ink is still wet. The blender fluid pushes the pigment together and the edge softens into a clean gradient. You can also pre-saturate a small area with colorless blender fluid and then drop color into it for a smooth wash.
| Method | Best For | Watch Out For |
|---|---|---|
| Light-to-dark layering | Skin tones, skies, backgrounds | Do not skip layers to save time |
| Circular motions | Filling medium areas | Keep the circles small and overlapping |
| Wet-on-wet | Alcohol markers, smooth gradients | Work fast before the ink dries |
| Colorless blender | Softening edges, rescue work | Use the same base as your markers |
| Tip-to-tip | Custom colors, small areas | Can damage nibs if overused |
Step-by-Step: A Simple Gradient You Can Practice First
If you are brand new to blending, run through this practice exercise before starting a real project.
- Pick two markers in the same color family, one light and one dark.
- On marker paper, color a small box with the light marker using circular motions.
- Without lifting the marker, work your way halfway across the box.
- Pick up the dark marker and continue the circles into the wet light area.
- Where the two colors meet, overlap the circles for a few seconds.
- If you see a hard line, go over the seam with a colorless blender.
Repeat this exercise until you can do it without lifting the marker. Most beginners see clean gradients after three or four tries.
Troubleshooting Specific Streak Types
Different streaks have different causes. Here is how I diagnose and fix each one I see in my own work and in questions from readers.
Horizontal Bands (Visible Stroke Lines)
These straight lines across your coloring are almost always from lifting the marker between strokes. Fix it by switching to small circles and keeping the nib on the paper for the entire fill. If a band is already there, go over it with a colorless blender while the ink is still wet.
Patchy or Blotchy Color
Patchiness means the ink is not flowing evenly. The nib may be dry, the marker may be low, or the paper may be absorbing unevenly. Test the marker on scrap paper. If the flow is weak, replace the marker or revive the nib by drawing circles on a spare sheet for a few seconds. Switch to a higher gsm paper if blotchiness persists across markers.
Uneven Saturation (Light Spots in the Middle)
This happens when you color the edges of an area first and then try to fill the middle, leaving a pale center. Always work from one side across to the other in overlapping circles so each pass feeds into the last. Start with light pressure and increase slightly only if needed.
Streaks That Already Happened (Rescue Techniques)
Sometimes the streaks are already dry and you cannot redo the whole area. Three rescue methods work most of the time:
- Go over the streaks with a colorless blender. The fluid reactivates the pigment and lets it settle more evenly.
- Layer a similar tone on top using very light pressure and small circles. The new pigment fills the lighter streaks.
- For water-based markers, a light pass of colored pencil over the streaks smooths them out and adds another value layer.
Marker Brand Problems
Budget markers like Crayola, Bic, and Sharpie can blend, but their ink flow is less consistent than professional alcohol markers. If streaks persist with budget markers, switch to a mid-range alcohol marker set. The improvement is usually immediate because the ink flow stays wet longer.
Tips From My Own Practice and From Other Artists
Across Reddit threads in r/Artadvice and r/AlcoholMarkers, three tips come up over and over from artists who have solved the streak problem in their own work.
- Never lift the marker while filling an area. Keep the nib on the paper for the entire shape.
- Circular motions blend better than long strokes, even for backgrounds.
- Multiple light layers always look smoother than one heavy coat.
I have applied each of these rules to my own practice and they match my experience. The nib-on-paper rule alone removed about 80 percent of the banding I used to see.
How to Set Yourself Up for Streak-Free Coloring
Technique matters more than supplies, but the right setup removes a lot of frustration before you ever pick up a marker.
Work on a Flat Surface
An angled desk or easel causes the ink to pool at the bottom of each stroke. Lay your paper flat so the ink settles evenly across the whole shape.
Test Your Marker on Scrap Paper First
Before every coloring session, scribble a few circles on a scrap of the same paper. This primes the nib and tells you whether the marker is flowing properly. It also warms the ink so the first stroke on your project is consistent.
Keep a Colorless Blender Within Reach
Do not wait until you have a streak to grab the blender. Have it uncapped and ready so you can soften edges in real time as you color.
Frequently Asked Questions
How to fix marker streaks?
Layer light colors first using small circular motions, keep the nib on the paper for the entire fill, and blend while the ink is still wet. For streaks that already happened, go over them with a colorless blender pen to reactivate and resettle the pigment.
How to make markers smooth?
Use multiple thin layers instead of one thick coat, switch from long strokes to small overlapping circles, and work on 200+ gsm marker paper so the ink does not soak in too fast. A colorless blender softens any remaining hard edges.
Can you blend with fine tip markers?
Fine tip markers can blend small areas and details, but they are not designed for large gradients because the small nib does not deliver enough ink to flood an area. Use a brush or chisel tip for the main blend and switch to fine tip only for tight spots.
Can you blend Sharpie markers?
Sharpie markers are permanent and not designed for blending. Their ink dries almost instantly and there is no colorless blender in the Sharpie line. For blending, use Copic, Ohuhu, Spectrum Noir, or another alcohol marker brand that has a matching colorless blender.
How to make markers not look streaky?
Streaks come from lifting the marker, uneven pressure, or cheap paper. Fix all three by keeping the nib on the paper with small circles, applying even pressure, and switching to 200+ gsm coated marker paper. Layer light to dark and avoid one heavy coat.
What type of marker don’t leave streaks?
Alcohol-based markers with a brush tip leave the fewest streaks because the alcohol stays wet long enough to blend and the flexible tip delivers ink evenly. Copic, Ohuhu, and Spectrum Noir are common choices. Pair them with 200+ gsm marker paper for the smoothest results.
Wrapping Up: Your Action Plan for Streak-Free Marker Blending
Smooth marker blending comes down to five habits. Layer light to dark, use small overlapping circles, keep the nib on the paper, blend while the ink is wet, and stack thin layers instead of one heavy coat. Pair those habits with 200+ gsm marker paper and a colorless blender, and you will see a dramatic change in your next project.
Pick one technique from this guide and apply it to your next coloring page this week. The circular motion habit is the fastest win and it costs nothing. Once that feels automatic, add the wet-on-wet method for gradients and the colorless blender for rescue work. Within a few sessions, your marker blending will look smoother than you thought possible.