
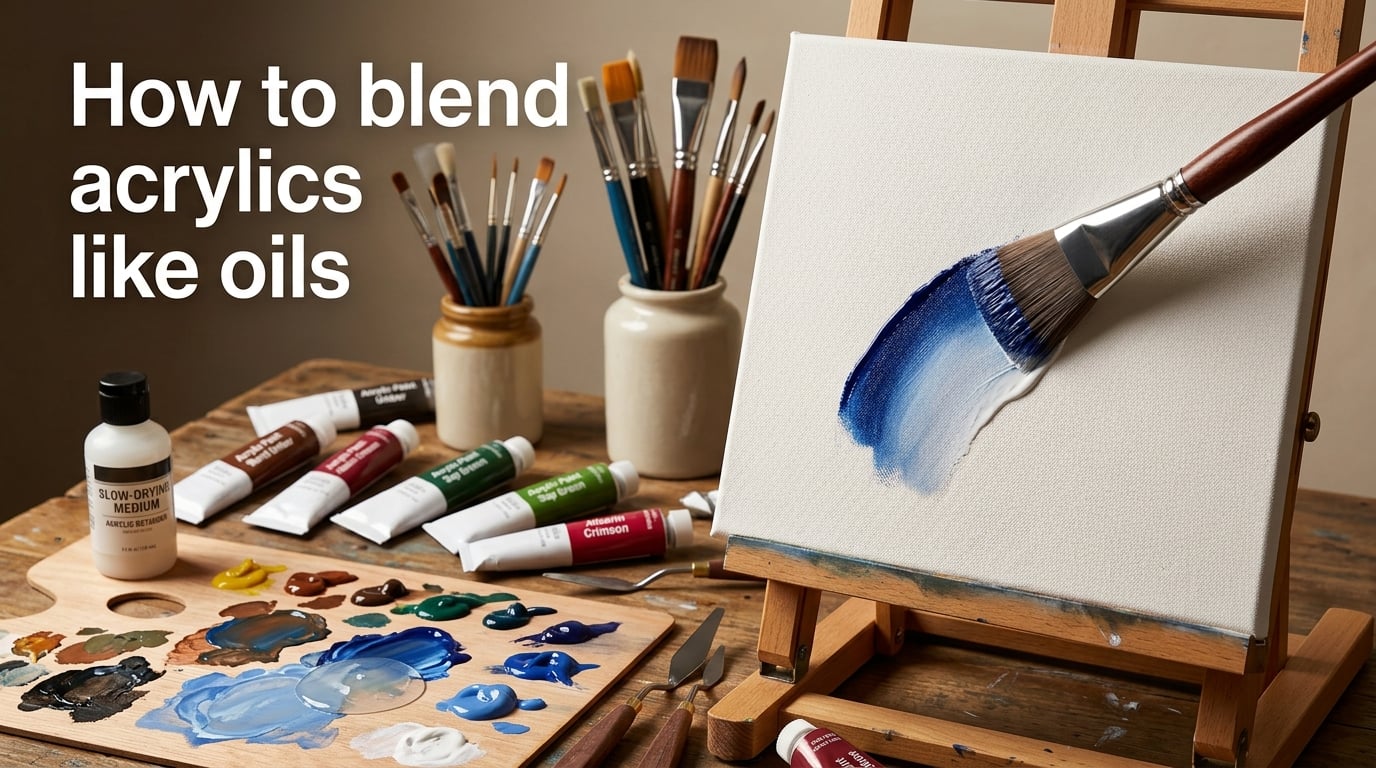
To blend acrylics like oils, you need to slow down acrylic’s fast drying time with a slow-drying medium and keep your surface damp so you can work wet-on-wet for smooth, gradual transitions. This technique gives you the buttery blending and rich depth of oil painting while using water-based acrylics that clean up easily and don’t require toxic solvents.
Many artists love the look of oil paint but switch to acrylics for practical reasons like ventilation, health concerns, or convenience. The good news is that with the right supplies and methods, your acrylic paintings can be nearly indistinguishable from oils. In this guide, I’ll walk you through every technique you need to master oil-like blending with acrylics.
Table of Contents
Why Acrylics Dry Differently Than Oils
Understanding why acrylics behave differently from oils is the foundation for learning how to blend acrylics like oils. The difference comes down to chemistry.
Oil paints dry through oxidation, a slow chemical reaction with air that takes days or even weeks. This extended working time is what allows oil painters to blend and rework indefinitely on the canvas. Acrylics, on the other hand, dry through water evaporation, which happens in minutes.
That speed is great for layering quickly but terrible for blending. When the paint skin forms, you get hard edges, visible brush strokes, and rough transitions instead of the silky gradients oils are known for.
The key insight is that you don’t need to change your paint’s chemistry. You just need to extend its working time. Once you do that, acrylic blending becomes remarkably similar to oil blending.
Essential Supplies for Oil-Like Acrylic Blending
Before diving into techniques, you’ll need a few supplies that make oil-like blending possible with acrylics. None of these are expensive, and most are available at any art supply store.
Slow-Drying Medium is the single most important supply. Mix it into your paint instead of water. It extends working time from minutes to hours and maintains paint body. Golden and Liquitex both make excellent options.
Acrylic Retarder is a gel or liquid additive that slows drying time. Use it sparingly, a few drops per mix, as too much can weaken paint film. It works well combined with a slow-drying medium for maximum blending time.
Golden OPEN Acrylics are formulated with a naturally extended working time of hours rather than minutes. They blend almost like oils right out of the tube. Many artists consider them the closest thing to oil painting in acrylic form.
Glazing Medium creates transparent layers you can build up for oil-like depth and luminosity. Liquitex Glazing Medium is a popular choice for this technique.
Extra Thick Gel gives acrylics the heavy, buttery texture of oil paint. Golden Extra Thick Gel is excellent for impasto work and palette knife painting.
Fine Mist Sprayer keeps your palette and canvas damp while you work. This simple tool is a game-changer for extended blending sessions.
Mop Brushes and Soft Synthetic Brushes deliver the smoothest blends. A makeup mop brush works surprisingly well for large soft transitions. Round and filbert synthetics handle detail work.
Palette Knife lets you mix colors on the palette and apply thick, textured strokes on canvas.
How to Blend Acrylics Like Oils: Core Techniques
The wet-on-wet technique is the foundation of oil-like acrylic blending. Apply slow-drying medium to your surface first, then lay down fresh paint while everything is still wet. The colors merge seamlessly just like they would on an oil palette.
Feathering creates soft edges between colors. Load your brush with a small amount of paint and use light, sweeping strokes at the boundary between two wet colors. Keep your brush dry or barely damp, never saturated.
The Two-Brush Technique uses one brush for each color and a clean, dry brush to sweep back and forth along the boundary. This prevents muddy mixing while creating natural-looking transitions.
Scumbling means applying a thin, broken layer of lighter paint over a darker dried layer using a dry brush. This creates texture and depth similar to oil scumbling. It works especially well for skies and atmospheric effects.
Softening Edges while paint is still wet is critical. Use a clean, slightly damp mop brush and gently sweep across the edge you want to soften. Work quickly because even with retarder, the blending window is limited compared to oils.
Glazing and Layering for Oil-Like Depth
One of oil painting’s hallmarks is luminous depth from transparent layers built up over time. You can replicate this with acrylics using a glazing technique.
Mix a small amount of acrylic paint with glazing medium to create a transparent tint. Apply this over a completely dried base layer. The color beneath glows through the transparent layer, creating depth that opaque mixing can’t achieve.
Build up multiple glazing layers, letting each one dry fully before adding the next. This patience is what separates flat-looking acrylics from paintings with the rich, dimensional quality of oils. Each layer adds complexity to the color.
Gloss glazing medium works best for this technique because it enhances transparency and gives a finish closer to the natural gloss of oil paint. Matte medium can work but produces a flatter result.
Impasto and Palette Knife Techniques
Oil painters often build up thick, textured strokes with a palette knife. You can do the same with acrylics by adding extra thick gel or heavy body gel medium to your paint.
Mix the gel directly into your color on the palette until you get a buttery, sculptable consistency. Apply it with a palette knife using the same spreading and scraping motions oil painters use. The thick texture holds knife marks and brush strokes beautifully.
Impasto acrylics also dry with dimensional texture that stays put, unlike oils which can take weeks to fully cure. You can add layers of impasto without worrying about sinking in or cracking if you use quality gel medium.
Surface Preparation for Smooth Blending
Surface quality matters more than most artists realize when learning how to blend acrylics like oils. A rough canvas fights against smooth blending because the texture catches your brush and creates uneven paint application.
For the smoothest results, use a fine-grain canvas, smooth wood panel, or canvas pad designed for detailed work. Sand any rough canvases lightly with fine-grit sandpaper before painting. Apply a thin layer of gesso and sand again for an ultra-smooth surface.
If you prefer a slight tooth for texture, skip the sanding but apply one coat of gesso anyway. This seals the canvas and gives your slow-drying medium a consistent surface to bond with rather than soaking unevenly into raw canvas.
Step-by-Step Workflow: From Blank Canvas to Finished Painting
This practical workflow brings together everything you’ve learned into a repeatable painting process. Follow these steps for consistently oil-like results with acrylics.
Step 1: Prepare Your Surface. Sand the canvas lightly if needed and apply gesso. Let it dry completely. A smooth surface makes everything easier.
Step 2: Sketch Your Composition. Use a pencil or thin acrylic wash to block in your drawing. Keep it simple because heavy graphite can show through thin acrylic glazes.
Step 3: Mix Slow-Drying Medium into Your Colors. On your palette, combine each color with a slow-drying medium at roughly a 1:1 ratio. This extends your working time significantly.
Step 4: Set Up Your Mist Sprayer. Fill a fine mist sprayer with clean water. Keep it within reach and mist your palette and canvas every few minutes to prevent premature drying.
Step 5: Block In Large Areas. Lay down base colors for major shapes and areas. Work quickly across the whole canvas so everything stays wet for blending.
Step 6: Blend Transitions. While paint is still wet, use mop brushes and feathering strokes to smooth edges between colors. Work in sections rather than across the whole canvas to avoid overworking.
Step 7: Add Details with Glazing. Once the base layers dry, mix transparent glazes and build up detail and depth layer by layer. Let each glaze dry before adding the next.
Step 8: Add Impasto Highlights. Use thick gel mixtures and a palette knife to add textured highlights in your focal areas. These thick strokes catch light like oil impasto.
Step 9: Apply Final Varnish. After the painting cures fully, apply a gloss varnish to unify the surface sheen and deepen colors, completing the oil-like appearance.
Common Blending Mistakes to Avoid
Even experienced acrylic painters fall into these traps when trying to blend like oils. Knowing them in advance saves you frustration and wasted paint.
Using Too Much Water is the most common mistake. Water dilutes pigment and weakens the paint film. Use slow-drying medium instead of water for thinning, and reserve water only for your mist sprayer.
Overworking the Paint happens when you keep blending past the point where the paint starts to set. Once the skin forms, stop blending or you’ll create muddy, streaky results. Mist the area to buy more time, but know when to let go.
Skipping the Retarder Entirely makes oil-like blending nearly impossible with standard acrylics. You need some form of extended working time, whether that’s a retarder, slow-drying medium, or Golden OPEN Acrylics.
Using the Wrong Brushes causes visible brush strokes. Stiff bristle brushes designed for oils don’t work well with fluid acrylics. Switch to soft synthetic or mop brushes for smoother blending.
Never Mixing Acrylics with Oils is an important rule. You cannot safely mix acrylic paint with oil paint on the same canvas. Oil applied over acrylic can crack as the layers cure at different rates. Acrylic over oil won’t adhere properly. Keep your media separate.
Getting a Glossy, Oil-Like Finish
Oil paint naturally dries with a rich, glossy sheen that acrylics often lack. Applying a gloss varnish or gloss medium as a final coat solves this and brings your acrylic painting to life.
Use a removable gloss varnish so you can clean and reapply it over time. Apply it in thin, even strokes with a wide, soft brush after the painting has cured for at least 72 hours. The gloss unifies any matte and shiny areas into a single, consistent finish that closely mimics the look of oil paint.
Frequently Asked Questions
Can you make acrylics look like oil?
Yes, acrylics can closely mimic the look of oil paint by using slow-drying mediums to extend working time, applying glazing techniques for depth, and finishing with gloss varnish. Golden OPEN Acrylics are specifically formulated for this purpose and blend almost like oils right out of the tube.
How to blend acrylics seamlessly?
Mix a slow-drying medium into your paint at roughly a 1:1 ratio, keep your canvas and palette damp with a fine mist sprayer, and use soft mop brushes to feather transitions while the paint is still wet. Work in small sections to avoid overworking the paint.
What are common acrylic blending mistakes?
The most common mistakes are using too much water instead of medium, overworking paint after it starts to set, skipping retarder or slow-drying medium entirely, and using stiff brushes instead of soft synthetics or mop brushes.
Can you mix acrylics with oils?
No, you should never mix acrylic and oil paint on the same surface. Oil over acrylic can crack as layers cure at different rates, and acrylic over oil will not adhere properly. Use each medium independently on its own surfaces.
Conclusion
Learning how to blend acrylics like oils comes down to three core ideas: slow your drying time with the right medium, keep your surface damp while you work, and finish with gloss varnish for that signature oil-paint sheen. With practice and the right supplies, you’ll achieve the smooth, luminous results that make oil painting so beloved, all while enjoying the convenience and safety of acrylics.