
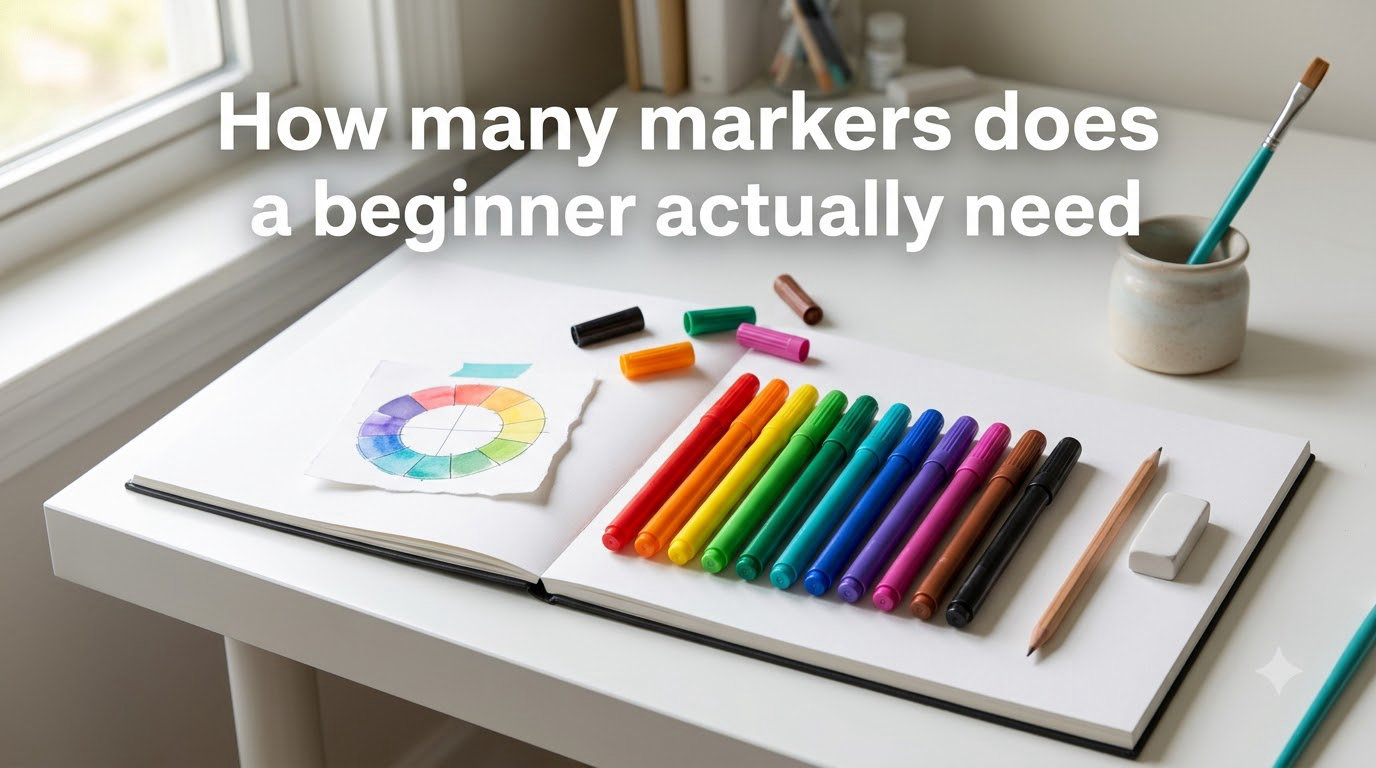
If you have just decided to try markers for the first time, the honest answer to how many markers does a beginner need is small and specific: 12 to 24 markers, no more. That range is wide enough to actually blend, layer, and finish a real page, and narrow enough that you will not stare at 70 caps for ten minutes before picking a color.
I have watched this question pop up in Facebook marker groups, on the r/AdultColoring subreddit, and on every beginner art forum I follow. The pattern is the same every time. Someone buys the giant 72 or 120 set because it felt like the safe move. Two months later they reach for the same 15 to 20 colors and feel guilty about the rest. Starting smaller is not a compromise. It is the better path.
This guide breaks down why 12 to 24 markers is the right range, what colors those markers should actually be, and how to expand your collection once you know what you like. Nothing here is paid promotion. Everything comes from hours of testing different sets, reading forum threads from real beginners, and comparing what people actually use versus what they buy.
Table of Contents
How Many Markers Does a Beginner Actually Need? The Quick Answer
The short version, before we go deeper:
- Total markers: 12 to 24. Start at 12 if you are dipping a toe in. Go straight to 24 if you already plan to do blending or portraits.
- Skin tones: 3 markers covering light, medium, and a deeper tone. Warm-leaning sets work for most skin shades.
- Greys: 3 markers across warm grey and cool grey. This is the category beginners forget, then regret skipping.
- Accent colors: 6 to 18 markers split across reds, blues, greens, yellows, and a couple of favorites.
- Tip style: Dual-tip markers (brush + chisel or bullet + chisel) so one pen covers fine detail and broad fills.
- Time before upgrading: Plan to put 20 to 30 hours on your starter set before buying any single replacement marker.
That bullet list is the entire article compressed. The rest of this guide is the why and the how.
Why Bigger Marker Sets Can Hurt Beginners
A 72 or 120 marker set looks generous on the product page, but for a beginner it actively works against you. Here is what actually happens after the unboxing:
- Decision paralysis. Before you ever touch a page, you have to pick a color. More choices do not equal better art. They equal more hesitation at the cap.
- Wasted color real estate. Beginners gravitate to a handful of favorites. Studies on choice overload consistently show that more options reduce follow-through, and marker sets prove it every weekend.
- Slower skill growth. With 70 caps, you keep swapping colors instead of finishing a page. Finishing one image end-to-end teaches you more than swapping through ten.
- Higher per-marker cost when you want to replace. Big sets rarely overlap perfectly with your real favorites, so you end up buying singles anyway.
- Storage that does not fit a normal desk. A 72-marker box is awkward to leave out, so it goes in a drawer. A 12-marker pouch lives on the table and gets used.
This is exactly the pattern r/Ohuhu users describe. One of the most repeated posts in that community is some version of: “I bought the 72 set and I only use about 15 of them.” Gift-givers on the AdultColoring subreddit ask, almost word for word, “what is the minimum viable set I can buy for someone trying this for the first time?” The answer from experienced hobbyists is consistently 12 to 24.
There is also a quieter benefit to starting small. You learn faster. Working within a tight palette forces you to figure out layering, blending, and value, which is the skill that actually makes finished pages look good. Set size is not the bottleneck. Technique is.
The Ideal First Palette: What 12 to 24 Markers Should Include
Once you know how many markers to start with, the next question is what colors to actually buy. Random color selection is the most common mistake I see in beginner pages. The fix is to choose by category, then by tone.
Here is the composition I recommend for a 24-marker beginner palette, broken into three functional groups:
- Skin tones (3 markers). Pick a light tone, a mid tone, and one slightly deeper shade. Warm-leaning families cover more skin shades than cool-leaning ones.
- Greys (3 markers). One warm grey, one cool grey, one neutral. Greys are what make shadows, fabric folds, hair, and metals look believable. Most starter sets under-deliver here.
- Accent colors (18 markers). Spread across red, orange, yellow, green, blue, purple, and a brown or two. Pick one to two in each family at minimum. The remaining 10 or so can be any colors you find genuinely appealing.
For a 12-marker starter palette, scale this down to 2 skin tones, 2 greys, and 8 accents. Function over count. Each marker should pull weight on multiple pages.
Comparing Set Sizes at a Glance
The table below shows how the four most common beginner set sizes stack up against each other. Use it as a sanity check before you click buy.
| Set Size | Best For | Typical Setup | Trade-Off |
|---|---|---|---|
| 12 markers | True first try, gift-givers, returning-after-a-break | 2 skin, 2 grey, 8 accents | Limited shadows and depth; expect to add singles quickly |
| 24 markers | Committed beginners, first 3 months of practice | 3 skin, 3 grey, 18 accents | Best learning range; covers most coloring book subjects |
| 36 markers | Beginners who already know their favorite color families | Expanded accents, more depth per family | Starts to invite decision paralysis if you skip the 24 first |
| 72 markers | Hobbyists with 6+ months of regular use | Full color wheel plus greys and skin tones | Most beginners only touch 15 to 20 of them; common regret set |
A quick tip before you add to cart. Look at the official color list for whatever set you are considering. If the brand hides their color names or buries the swatches, that is a red flag. You want a brand that publishes the full palette so you can match your first set to your second.
Alcohol vs Water-Based Markers: Which Should You Start With?
Most beginner questions eventually arrive at this one. Alcohol markers and water-based markers look similar in the cap but behave very differently.
| Feature | Alcohol Markers | Water-Based Markers |
|---|---|---|
| Blend quality | Smooth, seamless gradients | Soft blending, slower drying helps control |
| Learning curve | Steeper; layering takes practice | Forgiving; easier for total beginners |
| Smell | Noticeable alcohol odor | Low to no odor |
| Paper compatibility | Needs thicker paper to prevent bleed-through | Works on lighter coloring book paper |
| Best for | Portrait work, illustration, layering art | Casual coloring books, mindful relaxation sessions |
| Cost range for starter | Mid-range offers most value | Generally the cheaper entry point |
If your goal is relaxation and filling in coloring book pages, water-based markers are easier to live with. They blend at a slower pace, which actually helps new hands. If your goal is layering depth, smoother gradients, and a Copic-like finish on portraits or landscapes, alcohol markers are the standard, and a 24-pack of mid-range alcohol pens is the most common starting point.
The trap to avoid is buying the cheapest set in either category. Ultra-cheap alcohol markers dry out fast and bleed aggressively. Ultra-cheap water-based markers streak and pool. Aim for the middle tier from a brand that publishes refill and nib replacement parts. That is where the real value lives.
Brush Tip, Chisel Tip, or Bullet: What Tip Shape Beginners Actually Need
Tip shape matters more than most beginners expect. Forgetting this is one of the most common forum complaints: people buy a 24-set, then realize they have all bullet tips and cannot lay down a smooth sky.
| Tip | Best Used For | Beginner Need |
|---|---|---|
| Brush tip | Smooth fills, organic curves, hand-lettering | Very high; worth paying for |
| Chisel tip | Straight edges, broad fills, borders | High; great for backgrounds |
| Bullet tip | Fine detail, dots, tiny details | Useful; usually bundled with one of the others |
Most modern dual-tip markers bundle two of these on a single pen, which is the best setup for beginners. Brush plus chisel on one pen covers 90 percent of what a beginner needs. Brush plus bullet works if you lean toward detailed illustration. Avoid sets where every pen is single-tip bullet. They are harder to enjoy.
How to Expand Your Marker Collection Over Time (The 20-30 Hour Rule)
The smartest beginners do not start by buying bigger sets. They start small, use what they have until they know what they like, and then build a curated open-stock collection. Open-stock is just a fancy way of saying “single replacement markers you buy one at a time.” Most major brands let you do this.
Here is the 20 to 30 hour rule I tell every beginner who asks: do not buy any single replacement marker until you have spent at least 20 hours coloring with your starter set. After 20 hours you will know exactly which colors you wished you had. After 30 hours you will have a clear shopping list.
A Step-by-Step Expansion Plan
- Week 1 to 2. Use only your 12 or 24 set. Note any page where you wished for a color you did not have.
- Week 3 to 6. Keep a running list (literally a phone note) of specific colors you wanted. Do not buy yet.
- At the 20 to 30 hour mark. Review your list. Buy 3 to 6 individual markers that fill the gaps. Buy open-stock from the same brand so the colors match your set.
- At 60 hours. Repeat the process. Add another 3 to 6 markers. By now your collection will be personalized in a way no preset set ever matched.
This approach beats upgrading to a 48 or 72 set every time. You end up with 30 to 40 markers you actually use, instead of 70 markers where 50 sit untouched. Forum members consistently report that their most-used markers are the singles they added on purpose, not the ones that came bundled.
Common Beginner Mistakes to Avoid
Skip these and you will be ahead of most people starting out:
- Buying cheap paper. A regular printer sheet will bleed alcohol markers onto the next page and warp under water-based ones. Get paper designed for markers, or place a spare sheet behind your coloring page.
- Choosing the largest set on day one. We covered this above, but it is the single most common beginner regret.
- Ignoring tip shape. A bag of bullet tips feels limiting after one page. Pick dual-tip from the start.
- Skipping grey colors. Shadows, hair, metals, and fabric folds all want grey or near-grey tones. Beginners buy rainbows and forget neutrals.
- Expecting first pages to look good. The first 10 pages are practice. Treat them like rough drafts. The 20th page will surprise you.
- Forgetting to cap tightly. Markers dry out fast when caps are loose. Build the cap-and-click habit on day one.
Budget and Cost Framing: Are Expensive Markers Worth It?
The Copic versus affordable brand question comes up in nearly every beginner thread. The honest answer: Copic markers are excellent, but a beginner does not need them on day one. Copics shine once you know your style, your refill preferences, and exactly which nibs you want. That information only comes after 20 to 30 hours of practice.
For beginners, mid-range alcohol markers from established brands deliver 80 percent of the experience at a fraction of the price. Refillable bodies, replaceable nibs, and open-stock color buying are the three features that justify a step up from the cheapest tier. Look for those features more than brand prestige.
A practical starter budget: enough for a 24-set of dual-tip alcohol markers plus one pad of marker paper. That setup lets you actually learn without anchoring your decisions to a single high-end brand.
Frequently Asked Questions
How many markers does a beginner actually need?
Start with 12 to 24 markers. That range covers enough colors for basic blending and shadow work without overwhelming a beginner with decisions. Move up only after 20 to 30 hours of practice.
How many alcohol markers do you need?
For alcohol markers specifically, 12 is enough to learn techniques and 24 is the most popular beginner range. Both let you blend, layer, and finish real coloring book pages.
How many Ohuhu markers should I get?
If Ohuhu is your brand, the 24 set is the most common recommendation for beginners. Add individual replacement markers after 20 to 30 hours rather than upgrading to a 48 or 72 set.
Which Ohuhu marker set is best for beginners?
The 24 set is the standard beginner pick. It balances cost, learning curve, and color range. New users often regret jumping straight to the 48 or 72 set because most of those colors go unused.
Are expensive markers like Copic worth it for beginners?
Not at first. Mid-range alcohol markers deliver most of the experience at a much lower cost. Copic becomes worth the investment once you know which colors, nibs, and refill style you prefer, usually after 20 to 30 hours of practice.
What size marker set should a beginner start with?
Start with 12 markers if you are dipping a toe in, or 24 markers if you already plan to color regularly. Both let you learn the medium. Skip the 72 set until you have a clear reason to upgrade.
Final Thoughts: Start Small, Then Build With Purpose
The cleanest answer to how many markers does a beginner actually need is 12 to 24, not 72. Pick a balanced 12 if you are still deciding whether markers are your thing, or a balanced 24 if you are ready to commit. Use what you have for 20 to 30 hours. Make a real list of the colors you wish you had. Then buy those colors one marker at a time. That is the path that builds a kit you actually use, instead of a kit that sits in a drawer.
Your starter set is not the end of the journey. It is the foundation. Every good marker collection I have seen started narrow, got used hard, and grew in the directions the user actually cared about. That is the pattern worth copying.