
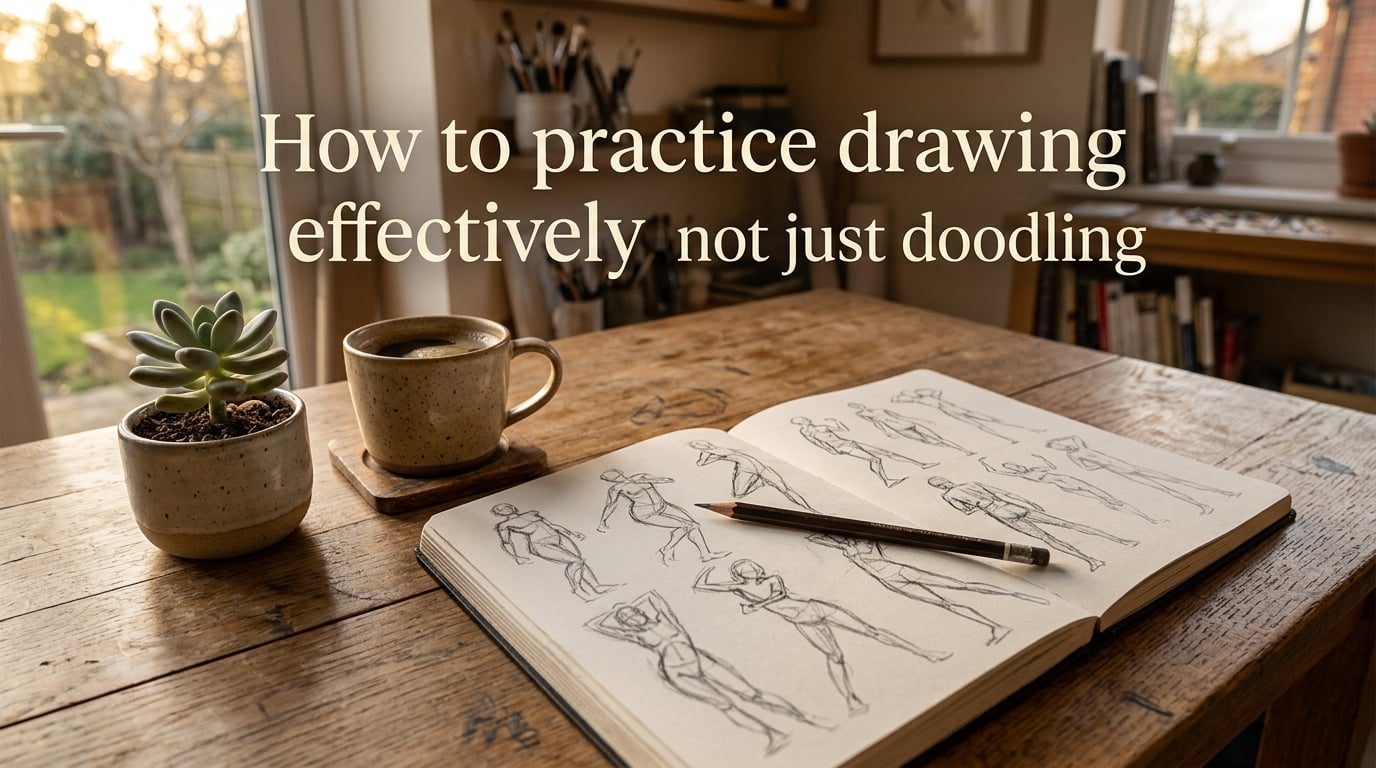
If you want to know how to practice drawing effectively — and stop feeling like you are only doodling — the answer is short and surprisingly specific. Effective drawing practice is purposeful, focused drawing done consistently with a clear skill target, paired with feedback, in short daily sessions of 15 to 45 minutes. Doodling is relaxing but it does not challenge the brain in ways that produce growth, which is exactly why so many people draw for years without getting noticeably better.
I have been drawing for more than a decade, and the biggest jump in my skill did not come from more hours at the page. It came from changing what I did in those hours. In this guide, I will walk you through what makes drawing practice actually work, the seven pillars that anchor every routine, the warm-ups and fundamentals to drill, and a four-week starter plan you can start this week.
Table of Contents
What Is the Difference Between Doodling and Drawing Practice
The difference between doodling and deliberate drawing practice comes down to four things: intent, focus, feedback, and outcome. Doodling is aimless, low-effort mark-making done while your mind wanders. Drawing practice is a focused session where you choose a specific skill, attempt it, evaluate the result, and try again.
If you have ever finished a sketchbook page and felt like your skill was exactly where it was a year ago, the table below is for you. It maps out exactly where casual doodling and effective practice diverge, and why that gap matters.
| Factor | Doodling | Deliberate Drawing Practice |
|---|---|---|
| Intent | Passing time, relaxing, zoning out | Improving one specific skill per session |
| Focus | Loose, drifting, easy | Targeted, slightly uncomfortable, on-task |
| Feedback | None, or self-judging after the fact | Built-in: compare to reference, note one fix, repeat |
| Subject | Whatever comes to mind | Reference photo, drill page, or master study |
| Duration | Untracked, often interrupted | Timed block, 15 to 45 minutes |
| Outcome | Comfortable but flat skill | Measurable improvement over weeks |
Notice the row about feedback. That single row is the most overlooked difference between the two activities, and it is the reason deliberate practice produces growth while doodling tends to plateau. Your brain only improves what it is actively challenged by and corrected on, and a wandering hand does not produce that challenge.
Why Doodling Alone Will Not Improve Your Drawing
Doodling does not improve your drawing because it does not push you past the threshold where learning happens. The brain consolidates motor skills when you attempt something slightly harder than you can comfortably do, get feedback, and try again. Casual doodling stays inside your comfort zone, which means the same pathways fire in the same patterns, and you wake up six months later drawing the same squiggles you drew the day you started.
I see this frustration echoed constantly on r/learntodraw and r/ArtistLounge. People post threads titled “I practice every day but I’m not getting better,” and the replies almost always land on the same diagnosis: the practice is unfocused, lacks feedback, or both. Drawing for an hour is not the same as practicing for an hour.
The missing piece is what researchers call deliberate practice, a term coined by Anders Ericsson and adapted for visual art by teachers like Proko, Marc Brunet, and the team at Love Life Drawing. Deliberate practice has four ingredients that doodling skips: a defined goal, full concentration, immediate feedback, and a difficulty level right at the edge of your current ability.
The 7 Pillars of Effective Drawing Practice
Effective drawing practice rests on seven pillars. I use these as a checklist when I sit down to draw, and I have watched complete beginners double their skill in three months when they actually follow them. They are ordered roughly from most foundational to most advanced.
- Warm up first. Five minutes of circles, lines, and S-curves before any real drawing. This primes hand-eye coordination and prevents you from “saving” your session for a page that gets ruined when your hand is cold.
- Pick one skill target per session. “Drawing” is too broad. Instead pick one thing — eyes, hand poses, ellipses in perspective, value transitions — and drill only that.
- Work from reference more than imagination. Imagination drawing is a reward. Reference drawing is where growth happens. A good ratio for most learners is roughly 70 percent reference, 30 percent imagination, which is the 70/30 rule in art.
- Compare side by side. Place your drawing next to the reference and look at what is actually different, not what feels different. Squint to flatten values, flip horizontally to break familiarity.
- Get external feedback. Once a week, post a drawing somewhere a real human will look at it — a Discord server, the r/learntodraw critique thread, a study group, or a teacher.
- Track progress in a log. Write one sentence per session about what you tried and what to fix next time. A streak beats motivation.
- Plan a long-term topic. Each month, choose a single narrow subject (hands, faces in three-quarter view, fabric folds) and explore it from every angle.
If you only adopt three of these today, make them warm up, work from reference, and track your sessions. Those three alone will put you ahead of most self-taught artists.
How to Build a Daily Drawing Practice Routine That Sticks
The most effective drawing practice routine is one you actually do. That sounds obvious, but most beginners design a 3-hour block they abandon after nine days. After testing my own routine and interviewing a dozen working illustrators, the sweet spot for a sustainable daily habit is 20 to 45 minutes, five to six days per week, with one rest day.
Here is the template I recommend to anyone starting out. Adjust the blocks to your schedule, but keep the order.
The 30-Minute Daily Drawing Practice Template
- Minutes 0 to 5 — Warm up. Two pages of circles, one page of straight lines, one page of S-curves. Do not judge them. The goal is movement, not art.
- Minutes 5 to 10 — Reference setup. Pick your reference photo, line up your page, decide your single skill target for the session.
- Minutes 10 to 25 — Focused drawing. One or two attempts of the target. If you are doing a master study or value study, this is the bulk of the time.
- Minutes 25 to 30 — Log and review. Write one sentence about what to fix next time. Place the drawing in a dated folder.
Three things make this template work. First, the warm-up is non-negotiable, because cold hands ruin good intentions. Second, the skill target forces focus. Third, the log creates a feedback loop that survives even when motivation dips.
Warm-Up Exercises That Sharpen Hand-Eye Coordination
Warm-up exercises are not a waste of time — they are how you build the hand control that makes every other drawing easier. The best warm-up drills target the four foundational mark types: circles, straight lines, curves, and S-curves. If you can draw all four with confidence and consistency, you can draw almost anything.
The Four Essential Warm-Up Drills
- Circles. Fill one page with overlapping circles of varying sizes, drawn without lifting the pencil. Aim for smooth, continuous lines, not perfect circles.
- Straight lines. Draw lines between two dots, from one edge of the page to the other, in every direction. Speed and accuracy both matter.
- Curves. Practice single-curve sweeps like a parenthesis or a wave. These train the wrist for longer contour lines.
- S-curves and ellipses. These are the building blocks of gesture, fabric, and anatomy. Drill them in every orientation.
The mistake most beginners make is rushing past warm-ups because they feel silly. Treat them like a runner’s stretch — non-optional, brief, and the foundation of injury-free progress. Five minutes of warm-up every session will save you months of frustration later.
The Core Drawing Fundamentals to Practice in Order
Drawing fundamentals are the small set of skills that everything else is built on. They are not glamorous, but skipping them is the single biggest reason beginners stall out. The five fundamentals most teachers agree on are mark making, measurement, shape, gesture, and form (often called value or light). Some artists add edges and perspective as a sixth and seventh.
You have probably heard of the “5 P’s of drawing” — they are Purpose, Perception, Patience, Persistence, and Practice. I think of the 5 P’s as the mindset layer that holds the technical fundamentals together, and they pair naturally with deliberate practice. Without patience and persistence, the technical work feels pointless. Without technical work, patience and persistence produce only doodles.
How to Sequence the Fundamentals
The order matters. Each skill unlocks the next, and trying to learn value before line control is a common beginner trap. The progression I teach and use myself is:
- Mark making (weeks 1 to 2). Line weight, line confidence, hatching, control over your tool.
- Measurement and proportion (weeks 3 to 4). Triangulation, plumb lines, negative space, eye-training.
- Shape and gesture (weeks 5 to 8). Reducing subjects to simple shapes, capturing movement and flow.
- Form and value (weeks 9 to 12). Light logic, core shadow, cast shadow, value scale, edges.
- Composition and design (weeks 13+). Putting it all together into intentional pictures, not just accurate ones.
You can absolutely work on more than one at a time, but resist the urge to jump to step 4 before you can confidently draw a clean ellipse. The fundamentals are a ladder, and skipping rungs just means falling off later.
Observation Practice From Photos, Life, and Imagination
Observation practice is where drawing fundamentals turn into actual drawings. There are three modes of observation you should rotate through, and each one trains a slightly different skill. Most beginners only ever use one, which is why their growth is uneven.
Drawing From Reference Photos
Reference photos give you controlled lighting, a still subject, and the ability to pause. They are the best mode for fundamentals work because you can repeat the same subject and watch your accuracy improve session by session. A simple rule: if you are learning a skill, draw from reference.
Drawing From Life
Life drawing adds the complication of movement, weird lighting, and imperfect sightlines — which is exactly why it matters. Even 15 minutes sketching your coffee mug teaches you to translate three dimensions onto a flat page. Gesture drawing from life, even just of people at a cafe, accelerates your eye faster than almost any other exercise.
Drawing From Imagination
Imagination drawing is the reward, not the teacher. It is where you apply what you have learned from reference and life. A useful heuristic is to draw from imagination only after you can draw a similar subject well from reference. Otherwise, you are guessing, and guessing feels like progress but is not.
Feedback Loops and Self-Critique Without a Teacher
Feedback is the part of effective drawing practice that most self-taught artists skip, and it is the part that fixes everything else. You do not need a formal teacher to build a feedback loop. You need five questions, one honest habit, and a place to post your work occasionally.
Five Questions to Ask After Every Drawing
- Where is the biggest gap between my drawing and the reference? Pick one shape, not ten.
- Did I commit to confident lines, or did I scribble? Confidence is a skill, not a personality trait.
- Did I check my proportions partway through, or did I draw the whole thing blind?
- What is one specific thing I will try differently next time? Write it down.
- Would I be proud to show this drawing to an artist I admire? If not, what would change that?
Finding Critique Without a Class
You can get free critique by joining a community that does regular feedback rounds. The r/learntodraw monthly critique thread, the Crimson Daggers Discord, Line of Action forums, and SketchDaily all offer this. The trick is to ask for one specific thing, not “how is my drawing?” — for example, “is the jawline proportion off in three-quarter view?” Specific questions get specific answers.
Common Beginner Mistakes That Stall Progress
Almost every artist I know, including me, lost months to one or more of these mistakes. If any of them sound familiar, fix that one first before adding anything new to your routine.
- Practicing without a target. “I’m going to draw tonight” is not a plan. “I’m going to draw eyes from reference for 30 minutes” is.
- Drawing the same comfort subject forever. Drawing your favorite anime character 200 times does not improve your fundamentals; it improves that one pose.
- Skipping warm-ups to “save time.” Cold hands and tight lines go together. Always warm up.
- Avoiding reference out of pride. Drawing from imagination before you can draw from reference is a guess, not a skill.
- Comparing to finished artists online. Their current work is the product of years you are not seeing.
- No log, no streak. Without a record, you cannot see the slow improvement that is actually happening.
- Quitting during the plateau. Almost every artist hits a 4-to-8-week plateau around month two. It is normal, and pushing through it is what unlocks the next level.
Forum regulars on r/learntodraw often point out that month two is when most people quit, exactly when the brain is rewiring itself. If you hit a wall, do not assume you have no talent — assume you are in the middle of the learning curve, and add one targeted drill to your routine for a week.
A 4-Week Starter Plan With Daily Drawing Practice Prompts
Here is a four-week starter plan you can begin today. Each session is 20 to 30 minutes, designed for someone with a full-time schedule. Repeat it twice before you move on to the long-term planner.
Week 1: Mark Making and Warm-Ups
- Day 1 — Two pages of circles, one page of straight lines.
- Day 2 — Two pages of S-curves, one page of ellipses.
- Day 3 — Draw your own hand from observation, three times.
- Day 4 — Master study: copy a single leaf or shoe from a photo, focusing on shape.
- Day 5 — Two pages of contour-line drawings of household objects (no looking at the paper).
- Day 6 — Rest, or one page of loose doodling — no judgment.
- Day 7 — Pick your favorite drawing from the week and write one note about it.
Week 2: Measurement and Shape
- Day 8 — Triangle, square, circle in perspective — drill.
- Day 9 — Draw three simple objects (mug, book, jar) using only basic shapes first.
- Day 10 — Master study of a simple still life, focusing on proportions.
- Day 11 — Negative-space drawing: draw the spaces around a chair, not the chair itself.
- Day 12 — Draw a portrait from reference using the Loomis method.
- Day 13 — Rest.
- Day 14 — Compare week 1 and week 2 drawings side by side. Note one improvement.
Week 3: Gesture and Movement
- Day 15 — 30-second gesture drawings of people from Line of Action.
- Day 16 — 2-minute gesture drawings, same source.
- Day 17 — 10-minute gesture drawing of a single pose.
- Day 18 — Gesture drawing of an animal from reference photos.
- Day 19 — Draw a figure from imagination using gesture first, then details.
- Day 20 — Rest.
- Day 21 — Post one drawing to a critique thread and ask for one specific note.
Week 4: Value and Light
- Day 22 — Value scale practice, 10 boxes from white to black.
- Day 23 — Draw a sphere with core shadow, cast shadow, and reflected light.
- Day 24 — Draw an egg, focusing only on light logic.
- Day 25 — Draw a portrait from reference, adding value to a previous line drawing.
- Day 26 — One full still life with value, no line-only.
- Day 27 — Rest.
- Day 28 — Review the month. Write a list of three strengths and three targets for month two.
After four weeks, you should notice measurable improvement in line confidence, value transitions, and proportion. That is the signal to graduate to the long-term planner below.
The Long-Term Plan Monthly Topic System and the 70/30 Rule
Once the four-week starter plan feels easy, the next move is to commit to a monthly topic system. This is the approach the Love Life Drawing planner popularized, and it works because it forces depth instead of breadth. Instead of trying to improve “everything,” you pick one narrow topic per month and explore it from every angle.
Pair the monthly topic with the 70/30 rule: 70 percent of your drawings should be from reference, life, or master studies; 30 percent can be from imagination or personal work. The 70 percent is where learning happens. The 30 percent is where you apply what you learned, and where you keep the practice fun.
The 50% rule is a useful companion. Roughly half of your drawing time should be spent on fundamentals (warm-ups, drills, studies) and the other half on the actual pictures you care about. Beginners often flip this and wonder why their personal work never improves. Fundamentals are not a side dish — they are the meal.
Sample 12-Month Topic Planner
Here is a sample year of monthly topics, modeled after the Love Life Drawing planner. Pick your own sequence based on what you want to draw most, but keep the topics narrow enough that one month can really cover them.
- Month 1 — Line confidence and warm-ups.
- Month 2 — Simple objects and shape design.
- Month 3 — Hands and feet from reference.
- Month 4 — Faces in three-quarter view.
- Month 5 — Figure gesture (Line of Action daily).
- Month 6 — Fabric folds and drapery.
- Month 7 — Light logic and form (core shadow).
- Month 8 — Edges and lost-and-found lines.
- Month 9 — Composition and cropping.
- Month 10 — Color and value (if moving into painting).
- Month 11 — Personal project month — apply everything.
- Month 12 — Review year, choose next year’s monthly topics.
The point of a monthly topic is not to “master” hands in 30 days. It is to spend enough focused hours on hands that your next drawing of a hand is clearly better than your last one. That is the only metric that matters.
For resources, the free tier is genuinely strong: Drawabox for fundamentals, Line of Action for gesture and figure, SketchDaily for daily prompts, and the r/learntodraw community for feedback. Paid courses from Proko, Marc Brunet, and Love Life Drawing are worth it once you know which skill you actually want to push on.
Frequently Asked Questions
What is the difference between doodling and drawing?
Doodling is unfocused mark-making done while your mind wanders, with no specific skill target or feedback. Drawing practice is purposeful, focused drawing done with a clear skill target, an attempt, and feedback. Doodling relaxes you; deliberate drawing practice improves you.
What is the 70/30 rule in drawing?
The 70/30 rule means roughly 70 percent of your drawing time should come from reference, life, or master studies, and 30 percent from imagination or personal work. The 70 percent is where learning happens, and the 30 percent is where you apply what you learned.
What are the 5 P’s of drawing?
The 5 P’s of drawing are Purpose, Perception, Patience, Persistence, and Practice. They describe the mindset layer that supports the technical fundamentals like mark making, measurement, shape, gesture, and form.
What is the 50% rule in art?
The 50% rule suggests spending roughly half of your drawing time on fundamentals like warm-ups, drills, and studies, and the other half on finished pieces or personal work. Beginners who skip the fundamentals half are usually the ones whose pictures never improve.
What are the 5 steps of deliberate practice in drawing?
The five steps are: pick one specific skill target, work at the edge of your current ability, get immediate feedback by comparing to reference, fix one thing per attempt, and repeat consistently over short daily sessions of 15 to 45 minutes.
How long should I practice drawing each day?
Most effective daily practice sessions fall between 15 and 45 minutes. Beginners often do best around 20 to 30 minutes; intermediates benefit from longer focused blocks of 45 to 60 minutes. Consistency matters more than total hours, so a short daily session beats a long weekly one.
Is 27 too late to learn how to draw?
No. Adult learners of every age improve steadily with deliberate practice. The brain keeps building visual and motor skill throughout life, and the fundamentals work the same at 27 as at 17. Most of the top self-taught artists I follow started in their 20s, 30s, or 40s.
Why is my drawing not improving even though I practice?
The most common reasons are practicing without a skill focus, working only from imagination, skipping feedback, and not tracking sessions. Switch to reference-based drills with one target per session, compare side by side with the reference, and log each session to spot the missing piece.
Conclusion
Learning how to practice drawing effectively — and not just doodling — comes down to one simple shift: trade aimless mark-making for focused, feedback-rich sessions with a single skill target. If you warm up for five minutes, draw from reference for 20 minutes, and log one sentence per session, you are already practicing more effectively than most self-taught artists ever do.
Start with the four-week plan this week, repeat it once, then move into a monthly topic system with the 70/30 rule. Keep a log, get feedback once a week, and push through the plateau around month two — that is where real growth begins.
Pick your first skill target, set a timer for 20 minutes, and begin. The only mistake that actually stalls progress is not starting.