
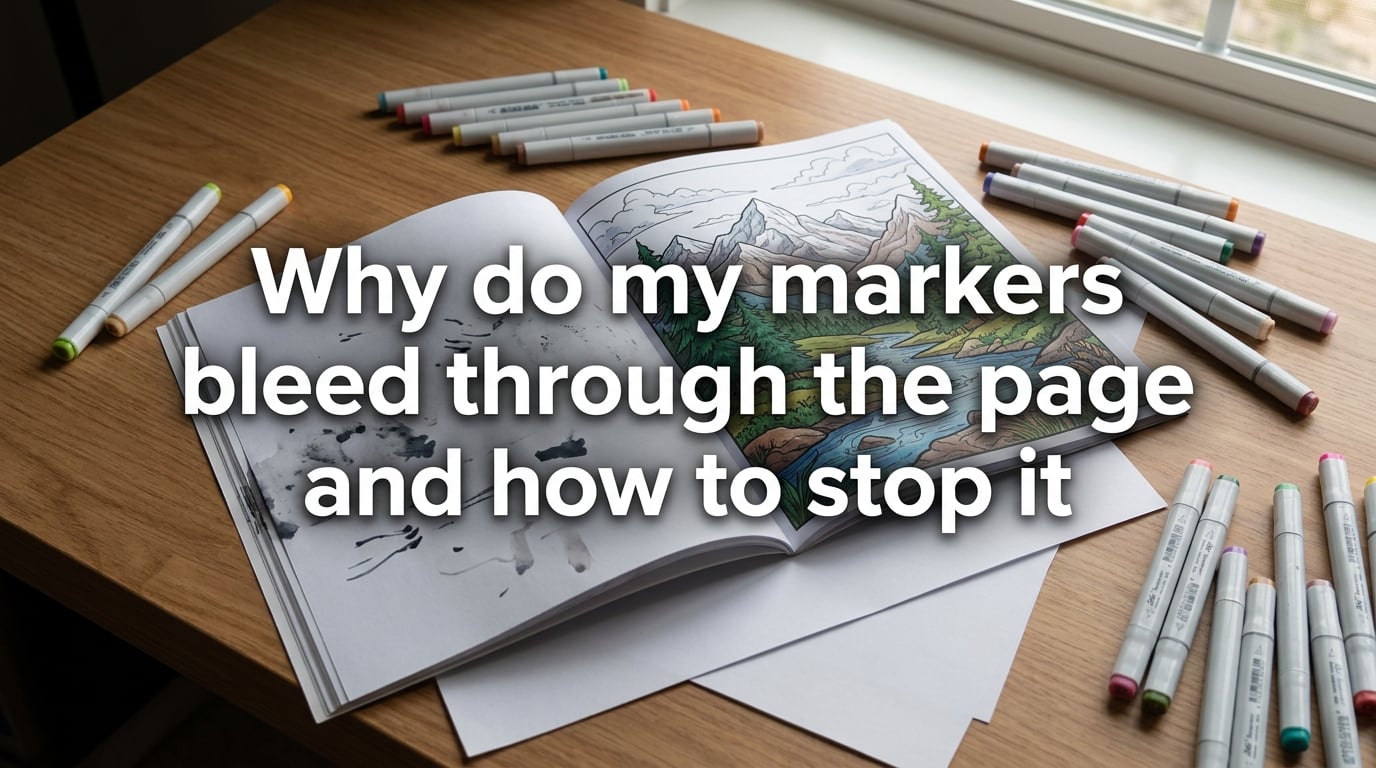
If you’ve ever colored a beautiful page only to discover the ink has soaked straight through to the other side, you’re not alone. Marker bleed-through happens when liquid ink travels past the paper fibers and shows on the back of the sheet — and it’s the number one frustration for alcohol-marker colorists. In this guide, our team breaks down exactly why your markers bleed through paper, how to stop it before it starts, and what to do when it already happened.
Table of Contents
Why Do Markers Bleed Through Paper?
Markers bleed through paper because most marker ink is a liquid dye (or alcohol-based dye) that soaks into paper fibers instead of sitting on the surface. Thin, porous, or uncoated paper — anything under roughly 110 lb or 180 GSM — cannot hold the ink near the top of the sheet, so the dye travels through the fibers and appears on the other side as a mirror image called show-through.
Three things control how much bleed-through you get: the ink chemistry, the paper weight and coating, and the pressure you apply. Dye-based inks (Copic, Ohuhu, Sharpie, Crayola) are the worst offenders because the pigment is dissolved in liquid. Pigment-based and acrylic inks behave more like paint and tend to sit closer to the surface, which is why acrylic markers are often used to cover up bleed-through instead of causing it.
Alcohol-based markers dry almost instantly on the nib but stay wet inside the paper for several seconds. That window is when the ink spreads laterally (feathering) and downward (bleeding through). Water-based markers dry slower but carry less pigment per stroke, so they bleed less aggressively on the same paper. Either way, the paper is the gatekeeper — and most coloring books ship with paper that is far too thin for serious marker work.
Water-Based vs Alcohol-Based Markers: Which Bleeds More?
Alcohol-based markers bleed through paper more than water-based markers because their solvent carrier carries dissolved dye deeper into the paper fibers before evaporating. Water-based markers use a slower-evaporating carrier that gives you a brief window to blot or lift the ink, which is why they’re slightly more forgiving on thin paper.
Sharpies are the extreme case — they’re solvent-based permanent markers with extremely high pigment load, which is exactly why Sharpies bleed through almost everything, including cardstock. Crayola markers are water-based and generally won’t bleed through heavyweight paper, but they will soak through standard 20 lb copy paper on the first stroke.
If you’re choosing markers specifically to avoid bleed-through, look for pigment-based or acrylic markers (like Posca or Grabie). These lay pigment on top of the paper rather than soaking dye in, so the back of the page stays clean even on modest paper weights.
7 Ways to Stop Marker Bleed-Through Before It Happens
Prevention is far easier than recovery. These seven techniques, used together, will eliminate bleed-through on almost any project — even with notoriously thirsty alcohol markers.
- Use heavyweight paper. Choose paper rated 110 lb (200 GSM) or higher. Marker-specific pads like Copic Paper Selections or Ohuhu Marker Sketchbooks are coated to resist ink absorption and are the gold standard.
- Place scrap paper underneath. Slide a sheet of cheap copy paper or a blotter sheet under your working page. Any ink that pushes through gets absorbed by the underlay instead of ruining the next page of your coloring book.
- Use a light touch. Pressing hard drives more ink into the paper than the nib can release. Let the marker do the work — colorists call this a “feather-light touch,” and it dramatically reduces both bleed-through and pilling.
- Leave a small border near edges and tight corners. Don’t color right up to the line. Leaving even a millimeter of white acts as a buffer zone where the ink has somewhere to feather without crossing into another color or the page edge.
- Pick the right nib. Brush tips and chisel tips lay down less ink per stroke than bullet tips. For thin paper, switch to a wider nib so you can cover area with less pressure and fewer passes.
- Skip every other page in double-sided books. If you already own a thin-paged coloring book, color only one side and tear the page out along the perforated edge before moving to the next. This protects the back of every page you do finish.
- Tear pages out before coloring. Once a page is removed, you can slip scrap paper underneath freely and color right to the edge without worrying about damaging the next illustration.
5 Steps to Fix Marker Bleed-Through After It Happens
Sometimes bleed-through happens no matter how careful you are. When it does, you have two real options: lift the ink before it fully sets, or cover it up with an opaque medium. Both work, and the right choice depends on how long ago the bleed happened.
- Blot immediately with a clean scrap paper. If you catch the bleed in the first 10–20 seconds, press a clean sheet firmly onto the wet ink on the back of the page. Some dye will transfer out, reducing the show-through.
- Use a colorless blender to lift the ink. A colorless blender (Ohuhu and Copic both make one) is a marker filled with solvent only. Scrub the back of the stained page with it within a few minutes of the bleed — the solvent re-dissolves the dye and pushes some of it out.
- Walk away and let it dry fully. After lifting, set the page aside for at least 30 minutes. Re-touching wet ink just spreads it further. Patience here is part of the fix.
- Cover the back with acrylic marker. Once dry, color the back of the page with an opaque acrylic marker (Grabie and Posca are popular choices) in white or a matching background color. This seals the bleed and lets you keep the front intact.
- Hide the back with collage, washi tape, or gouache. For pages where you don’t need to see the back at all, glue a clean sheet over the bleed, tape washi across it, or paint over it with gouache or gesso. This is the most permanent fix.
Best Paper Types for Markers (and Why Cardstock Isn’t Always the Answer)
Paper choice is the single biggest factor in whether your markers bleed through. Not all heavyweight paper behaves the same way, and counterintuitively, very absorbent cardstock can actually make blending worse even though it stops bleed-through.
Marker paper (Copic Paper Selections, Ohuhu Marker Sketchbooks, X-Press It Blending Card) is specifically coated to resist alcohol ink absorption. Ink sits near the surface, blending is smooth, and almost nothing reaches the back of the page. This is the best choice for alcohol markers.
Heavyweight cardstock (110 lb / 200 GSM or more, like Neenah Exact Index) resists bleed-through well but soaks ink in so fast that blending layers become muddy. Our team found that cardstock is great for single-pass coloring and Sharpie-style work, but frustrating for layered alcohol-marker blending.
Standard copy paper (20 lb / 75 GSM) bleeds through instantly with any marker. Avoid it for marker projects.
Thin coloring-book paper (typically 70–90 GSM) is the most common cause of frustrated colorists. It’s too thin for alcohol markers and too absorbent for clean blending.
A practical rule of thumb: if your marker ink sits on the surface long enough to blend, your paper is right. If it disappears instantly into a dry patch, the paper is too absorbent and you’ll fight it the whole page.
DIY Sealers: Gesso and Mod Podge for Double-Sided Pages
If you want to keep coloring on both sides of a thin-paged book, you can seal the page first with gesso or Mod Podge. Brush a thin, even coat onto one side, let it dry completely (usually 20–30 minutes), then color on the opposite face. The sealer fills the paper pores and gives the ink a surface to sit on instead of soak through.
Reddit colorists report that markers behave a little differently on top of gesso — colors look slightly chalky and layering takes more passes — so test on a scrap page first. Mod Podge gives a smoother finish but can warp thin paper if applied too thickly. Either works; neither is invisible.
Frequently Asked Questions
How to stop markers from bleeding through paper?
Use heavyweight paper (110 lb / 200 GSM or more), place scrap paper underneath, color with a light touch, leave a small white border near edges, and consider sealing thin pages with gesso or Mod Podge first.
How to prevent Sharpie from bleeding through paper?
Sharpies are solvent-based permanent markers with very high pigment load, so they bleed through almost everything. Use marker paper or 110 lb+ cardstock, color with a feather-light touch, and place several sheets of scrap paper underneath to absorb the heavy solvent ink.
Does Crayola marker bleed through paper?
Crayola markers are water-based and generally do not bleed through heavyweight paper, but they will soak through standard 20 lb copy paper on the first stroke. For coloring books, use them on 80 lb+ paper or expect some show-through.
What to do if markers bleed through paper?
Blot the back immediately with a clean sheet, scrub with a colorless blender within a few minutes, let the page dry fully, then cover the back with an opaque acrylic marker or a layer of gouache or gesso.
What markers don’t bleed through coloring pages?
Pigment-based and acrylic markers (Posca, Grabie) lay pigment on the paper surface rather than soaking dye in, so they rarely bleed through. Alcohol markers like Copic and Ohuhu need marker-specific paper to avoid bleed-through.
Do alcohol markers bleed through paper?
Yes, alcohol markers bleed through standard and thin coloring-book paper because their solvent carrier dissolves dye deep into the fibers. They will not bleed through marker paper or 110 lb+ cardstock.
How do I stop alcohol markers from bleeding outside the lines?
Color with a light touch, leave a small white border near all lines and tight corners, use a wider brush or chisel nib, and switch to marker-specific paper so the ink stays where you put it instead of feathering outward.
Conclusion
Stopping markers from bleeding through paper comes down to three things: the right paper, the right pressure, and a smart setup. If you take nothing else from this guide, take this — switch to a 110 lb+ marker paper or cardstock, slide scrap paper underneath, and use a light touch. Those three changes alone will fix most of the bleed-through problems our readers ask us about.
Bleed-through will still happen sometimes, even when you do everything right. When it does, blot fast, lift with a colorless blender, and seal the back with acrylic marker or gesso. With the techniques above, why markers bleed through paper stops being a mystery — and starts being a problem you can actually solve.