
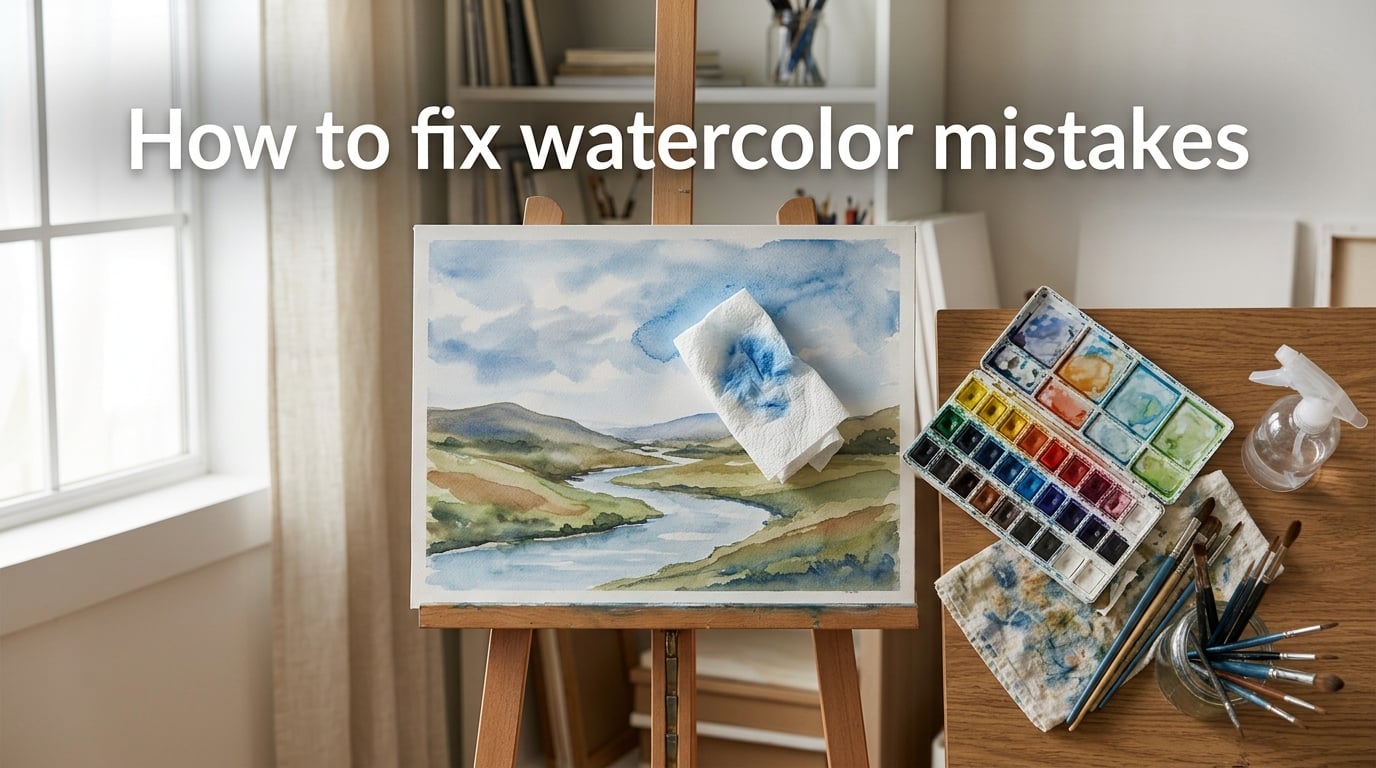
You just spent two hours on a watercolor painting and watched a bloom ruin your carefully blended sunset. Sound familiar? Every watercolorist has been there. The good news is that most watercolor mistakes are fixable if you act quickly and know the right techniques. In this guide, I’ll show you exactly how to fix watercolor mistakes at every stage, from wet paint all the way through to dry disasters.
Watercolor is a beautifully unforgiving medium. Its transparency means errors show through rather than hiding like they do with acrylics or oils. But that same transparency also means corrections can be subtle and natural-looking once you understand the mechanics of pigment and water. Whether you’re dealing with unwanted blooms, muddy color mixing, or hard edges where you wanted soft blends, the fixes below will help you save your work instead of starting over.
Table of Contents
Immediate Fixes While Paint Is Still Wet
The moment you notice a mistake, you have a narrow window of opportunity. Wet watercolor paint is significantly easier to correct than dried paint. Here are five instant techniques you can use right now.
1. Blot with a Paper Towel
Press a clean paper towel or tissue directly onto the wet area. Don’t rub. Simply press and lift. The absorbent material will pull pigment right off the paper. This works best within the first few seconds of the mistake appearing.
For smaller areas, fold the paper towel to a point for precision. Some artists keep a dedicated “blotting towel” on their palette at all times so it’s within arm’s reach.
2. Use the Lifting-Out Technique
Take a clean, damp brush (not soaking wet) and gently brush over the mistake. The water in the brush reactivates the pigment, and the brush fibers lift it away. Wipe the brush on a paper towel between strokes to avoid redistributing the paint.
A stiff-bristled brush works best for this. Round brushes with a good snap give you more control than soft mop brushes. Work in one direction rather than scrubbing back and forth.
3. Dab with a Natural Sponge
A damp natural sponge creates a soft, textured lift that looks organic rather than corrected. This technique is especially useful for fixing areas where you want to maintain a natural texture, like foliage or clouds.
Press the sponge gently and twist slightly as you lift. The uneven texture of a natural sponge prevents harsh edges in the corrected area.
4. Rinse with Clean Water
If the mistake covers a larger area, tilt your paper slightly and flood the area with clean water using a large brush. The water will dilute the pigment and carry it away. Use a paper towel at the bottom edge to absorb the runoff before it reaches the rest of your painting.
This is the most aggressive wet-paint technique. It works well for large washes that went wrong, but be careful not to spread the mistake into clean areas. Work from the mistake outward.
5. Apply Salt for Controlled Texture
If the mistake is in an area where textured effects work (like a sky or abstract background), sprinkle coarse salt onto the wet paint. The salt crystals absorb pigment and create interesting star-like textures that can disguise the error entirely.
Let the salt dry completely before brushing it off. This technique won’t work everywhere, but in the right context, it transforms a mistake into a design element.
How to Fix Dried Watercolor Mistakes
Dried watercolor paint is harder to correct than wet paint, but it’s far from hopeless. The key is understanding that watercolor pigment sits on and within the paper fibers. With the right approach, you can reactivate and lift even set paint.
Reactivate with a Damp Brush
Watercolor never fully “dries” in the way acrylic does. The pigment can be reactivated with water even weeks after painting. Lay a damp (not wet) brush over the mistake and let the water sit for 10-15 seconds. Then gently lift with a paper towel.
This works better with some pigments than others. Non-staining colors like cadmium yellow and burnt sienna lift easily. Staining colors like phthalo blue and alizarin crimson leave a ghost image even after lifting.
Scrub with a Stiff Brush
For stubborn dried mistakes, use a stiff-bristled brush (even an old toothbrush works) to scrub the area with clean water. Apply firm, circular motions. The mechanical action loosens pigment from the paper fibers.
Warning: this technique can damage your paper surface, especially with cheaper papers that have weaker sizing. Use it only on high-quality, 100% cotton watercolor paper like Arches or Fabriano Artistico.
Cover with Gouache
Gouache is watercolor’s opaque cousin, and it’s the secret weapon for covering mistakes. Mix a color that matches your intended area and paint directly over the error. Because gouache is opaque, it hides everything underneath.
The catch: once you use gouache on a section, you can’t go back to transparent watercolor techniques in that area. Save gouache corrections for the final stages of your painting when you’re sure about the direction.
Use Watercolor Ground
Watercolor ground is a special primer you can apply over dried paint to create a fresh, paintable surface. Daniel Smith and Golden both make excellent watercolor grounds. Apply a thin coat with a palette knife or brush, let it dry for 24 hours, and then paint over it with fresh watercolor.
This is the most thorough fix for dried mistakes, but it changes the texture of the paper in that area. The ground creates a slightly rougher surface that behaves differently from original paper.
Sand the Surface
For minor surface mistakes on thick paper, you can carefully sand the area with very fine sandpaper (400 grit or higher). This removes the top layer of pigment and paper fibers. Only use this on 300 lb paper or heavier, and only as a last resort.
Common Watercolor Mistakes to Avoid
Prevention is always easier than correction. After years of painting and teaching, I’ve seen the same mistakes appear again and again. Here are the most common watercolor mistakes and how to avoid them before they happen.
1. Overworking the Painting
This is the number one beginner mistake. Every time you touch the brush to an area that’s already drying, you disturb the pigment and create mud. The fix is simple: plan your strokes, execute them, and walk away. Less is almost always more with watercolor.
2. Using Too Much Water
Water control separates beginners from experienced painters. Too much water causes uncontrolled spreading, blooms, and backruns. Test your brush on a scrap piece of paper before touching your painting. If it leaves a puddle, blot your brush on a paper towel first.
3. Not Letting Layers Dry
Impatience destroys more watercolor paintings than any other factor. Each layer needs to be completely dry before adding the next one. Use a hair dryer on low heat if you’re in a hurry, but keep it at least 12 inches from the paper to avoid warping.
4. Skipping Quality Paper
Cheap paper absorbs paint unevenly, dries too fast, buckles when wet, and falls apart during lifting techniques. Invest in 100% cotton, cold-pressed paper from brands like Arches, Fabriano Artistico, or Saunders Waterford. The paper is your foundation. A great painting on bad paper will always look amateur.
5. Lacking Value Contrast
Many beginners paint everything at a medium value because they’re afraid of going dark. Without darks, paintings look washed out and flat. Push your darks darker than you think they should be. The contrast will make your lights glow.
6. Using Too Many Colors
A limited palette of 5-6 colors produces cleaner, more harmonious paintings than a palette of 15 colors. Mixing too many pigments together creates dull, muddy results. Start with a warm and cool version of each primary, plus one earth tone, and learn to mix everything else.
7. Not Planning Ahead
Jumping straight into a painting without a thumbnail sketch or value study is like driving without a map. Spend 5 minutes sketching your composition and planning your values before touching paint to paper. This saves hours of frustration.
8. Fear of Making Mistakes
Ironically, the fear of making mistakes causes more mistakes than anything else. Hesitation leads to tentative strokes, which look worse than bold ones even when they’re slightly off. Paint with confidence. Bold mistakes look intentional. Tentative strokes never do.
Fix by Mistake Type: Quick Reference
When you’re standing in front of a painting with a specific problem, you need a targeted fix fast. Here’s a quick-reference guide organized by mistake type that you can bookmark and return to whenever you need it.
Blooms and Backruns: These cauliflower-shaped marks appear when water pushes into a semi-dry wash. If wet, blot immediately with a paper towel. If dry, soften the edges with a damp brush and glaze over with a matching color. Prevention: let each wash dry completely before adding adjacent wet areas.
Muddy Colors: Muddy results come from mixing too many pigments or overworking a wet area. If the area is still wet, lift the mud with a clean damp brush and paper towel. If dry, glaze over it with a single, clean pigment to restore clarity. Prevention: limit yourself to two-pigment mixes and stop working an area once the shine disappears.
Hard Edges: Unwanted hard edges form when a wet wash dries against an adjacent dry area. If wet, soften the edge with a damp brush. If dry, glaze over the edge with a wash that connects the two areas. Prevention: work wet-into-wet for soft transitions, or soften edges with a clean damp brush before the wash dries.
Streaky Washes: Streaky flat washes happen when paint dries unevenly or you don’t use enough paint. If the wash is still wet, reload your brush with more pigment and sweep across the area in one confident stroke. If dry, apply another even wash on top. Prevention: mix more paint than you think you need, work quickly, and tilt your paper at a slight angle.
Overworked Areas: Areas that look rough and dull from too much brushwork can’t be truly fixed once dry. Your best option is to glaze a transparent wash over the entire area to unify the texture. Prevention: plan your strokes, limit your passes to two or three, and stop when the paint loses its shine.
Wrong Colors: If you painted the wrong color and it’s still wet, blot and lift. If dry, glaze over with the correct color, understanding that the underneath color will influence the result. For major color errors, gouache is your best friend.
Tools You Need for Watercolor Corrections
You don’t need a lot of special equipment to fix watercolor mistakes, but having the right tools within reach makes a huge difference. Here’s what I keep on hand every time I paint.
Paper towels or tissues: Your most important correction tool. Keep a roll within arm’s reach at all times. Viva brand paper towels work especially well because they’re absorbent without being too textured.
Cotton swabs (Q-tips): Perfect for small, precise corrections. Dampen one end and use it to lift tiny details like stray brush marks or small blooms.
Natural sponge: Creates soft, organic-looking corrections that blend with watercolor texture. Avoid synthetic sponges, which leave unnatural patterns.
Stiff round brush: A size 6 or 8 round with good snap works for lifting and scrubbing. Old toothbrushes also work for aggressive lifting on sturdy paper.
Spray bottle: A fine mist spray bottle lets you rehydrate large areas evenly for lifting or softening. Keep the mist fine to avoid flooding your painting.
Gouache tubes: Keep titanium white, a warm neutral, and a cool neutral on hand for covering mistakes. These three colors cover most correction needs.
Watercolor ground: A small jar of Daniel Smith or Golden watercolor ground for painting over major errors that need a completely fresh surface.
Staining vs Non-Staining Pigments
Understanding pigment behavior is one of the most overlooked aspects of watercolor painting. Some colors stain the paper permanently, while others lift away almost completely. Knowing which is which changes how you approach corrections.
Non-staining pigments sit on top of the paper fibers and lift easily with water. These include cadmium yellow, cadmium red, burnt sienna, raw umber, and most earth tones. You can correct these colors almost completely, even after they’ve dried. If you’re a beginner or tend to make frequent corrections, build your palette around non-staining colors.
Staining pigments penetrate into the paper fibers and leave a permanent ghost image even after aggressive lifting. Phthalo blue, phthalo green, alizarin crimson, and quinacridone are notorious stainers. These colors are beautiful and vibrant, but they’re much harder to correct. Use them intentionally and carefully.
Granulating pigments like ultramarine blue and burnt umber create interesting textured effects but can be unpredictable during correction. The pigment particles settle into the paper texture unevenly, making uniform lifting difficult.
When building your palette, aim for a mix of staining and non-staining colors. Use staining colors for areas where you’re confident about your choices, and non-staining colors for areas where you might need to adjust later.
Full Painting Rescue Process
Sometimes a painting goes so wrong that individual corrections won’t save it. When that happens, you need a systematic rescue approach. Here’s the process I use to salvage paintings that seem beyond repair.
Step 1: Walk away. Put the painting down and come back in 30 minutes. Fresh eyes see the situation more clearly than frustrated ones. What looks like a disaster up close often reads as a minor issue from a distance.
Step 2: Assess from across the room. Pin the painting to a wall and stand 10 feet away. Identify what actually works in the painting versus what doesn’t. You might find that 70% of the painting is salvageable.
Step 3: Isolate the problem areas. Use a viewfinder (a piece of cardboard with a rectangle cut out) to frame the sections that work. Sometimes cropping a painting saves it entirely.
Step 4: Apply the lightest fix first. Start with the gentlest correction technique (damp brush lifting) and escalate only if needed. It’s easier to do more than to undo too much.
Step 5: Use glazing to unify. If the painting looks patchy from all the corrections, apply a single transparent wash over the entire piece to unify the colors. A light yellow ochre or raw sienna glaze warms everything up and makes disparate areas look intentional.
Step 6: Add your darkest darks. Strong dark values create contrast and draw the eye. Often, a painting that feels “ruined” simply needs stronger darks to create structure. Add your darkest values last to anchor the composition.
Step 7: Know when to start over. Some paintings truly can’t be saved, and that’s okay. If you’ve tried three rounds of corrections and the painting still isn’t working, set it aside and start fresh. The practice you got attempting the rescue is valuable even if the painting isn’t.
Embracing Happy Accidents
Here’s something every experienced watercolorist knows: some of the best paintings come from mistakes. The bloom that ruined your sky might become an interesting cloud formation. The muddy area in your foreground might add depth you didn’t plan. The hard edge you didn’t want might create a striking focal point.
The Facebook group Watercolour Beginners (170+ comments) consistently shares this wisdom: mistakes are inevitable in watercolor, and the artists who progress fastest are the ones who learn to embrace them rather than fight them. One experienced painter put it perfectly: once you decide you’ve ruined the painting, you have nothing to lose, and that’s when real learning happens.
Watercolor’s unpredictability is what makes it beautiful. The medium has its own ideas about how paint and water will interact, and fighting that nature leads to stiff, overworked paintings. When you accept that surprises are part of the process, you start painting more freely, which produces better work.
So the next time a bloom appears where you didn’t want one, take a breath. Look at it objectively. It might be the best thing that happened to your painting.
Frequently Asked Questions
How to correct a watercolor mistake?
The fastest way to correct a watercolor mistake is to blot wet paint immediately with a paper towel, then use the lifting-out technique with a clean damp brush. For dried mistakes, reactivate the pigment with water and lift with a stiff brush or cover the area with gouache. Acting quickly gives you the best chance of a clean correction.
What are some common mistakes people make when painting watercolor?
The most common watercolor mistakes are overworking the paint, using too much water, not letting layers dry between applications, using low-quality paper, lacking value contrast, mixing too many colors together, and failing to plan the composition before painting. Beginners also frequently use brushes that are too small, which causes overworking and premature drying.
What does vinegar do to watercolor?
Vinegar can be mixed into watercolor paint to create interesting effects. The acidity of vinegar changes how pigments interact with paper, sometimes producing softer edges and more granulation. Some artists use a vinegar solution as a wetting agent or to create aged, weathered textures in their paintings.
What is the 80/20 rule in painting?
The 80/20 rule in painting means that 80% of your painting’s visual impact comes from 20% of the work. This principle encourages artists to focus their energy on the key focal areas and strong value contrasts rather than trying to render every detail equally. It’s a reminder that selective detail and bold contrasts create more compelling paintings than uniform effort across the entire surface.
Conclusion
Learning how to fix watercolor mistakes is one of the most valuable skills you can develop as a painter. The techniques covered here—from quick blotting fixes while paint is still wet to full painting rescues using glazing and gouache—give you a complete toolkit for handling any situation that arises at the easel.
Remember that every watercolorist makes mistakes. The difference between beginners and experienced painters isn’t that experts avoid errors. It’s that they know how to respond. Keep these correction techniques in mind the next time something goes wrong, take a breath, and approach the problem systematically. Your paintings will improve, your confidence will grow, and you might just discover that some of your best work comes from the mistakes you thought would ruin it.