
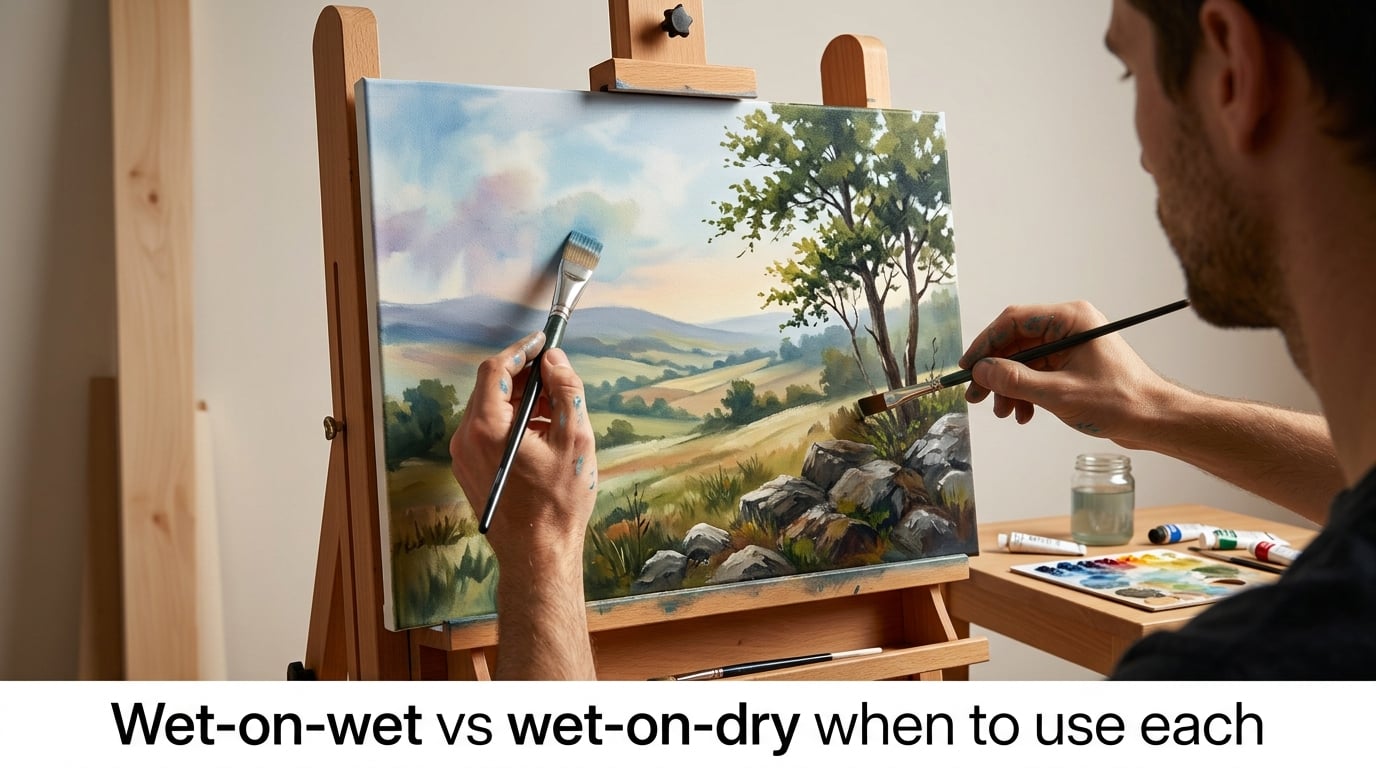
Wet-on-wet and wet-on-dry are the two foundational painting techniques every artist needs to understand. Wet-on-wet (also called alla prima or direct painting) involves applying fresh paint onto a still-wet surface, producing soft, blended edges. Wet-on-dry means painting onto an already-dry layer, which preserves sharp edges and crisp detail. Knowing when to use each technique separates competent painters from truly expressive ones — and most professional paintings actually combine both.
Table of Contents
What Is Wet-on-Wet Painting?
Wet-on-wet painting is the technique of applying wet paint directly onto a wet surface — whether that’s a freshly primed canvas, a pre-washed watercolor sheet, or a still-tacky layer of oil paint. The wet paint mixes and merges on contact with the layer beneath it, creating spontaneous blends and soft transitions.
This method is also called alla prima (Italian for “at first attempt”), wet-in-wet, or direct painting. In oil painting, it means completing a passage or even an entire painting while the underlayer is still workable — typically within a single session. In watercolor, it means wetting the paper first, then dropping pigment into the damp surface.
How It Works in Oil Painting
Oil painters using the wet-on-wet approach load their brush with fresh color and lay it onto a tacky underlayer. Because both layers are wet, the strokes blend together. This is the method Bob Ross popularized on television — you can complete an entire landscape in 30 minutes because you never wait for anything to dry.
The key to successful oil wet-on-wet is paint consistency. The paint should be fluid — almost ink-like — so it moves easily across the surface. Many artists add a medium like linseed oil or odorless mineral spirits to thin their paint to the right working consistency.
How It Works in Watercolor
In watercolor, wet-on-wet starts by evenly wetting the paper with clean water using a large brush. Once the surface has a uniform sheen (not puddles), you drop pigment into the wet area. The color spreads organically, creating soft, diffused effects that are impossible to achieve on dry paper.
The degree of wetness matters enormously. Very wet paper produces wide, unpredictable blooms. Slightly damp paper gives more controlled soft edges. Learning to judge paper wetness is one of the core skills of watercolor painting.
What Is Wet-on-Dry Painting?
Wet-on-dry painting means applying wet paint onto a completely dry surface — either a dry canvas, dry watercolor paper, or a fully cured previous layer of paint. The new paint sits cleanly on top without mixing into what’s below, preserving every stroke’s edge exactly as you placed it.
This is also called indirect painting or layering. It’s the default approach for most painters and the traditional method used by Old Masters like Vermeer and Rembrandt, who built up dozens of thin layers over weeks or months.
How It Works in Oil Painting
Oil painters working wet-on-dry allow each layer to dry before adding the next. This can take days or even weeks depending on paint thickness, medium used, and environmental conditions. The advantage is total control: each stroke stays exactly where you put it, edges are razor-sharp, and you can build up luminous depth through transparent glazes over opaque underlayers.
The critical rule here is fat over lean. Each successive layer should contain more oil (be “fatter”) than the one below it. This ensures flexibility and prevents cracking as the painting ages. Lean layers dry faster; fat layers remain flexible longer.
How It Works in Watercolor
In watercolor, wet-on-dry means painting directly onto dry paper. Your brush strokes stay crisp and defined because there’s no excess water to cause the pigment to spread. This technique is essential for adding fine details, sharp edges, lettering, and defined shapes after your soft underlayers have dried.
Watercolorists typically build paintings by alternating: a wet-on-wet wash for backgrounds and skies, allowed to dry completely, then wet-on-dry work for foreground details, textures, and finishing touches.
Key Differences: Wet-on-Wet vs Wet-on-Dry
| Feature | Wet-on-Wet | Wet-on-Dry |
|---|---|---|
| Edge quality | Soft, diffused, blurred | Sharp, crisp, defined |
| Blending | Spontaneous, organic | Controlled, deliberate |
| Control | Less — paint moves freely | High — strokes stay in place |
| Speed | Fast — complete in one session | Slow — requires drying between layers |
| Drying time | Not relevant (working wet) | Critical — days to weeks for oils |
| Best for | Atmosphere, skies, loose work | Details, realism, glazing |
| Difficulty | Hard to fix mistakes | Easier to correct layer by layer |
Edge Quality
This is the most visible difference. Wet-on-wet creates soft, lost edges where colors bleed into each other — perfect for clouds, sunsets, and atmospheric haze. Wet-on-dry preserves hard, found edges where one color stops cleanly and another begins — essential for architecture, portraits, and botanical illustration.
Blending
With wet-on-wet, blending happens naturally on the canvas or paper. You control it by adjusting how much paint you load, how wet the surface is, and how quickly you work. Wet-on-dry blending is a deliberate act: you feather strokes together, use a dry brush, or glaze thin transparent layers over each other.
Control and Precision
If you need every hair on a portrait to be distinct, or every letter in a sign to be readable, wet-on-dry is your technique. Wet-on-wet trades precision for spontaneity — the paint has a mind of its own, which can produce happy accidents or frustrating mud.
Drying Time and Workflow
Wet-on-wet is fast. You can finish an oil painting in a single sitting. Wet-on-dry is slow. Oil paint can take 2 to 14 days to become touch-dry, depending on thickness and medium. Watercolor dries in minutes, which is one reason watercolorists naturally alternate between the two methods.
When to Use Wet-on-Wet
Use wet-on-wet when you want soft edges, atmospheric effects, and a sense of immediacy. This technique excels in specific situations:
Skies and clouds: The natural blending of wet-on-wet creates realistic cloud formations and gradient skies that look effortless.
Backgrounds and atmosphere: Distant landscapes, fog, mist, and underwater scenes benefit from the soft, diffused quality.
Speed painting and studies: When you have limited time or want to capture a fleeting light effect, alla prima lets you work fast.
Expressive, loose styles: If your goal is impressionistic or emotional rather than photorealistic, wet-on-wet supports that vision.
Underpainting: Many artists lay in a loose, colorful underpainting wet-on-wet, then refine details wet-on-dry once it dries.
The Bob Ross Wet-on-Wet Method
Bob Ross made wet-on-wet painting famous through his television show “The Joy of Painting.” His method involves applying a thin coat of liquid white (a blend of titanium white and linseed oil) to the canvas, then painting directly into this wet surface. Because the entire canvas stays workable, you can blend clouds, mountains, trees, and water in a single 30-minute session.
The Bob Ross technique is true alla prima painting. You work from background to foreground, big shapes to small, always into wet paint. It’s an excellent entry point for beginners because it produces satisfying results quickly and teaches you to see big shapes before details.
When to Use Wet-on-Dry
Use wet-on-dry when you need precision, sharp edges, and the ability to build up layers of depth. This technique is the right choice for:
Photorealism: Crisp edges and controlled blending are essential when you’re trying to match a photograph exactly.
Fine details: Eyelashes, fur texture, brick patterns, lettering — anything requiring a sharp, defined edge needs a dry surface underneath.
Glazing: Thin, transparent layers of color over a dry underpainting create luminous optical mixing that’s impossible wet-on-wet.
Correcting mistakes: If a passage goes wrong, you can let it dry and paint over it cleanly.
Large, complex compositions: When a painting takes weeks, you need to work in stages with drying time between each.
Glazing: The Wet-on-Dry Master Technique
Glazing is the most refined form of wet-on-dry painting. You apply a thin, transparent layer of color over a dry opaque underpainting. Light passes through the glaze, reflects off the white underlayer, and bounces back through the color — creating a luminosity that direct mixing cannot achieve. This is how Old Masters made skin glow and fabrics shimmer.
Combining Both Techniques in One Painting
Here’s what many beginners don’t realize: most professional paintings use both techniques together. The hybrid approach gives you the best of both worlds — atmospheric backgrounds and crisp foreground details.
A Practical Hybrid Workflow
Stage 1 — Block in the background wet-on-wet. Lay in sky, distant hills, or broad atmospheric areas while the surface is fresh. Work quickly and loosely.
Stage 2 — Let it dry completely. For oils, this might mean waiting overnight. For watercolor, 15 to 30 minutes is usually enough.
Stage 3 — Add mid-ground elements wet-on-dry. Paint trees, buildings, or figures onto the dry background. You can blend edges where needed by working quickly into still-wet paint.
Stage 4 — Add foreground details wet-on-dry. Fine branches, textures, highlights, and sharp edges go on last, onto a fully dry surface.
This workflow is how most landscape painters work. The background stays soft and recedes. The foreground stays sharp and comes forward. It mimics how our eyes actually see depth in the real world.
Common Mistakes to Avoid
Both techniques have pitfalls that trip up beginners and intermediate painters alike. Here are the most common ones and how to fix them.
Muddy Colors from Over-Blending
This is the number one frustration with wet-on-wet painting. When you mix too many colors together on a wet surface, they turn into a dull, muddy brown. The fix: limit yourself to three or four colors per passage. Mix on your palette first, not on the canvas. And stop blending earlier than you think you should — less is more.
Blooms and Backruns (Watercolor)
Blooms happen when excess water pushes pigment to the edges of a wet area, creating cauliflower-shaped marks. They’re the most common wet-on-wet watercolor mistake. To avoid them, control your water load — the paper should have a damp sheen, not puddles. If a bloom forms, let it dry completely before working over it.
Adhesion Problems with Wet-on-Dry Layering
In oil painting, a new layer sometimes won’t stick to a dry one — the paint slides around instead of gripping. This usually happens when the dry layer is too glossy or oily. The fix is to gently wipe the dry surface with a cloth dampened with mineral spirits, or use the oiling out technique: apply a thin layer of medium, wipe off the excess, then paint into that tacky surface.
Frequently Asked Questions
Is Bob Ross considered a wet-on-wet painter?
Yes, Bob Ross is the most famous wet-on-wet painter in modern history. His ‘Joy of Painting’ technique applies liquid white to the entire canvas first, then paints directly into the wet surface, completing an entire landscape in one session without waiting for any layer to dry.
What is the difference between wet-on-wet and wet-on-dry painting?
Wet-on-wet means applying fresh paint onto a still-wet surface, which creates soft, blended edges and spontaneous color mixing. Wet-on-dry means painting onto an already-dry surface, which preserves sharp edges and gives you precise control over each stroke. The main difference is edge quality: soft and diffused versus crisp and defined.
Can you do wet-on-wet with watercolor?
Absolutely. Wet-on-wet is actually one of the most popular watercolor techniques. You wet the paper with clean water first, then drop pigment into the damp surface. The color spreads organically, creating soft washes and beautiful atmospheric effects. Controlling the paper wetness is the key skill.
What is the most difficult painting technique?
Both wet-on-wet and wet-on-dry have steep learning curves, but for different reasons. Wet-on-wet is hard because you must work quickly and mistakes are difficult to fix. Wet-on-dry is hard because it requires patience — waiting for layers to dry — and disciplined layering following the fat-over-lean rule.
What is the 70/30 rule in painting?
The 70/30 rule suggests that roughly 70 percent of your painting should be one dominant value (light or dark) and 30 percent the contrasting value. This creates visual balance and prevents a painting from looking flat or chaotic. It applies regardless of whether you use wet-on-wet or wet-on-dry techniques.
Conclusion
Understanding wet-on-wet vs wet-on-dry is fundamental to growing as a painter. Neither technique is better — they solve different problems and produce different effects. Start with the technique that matches your current goal: wet-on-wet for fast, atmospheric work, wet-on-dry for controlled, detailed painting. Then learn to combine them. The painters who master both and know when to switch are the ones who create truly compelling work.