
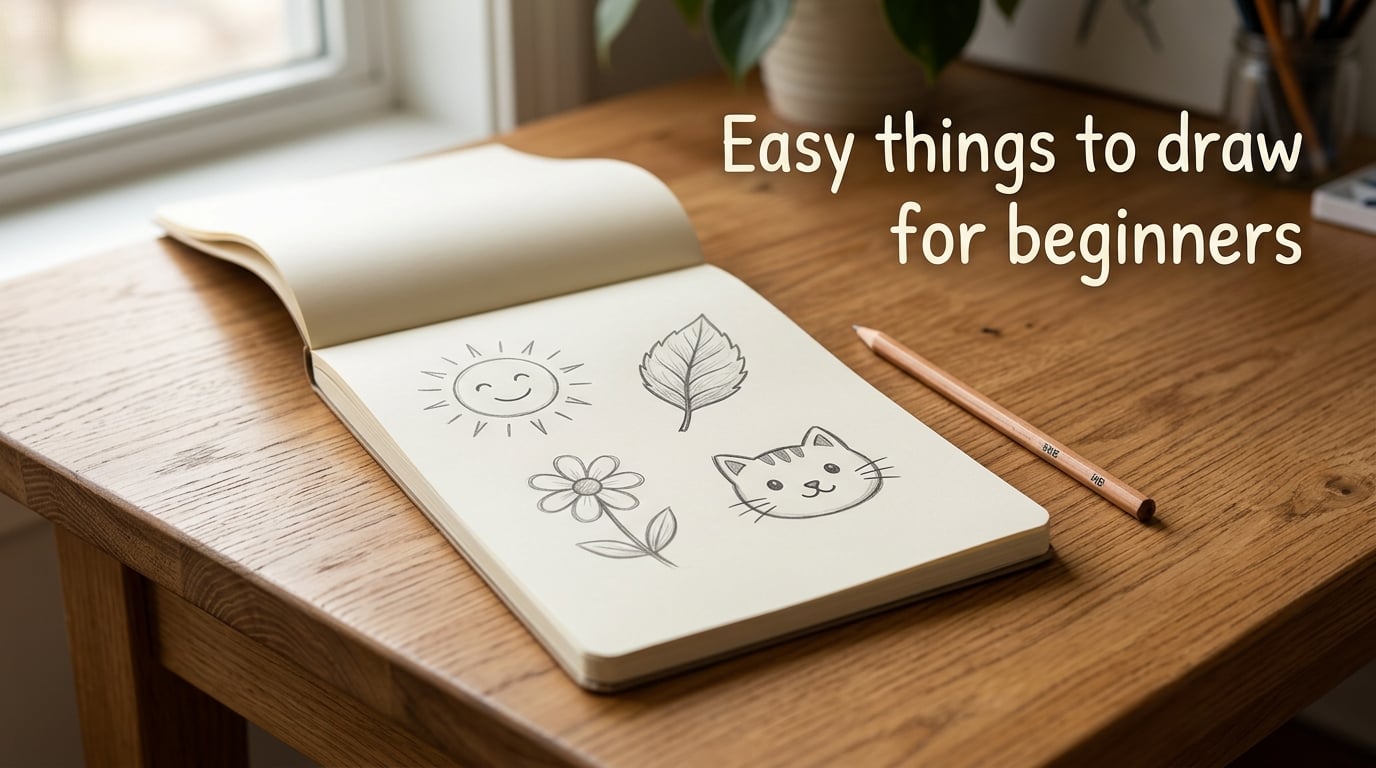
Staring at a blank page with a pencil in your hand and nothing in your head? I’ve been there more times than I can count. That little voice saying “I don’t know what to draw” is the single biggest reason people give up on drawing before they’ve actually started.
The fix is simple: pick a subject built from basic shapes – circles, ovals, rectangles, triangles – and sketch it in under 30 minutes. This guide gives you 50+ easy things to draw for beginners, five step-by-step tutorials you can finish today, and the technique fundamentals that turn random doodling into real progress.
By the end, you’ll have a full sketchbook of ideas, a clear “what to draw first” framework, and the exact mistakes to skip so you actually enjoy the process.
Quick answer: The easiest thing to draw as a beginner is any subject you can break into basic shapes – a sun, a simple flower, a leaf, a cloud, a cartoon animal face, or a piece of fruit. These take 5 to 15 minutes and teach the foundational skills (line control, shape, proportion) that scale to anything harder.
Table of Contents
Quick Answer: What Is the Easiest Thing to Draw as a Beginner?
The easiest thing to draw as a beginner is any subject built from a single basic shape or a simple combination of two or three shapes. Suns, circles with rays, are the absolute lowest barrier – one circle plus straight lines, finished in under five minutes.
After that, the easiest subjects are flowers (one oval for the center, petal shapes around it), leaves (a teardrop with a center line), clouds (overlapping bumps on a flat bottom), simple animal faces (a circle plus two triangle ears and dot eyes), and pieces of fruit (a circle or oval with a tiny stem). Each of these can be drawn in 5 to 15 minutes using nothing more than a pencil, an eraser, and a sheet of paper.
Why these subjects work: they let you practice line control, spacing, and proportion without the pressure of getting a face or a hand “right.” Pick one. Draw it three times. Move on.
What Should a Beginner Artist Draw First?
If you have never drawn before, start with the shortest, lowest-stakes subject on this list. Here’s the order I recommend, based on what works for beginners on Reddit’s r/learnart and what I see work in my own practice:
- A sun. One circle, five straight lines radiating out, done. Teaches you to commit a line.
- A leaf. One teardrop shape plus a center vein. Teaches curve and symmetry.
- A simple flower. One oval center, five petal shapes, optional stem. Teaches repetition and spacing.
- A coffee mug. A rectangle and a curve. Teaches basic 3D form.
- A cartoon cat face. A circle, two triangles, two dots, a tiny smile. Teaches combining shapes.
- A cloud. Overlapping bumps, flat bottom. Teaches negative space.
- A piece of fruit. An apple or a strawberry – one rounded shape, a stem, a leaf. Teaches shading basics.
Draw one of these every day for a week. Don’t aim for “good.” Aim for “I finished it.” The point is to build the habit and the hand motion – not to produce a masterpiece. The masterpiece comes later, after your hand has logged the hours.
The Top 10 Easiest Things to Draw for Beginners
These are the ten easiest subjects for a true beginner – ranked by how few lines, shapes, and decisions they require. If you can draw any three of these, you can draw anything on this list.
- A sun – 5 min. One circle, straight rays, optional face.
- A smiley face – 2 min. One circle, two dots, a curve.
- A stick figure – 3 min. Lines for body, circle for head, more lines for limbs.
- A heart – 2 min. Two bumps, a point. The classic shape.
- A cloud – 5 min. Overlapping bumps, flat bottom.
- A leaf – 5 min. A teardrop and a center vein.
- A simple flower – 10 min. Oval center, five petals, a stem.
- A rainbow – 10 min. Concentric arcs in any colors you have.
- A coffee mug – 10 min. A rectangle, a curved handle, an oval of “coffee” on top.
- A cartoon cat face – 10 min. A circle, two triangle ears, two dot eyes, a small triangle nose, whiskers.
Each of these is a complete drawing. None of them requires shading, perspective, or any prior skill. Pick the one that sounds the most fun and start there.
50 Easy Drawing Ideas for Beginners (Categorized Mega-List)
This is the main list. Each category has 8 to 12 prompts with a difficulty tag – how long it typically takes a beginner from blank page to finished sketch. Use these as a daily drawing prompt list when you don’t know what to draw.
Nature and Sky (10 ideas)
- A sun – 5 min. Circle plus rays.
- A cloud – 5 min. Bumpy top, flat bottom.
- A rainbow – 10 min. Six concentric arcs.
- A simple flower – 10 min. Five petals around a center.
- A leaf – 5 min. Teardrop shape with a vein.
- A tree (cartoon style) – 15 min. Brown trunk, green or colored blob on top.
- A daisy – 10 min. White petals around a yellow circle.
- A sunset horizon – 15 min. Straight line, half circle, color or shading.
- A raindrop – 3 min. Teardrop with a highlight.
- A snowflake – 10 min. Six lines crossing at the center, with little branches.
Animals (12 ideas)
- A cartoon cat face – 10 min. Circle, triangle ears, dot eyes.
- A cartoon dog face – 10 min. Same as the cat but rounder ears, longer tongue.
- A ladybug – 10 min. Oval body, half-circle wing line, dots.
- A simple fish – 15 min. Oval body, triangle tail, one eye, one fin.
- A bird on a branch – 20 min. Oval body, small circle head, triangle beak, two stick legs.
- A bee – 10 min. Oval body, stripes, two wings, antennae.
- A bunny face – 15 min. Circle, two long ears, dot eyes, small nose.
- A butterfly – 20 min. Four wing shapes, a thin body, antennae.
- A sitting frog – 20 min. Round body, big eyes on top, bent legs.
- A turtle – 25 min. Oval shell with hexagon pattern, small head and legs.
- A horse head – 30 min. Long oval face, triangular ear, mane lines.
- A seashell – 25 min. Spiral lines radiating out from a point.
Reddit users in r/learnart consistently say animal faces are more forgiving than human faces for beginners – the proportions don’t have to be perfect to read as “cat” or “dog,” but a face with the wrong eye spacing immediately looks wrong. Start with animals.
Food and Drink (10 ideas)
- A coffee mug – 10 min. Rectangle body, curved handle.
- An apple – 10 min. Round shape, indent on top, stem, leaf.
- A strawberry – 15 min. Heart shape, dots for seeds, green top.
- A slice of pizza – 15 min. Triangle with a curved bottom, circles for pepperoni.
- A donut – 15 min. Circle with a hole, drips of “icing.”
- A cupcake – 20 min. Cup-shaped base, swirly frosting on top.
- A glass of water – 15 min. Rectangle, ellipse for the rim, a wavy “water line.”
- A bowl of fruit – 25 min. Half-circle bowl, three to five round fruits stacked.
- A sushi roll – 20 min. Circle outline, inner circle for rice, smaller circle for filling.
- A popsicle – 10 min. Rounded rectangle on a stick.
Everyday Objects (10 ideas)
- A book – 15 min. Rectangle, a line down the middle for the spine, title squiggles.
- A pair of glasses – 10 min. Two circles connected by a bridge.
- A key – 15 min. Circle for the head, rectangle shaft, notches at the end.
- A lightbulb – 15 min. Round bulb, screw base, two filament lines inside.
- A balloon – 10 min. Oval shape, a small triangle tie-off, a string.
- A pair of shoes – 25 min. Side profile, curved sole, laces.
- A candle – 15 min. Cylinder, a flame shape on top, a wick.
- A paper airplane – 15 min. Triangle shapes folded into a plane.
- A clock – 20 min. Circle, twelve tick marks, two hands.
- A house – 25 min. Square, triangle roof, rectangle door, two square windows.
Characters and Cute Things (8 ideas)
- A smiley face – 2 min. The classic.
- A stick figure waving – 5 min. Stick figure with one arm raised.
- A simple robot – 25 min. Square head and body, round eyes, antennae.
- A chibi character head – 25 min. Big circle, tiny features, optional hair shapes.
- A cute mushroom – 15 min. Dome top, stem, white dot pattern on top.
- A ghost – 5 min. Wavy bottom shape with two dot eyes.
- A small alien – 20 min. Oval head on a thin body, big black eyes.
- A kawaii cat – 15 min. Circle head, tiny body, big round eyes, small mouth.
How to use this list: Pick one prompt a day. Don’t repeat until you’ve drawn at least 30 of these. By the end, you’ll know which subjects you actually enjoy – that’s where to focus next.
Step-by-Step Tutorials: 5 Easy Drawings to Try Today
These five tutorials walk you through the exact line order I use. Each takes 15 to 30 minutes. Don’t worry about perfection – the goal is finishing.
Tutorial 1: How to Draw a Simple Rose (15 minutes)
- Lightly sketch a small spiral in the center – this is the inner part of the rose.
- Around the spiral, draw a curved heart shape opening upward.
- Add a second, larger petal wrapping around the first.
- Add two more petals on the outer edge, one on each side.
- Sketch a thin stem downward from the bottom of the rose.
- Add one or two leaves on the stem – teardrop shapes with a center vein.
- Trace over your final lines with a slightly harder pressure, then erase the light guidelines.
Tutorial 2: How to Draw a Cartoon Cat Face (10 minutes)
- Draw a circle – this is the head. Don’t worry if it’s not perfect.
- Add two triangles on top of the circle for ears.
- Inside the circle, draw two small dots for eyes.
- Below the eyes, add a tiny upside-down triangle for the nose.
- From the nose, draw a curved “W” shape for the mouth.
- Add three short whisker lines on each side of the face.
- Optional: trace your final lines and erase the guidelines.
Tutorial 3: How to Draw a Cute Bird (20 minutes)
- Sketch an oval – this is the body.
- On the left side of the oval, draw a smaller circle for the head, overlapping the body slightly.
- Add a small triangle pointing left from the head – this is the beak.
- Draw a tiny circle inside the head for the eye, with a smaller dot inside it for highlight.
- From the bottom of the body, draw two thin straight lines downward – the legs.
- Add a curved “M” or “W” shape at the end of each leg for the feet.
- Sketch a triangle shape at the back of the body for the wing.
- Add a few short feather lines on the wing.
Tutorial 4: How to Draw a Simple Face (25 minutes)
- Lightly sketch an oval for the head.
- Draw a faint horizontal line across the middle of the oval – this guides eye placement.
- Draw a faint vertical line down the center – this guides symmetry.
- Place two small almond shapes for eyes along the horizontal line, on either side of the vertical line.
- Between the eyes and the bottom of the oval, draw a small curved line for the nose.
- Below the nose, draw a gentle horizontal curve or two short curves for the mouth.
- Sketch hair on top – any shape you like – bangs, ponytail, short curls.
- Optional: trace your final lines, erase the guidelines, add light shading under the chin.
Tutorial 5: How to Draw a Mandala (30 minutes)
- Draw a small circle in the center of your paper.
- Around the center, draw a larger concentric circle.
- Add a third, even larger circle around the outside.
- Use a ruler or your eye to divide the rings into 6, 8, or 12 equal sections.
- In each section of the inner ring, draw a small shape – a dot, a teardrop, a tiny petal.
- In the middle ring, draw a repeating pattern – petals, triangles, half-circles.
- In the outer ring, draw another repeating pattern, larger this time.
- Trace your favorite lines and erase the rest of the guidelines.
Mandalas are forgiving because they’re symmetric – small mistakes get hidden by the pattern. They’re also a great way to practice patience and steady line work.
Beginner Drawing Techniques: The Fundamentals That Make Everything Easier
These seven techniques are what separate “I can copy a picture” from “I can draw anything I see.” You don’t need all of them on day one. Pick one to focus on each week.
1. Start With Basic Shapes
Every complex drawing starts as a collection of simple shapes. A cat is a circle plus two triangles. A car is a rectangle plus four circles. A tree is a rectangle plus a blob. If you can’t see the basic shape underneath the subject, you can’t draw the subject. Train your eye to spot circles, ovals, rectangles, and triangles in everything you look at – other people’s drawings, photos, the mug on your desk.
2. Use Light Lines for Your First Sketch
Press so lightly that you can barely see the line. These are called construction lines and they exist to be erased. The mistake most beginners make is pressing too hard too early – then they can’t fix anything without leaving a smudge. Light pressure lets you change your mind.
3. Warm Up With Gesture Drawing
Before you draw the “real” thing, set a timer for 2 minutes and draw anything loosely – a hand, a coffee cup, your own shoe. Don’t lift the pen. Don’t worry about accuracy. The point is to wake up your hand and your eye. Reddit users in r/learnart say 5 minutes of gesture drawing before a session dramatically improves the rest of their work.
4. Practice Hand-Eye Coordination
Look at the subject. Look at your paper. Look at the subject. Move your pencil to match what you saw. Repeat. Hand-eye coordination is a skill, not a talent. The way you build it is by drawing what you see, not what you think you see.
5. Draw From Life, Not Just From Imagination
Place a coffee mug on the table. Draw it. Don’t invent it. Beginners who try to draw from imagination without reference photos or real objects end up frustrated because their eye doesn’t yet know what a mug actually looks like. Drawing from life teaches your hand what your eye is seeing.
6. Use a Reference Photo
If drawing from life isn’t an option, use a photo. Search “rose reference” or “cat face reference” and pick an image with clear lighting. Drawing from a reference is not cheating – it’s how every professional illustrator works.
7. Do Loose Quick Sketches Often
One 30-minute sketch teaches you less than ten 3-minute sketches. Volume beats perfection. Fill a page with small, fast, loose drawings – the same subject three or four times in different positions. Your hand will start to remember the shapes.
Common Beginner Mistakes to Avoid (And Quick Fixes)
Every beginner makes these mistakes. Knowing them in advance lets you skip them.
- Pressing too hard too early. Fix: hold the pencil near the back end – it forces a lighter grip.
- Drawing one line and accepting it. Fix: sketch every shape three or four times before committing to a final line.
- Skipping the basic shapes. Fix: always start with circles, ovals, or rectangles, even if you “can see” the final subject.
- Trying to erase every mistake. Fix: leave it. The mistake becomes part of the drawing. Julia Bausenhardt and the old masters kept their mistakes – Leonardo didn’t erase his off-lines either.
- Comparing to artists with 10,000 hours. Fix: compare today’s drawing to last week’s, not to Instagram.
- Drawing only when inspired. Fix: draw on a schedule. Inspiration follows consistency, not the other way around.
- Using cheap, broken, or wrong pencils. Fix: a single HB pencil and a clean eraser is enough for your first month.
- Gripping the pencil with your whole fist. Fix: rest the pencil between your thumb and index finger, supported on the middle finger – like a fork, not like a hammer.
The Starter Supplies You Actually Need
You don’t need a $200 art kit to start. You need four things, and you probably already have three of them.
- One HB pencil. The middle grade. Hard enough to keep a point, soft enough to leave a visible mark. Avoid the $40 “drawing pencil set” until you’ve been drawing for at least a month.
- A regular eraser. White plastic, not the pink school eraser – it smudges less. A kneaded eraser is even better but optional.
- Printer paper or a cheap sketchpad. Don’t start with fancy, expensive paper – you’ll be erasing a lot and you’ll feel guilty about wasting it.
- A flat surface and good light. A desk by a window is the best studio you can build.
That’s it. Total cost of entry is roughly the price of a single pencil. Everything else – fancy paper, brush pens, marker sets, digital tablets – can wait until you’ve built the habit.
Building a Daily Drawing Habit in 30 Days
The single best way to improve at drawing is to draw every day for a month. Not for hours. For ten or fifteen minutes. Here’s a simple challenge that works.
The 30-Day Drawing Challenge
- Days 1 to 7: Pick one item from the Top 10 list each day. Time yourself. Try to finish in under 10 minutes.
- Days 8 to 14: Work through one Nature prompt each day. Try a tutorial if you get stuck.
- Days 15 to 21: Work through one Animal prompt each day. Animal faces build line control and proportion.
- Days 22 to 30: Pick any prompt you haven’t tried yet. By now you’ll know what you enjoy – lean into that.
The Rules
- Don’t skip a day. Even five minutes counts.
- Don’t erase and redo more than twice per sketch.
- Don’t show anyone until day 30. The early drawings are for you.
- Don’t compare across days. Only compare week to week.
By day 30, you’ll have 30 drawings, a clear sense of your own style, and the knowledge that you can sit down, pick up a pencil, and make something. That’s the only real milestone.
Frequently Asked Questions
What is the easiest thing to draw as a beginner?
The easiest thing to draw as a beginner is a simple subject built from basic shapes – a sun, a leaf, a simple flower, a cloud, a cartoon animal face, or a piece of fruit. These can be sketched in 5 to 15 minutes using a single HB pencil, an eraser, and any sheet of paper. Start with one circle plus a few straight lines and work up from there.
What should a beginner artist draw first?
A beginner artist should draw a sun or a smiley face first – the lowest-barrier subjects that take under five minutes and teach the basic motion of putting pencil to paper. After that, progress through a leaf, a simple flower, a coffee mug, a cartoon animal face, and a cloud. One subject per day for a week builds the foundation without overwhelming a new artist.
What are the top 10 easiest things to draw?
The top 10 easiest things to draw are: a sun, a smiley face, a stick figure, a heart, a cloud, a leaf, a simple flower, a rainbow, a coffee mug, and a cartoon cat face. Each takes 2 to 10 minutes and uses only circles, ovals, rectangles, and triangles – the four basic shapes that underlie every drawing.
What are 100 easy things to draw?
100 easy things to draw covers nature subjects (suns, clouds, rainbows, leaves, flowers, trees), animals (cats, dogs, ladybugs, fish, birds, bees, bunnies, butterflies, frogs, turtles), food (mug, apple, strawberry, pizza, donut, cupcake), everyday objects (books, glasses, keys, lightbulbs, balloons, shoes, candles, paper airplanes, clocks, houses), and characters (smileys, stick figures, robots, chibi heads, cute mushrooms, ghosts, aliens, kawaii cats). Pick one a day and you’ll have 100 finished sketches in just over three months.
How do I start drawing as a beginner?
Start by drawing for 10 minutes a day with a single HB pencil and any sheet of paper. Pick a simple subject from this list, sketch the basic shapes first, refine the outlines with light pressure, then add small details. Don’t aim for good – aim for finished. The habit matters more than the quality of the first drawings.
How long does it take to get good at drawing?
Beginners typically see noticeable improvement in 2 to 4 weeks of daily 15-minute practice. Becoming a confident intermediate artist usually takes 6 months to a year of consistent practice. Becoming skilled enough to draw anything from imagination takes years – but every drawing along the way is satisfying on its own. The timeline depends on how often you practice, not on natural talent.
What is the 50% rule in art?
The 50% rule in art means that an artwork is finished when it is about 50% complete in the artist’s own mind. Beyond that point, additional changes usually make the drawing worse rather than better. Knowing when to stop is a skill – and the 50% rule is a useful reminder that less is often more.
Start Drawing Today
Easy things to draw for beginners come down to one decision: pick something simple and finish it. The sun on your first page won’t be a masterpiece – and it doesn’t need to be. It just needs to exist.
Choose one prompt from the Top 10 list, set a 10-minute timer, and draw it without lifting your pen to second-guess. Then pick another one tomorrow. By the end of the week, you’ll have seven finished drawings and a habit you didn’t have seven days ago. That’s how every artist started – including the ones you admire.
Keep this guide open on your phone. When “I don’t know what to draw” hits, come back, pick the first thing that sounds fun, and start. The list is right here whenever you need it.