
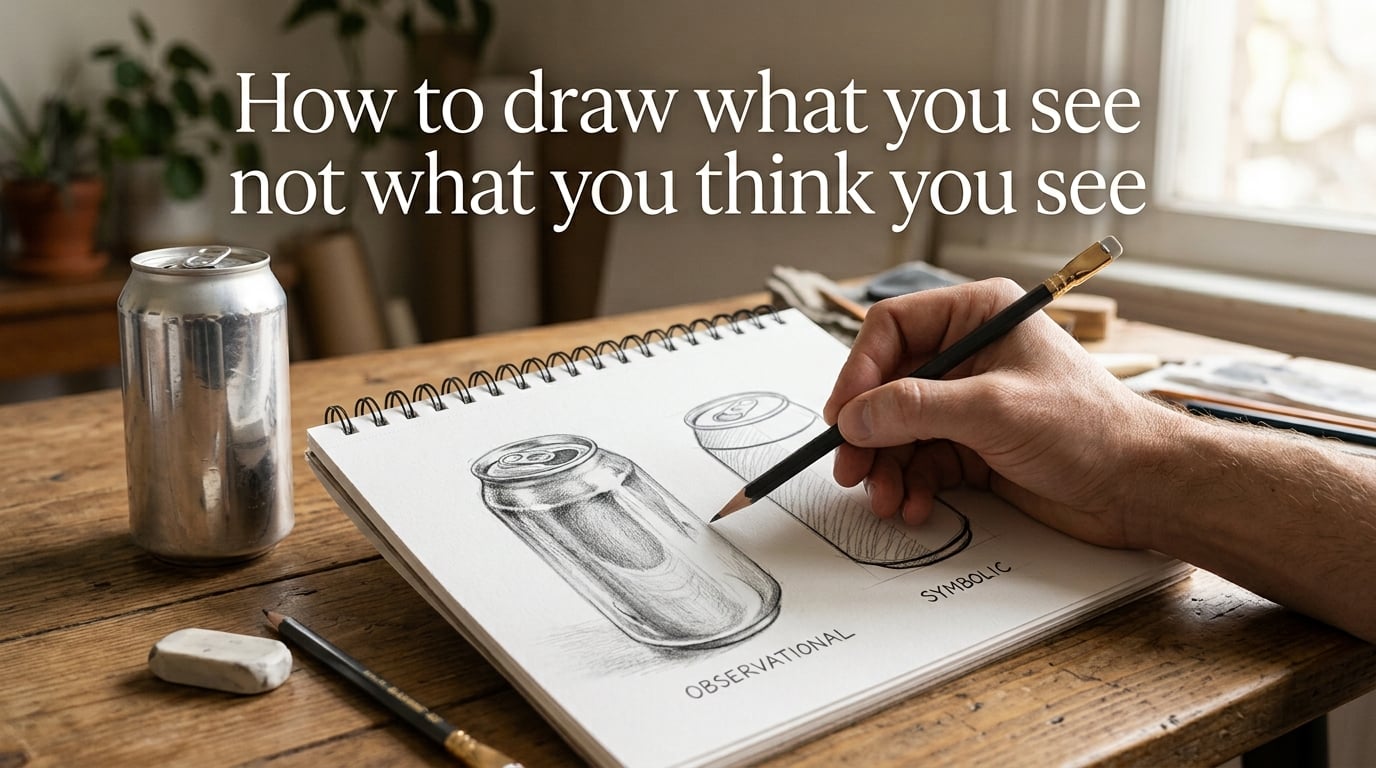
I once watched a teacher place an aluminum can on a desk and ask her class to draw it. Without explaining the rule first, she let them work for ten minutes. Nearly every student produced a smooth, symmetrical cylinder. Nobody drew the tapered top, the slightly smaller base, or the lip where the tab sits. They drew what they thought a can looked like, not what was actually sitting in front of them.
If that sounds familiar, you are not alone. Learning how to draw what you see, not what you think you see is the single biggest shift a beginner artist can make. It means translating the actual shapes, values, edges, and proportions in front of you onto paper, instead of the mental symbols your brain substitutes for them. In this guide, I will walk you through exactly why your brain does this, seven techniques that rewire your perception, and a seven-day practice plan you can start today.
Table of Contents
What Does It Mean to Draw What You See, Not What You Think?
Drawing what you see means observing the actual lines, angles, shadows, and proportions of your subject rather than relying on the simplified symbols your brain has stored over a lifetime. When you look at an eye, your brain wants to draw the generic “eye” shape it learned as a child. But real eyes are irregular, asymmetrical, and full of subtle curves that no symbol captures.
The phrase “draw what you see, not what you know” captures the same idea. You know a chair has four legs and a flat seat. But the chair in front of you might have legs converging from perspective, a curved backrest, and a shadow underneath that changes its shape entirely. Drawing from observation means recording those actual visual facts on paper. As one Redditor put it: “I thought I was looking, but I was naming.” The moment you stop labelling parts (“this is the nose, this is the eye”) and start measuring angles and comparing shapes, your drawings begin to look real.
Why Your Brain Sabotages Your Drawings
Your brain is wired for efficiency, not accuracy. Through a process called top-down processing, your visual cortex recognizes objects in milliseconds and instantly retrieves a stored symbol. That symbol is a simplified mental shortcut — useful for navigating the world, devastating for drawing.
This is why beginners draw lollipop trees: a circle on a stick. It is why every face gets the same two dots for eyes and a curved line for a smile. Your brain has filed thousands of visual experiences into neat categories, and when you sit down to draw, it hands you those categories instead of the raw visual data in front of you.
Betty Edwards described this phenomenon in her landmark book Drawing on the Right Side of the Brain. She argued that the logical, labelling left hemisphere dominates everyday perception, overriding the visual, shape-aware right hemisphere. Her famous V/R/P (Vase/Profile) exercise — where you see either two faces in profile or a single vase depending on which hemisphere is engaged — showed that switching your perceptual mode changes what you can draw. The techniques in this guide are all designed to quiet the left hemisphere’s urge to label and let the right hemisphere observe.
7 Techniques to Train Your Eyes and Hands
These seven observational drawing exercises are ordered from foundational to advanced. Each one targets a specific way your brain cuts corners. Practice them individually, then combine them as your confidence grows.
| Technique | Difficulty | Time | What It Trains |
|---|---|---|---|
| Slow Down and Look | Beginner | 5 min | Patient observation, attention to detail |
| Blind Contour Drawing | Beginner | 5 min | Eye-hand connection, edge-following |
| Upside-Down Drawing | Beginner-Intermediate | 15-20 min | Shape recognition, ignoring labels |
| Negative Space Drawing | Intermediate | 10-15 min | Seeing shapes between and around objects |
| Measuring with a Pencil | Intermediate | 10 min | Accurate proportions and ratios |
| Squinting for Values | Intermediate | 5-10 min | Tonal values, light and shadow |
| Using a Viewfinder | Beginner | 5 min | Framing, composition, isolating shapes |
1. Slow Down and Really Look
The foundation of all observational drawing is patience. Most beginners spend less than 30 seconds looking at their subject before their pencil starts moving. Set a timer for five minutes and just look at your subject before you draw a single line. Notice the angles, the negative spaces, where the light falls, and how the proportions relate to each other.
A common refrain from experienced artists is: “The drawing is 80% looking and 20% putting marks on paper.” If you catch yourself drawing from memory, stop. Return your eyes to the subject. Let your hand follow your gaze, not your assumptions.
2. Blind Contour Drawing
Blind contour drawing is the fastest way to break the habit of drawing symbols. Place your pencil on the paper, pick a point on your subject’s outline, and begin tracing the edge with your eyes — slowly, carefully — while your hand mirrors the movement on paper. Do not look at the paper. Not once.
The result will look distorted. That is the point. This exercise forces your eye and hand to work together without the interference of your brain’s stored symbols. After several sessions, you will notice that your regular drawings start capturing more accurate contours because your hand has learned to follow your eyes. Reddit users consistently call this their “aha moment” technique.
3. Upside-Down Drawing
Turn your reference image upside down and draw it that way. When an image is inverted, your left hemisphere cannot easily identify and label the objects. It struggles to apply its usual symbols. This forces your right hemisphere to take over and process pure shapes and angles instead of names.
Try it with a simple line drawing or photograph. You will be surprised at how much more accurate your proportions become because you are finally drawing shapes instead of “a face” or “a building.” Betty Edwards used this exercise extensively in her workshops, and it remains one of the most effective ways to bypass symbolic thinking.
4. Negative Space Drawing
Instead of drawing the object itself, draw the space around it. The area between a chair’s legs, the gap inside a bicycle wheel’s spokes, the shape formed between a person’s arm and their torso — these are negative spaces. They are often simpler shapes than the object itself, and your brain has no stored symbols for them.
Drawing negative space trains you to see relationships. Once you can accurately capture the space between two objects, the objects themselves fall into place with much better proportions. This technique is especially powerful for complex subjects like bicycles, chairs, or intertwined hands.
5. Measuring with a Pencil
Hold a pencil at arm’s length with your elbow locked. Close one eye. Align the pencil tip with one edge of your subject and use your thumb to mark another edge on the pencil’s shaft. This gives you a unit of measurement you can compare to other parts of the subject.
Ask yourself: how many “heads” tall is the figure? How does the width of the shoulders compare to the height of the head? These ratios keep your proportions accurate. Professional artists measure constantly — it is not cheating, it is the difference between a drawing that looks right and one that feels slightly “off.”
6. Squinting to See Values
Squint your eyes until the details blur and you can only see broad areas of light and dark. This eliminates the distracting details and reveals the underlying tonal structure of your subject. Your drawing needs accurate values — the lightness and darkness of different areas — to look three-dimensional.
When you squint, the subject reduces to three or four value zones: highlights, midtones, shadow, and deep shadow. Block those zones in first before adding any detail. Many beginners skip this step and go straight to outlines and details, which is why their drawings look flat. Squinting is a simple tool that instantly upgrades the depth and realism of your work.
7. Use a Viewfinder
A viewfinder is a simple frame — you can make one from a piece of cardboard with a rectangular hole cut in the center — that isolates your subject from its surroundings. By cropping your field of vision, you eliminate visual noise and focus on only the shapes and proportions within the frame.
Hold the viewfinder at arm’s length and look through it at your subject. Notice the angles of the edges where they meet the frame. Use the frame’s edges as reference lines for vertical and horizontal alignment. This technique also helps with composition, teaching you to make deliberate choices about what to include and what to leave out.
Watch it in action: If you want to see these techniques demonstrated, this video by Gemma Chambers walks through the core principles of drawing what you see in real time:
5 Symbolic Drawing Mistakes Beginners Make (and How to Fix Them)
Recognizing your own symbolic shortcuts is half the battle. Here are the five most common patterns I see in beginner work, along with specific fixes.
Mistake 1: The Lollipop Tree. Beginners draw a circle on a stick and call it a tree. Real trees have irregular canopies, visible branches, and asymmetrical shapes. Fix: draw the negative spaces between branches instead of the tree shape itself.
Mistake 2: Identical Eyes. Every face gets the same cartoon eye — an almond with a circle inside. Real eyes vary enormously in shape, size, and the way the eyelid overlaps the iris. Fix: squint at the reference to see the eye as a single shadow shape rather than a named feature.
Mistake 3: The Perfect Cylinder. When drawing cups, cans, or bottles, beginners draw two parallel vertical lines connected by ovals. In reality, the ellipse at the top of a cylinder is wider than the one at the bottom when viewed from above. Fix: measure the relative width of the top and bottom ellipses with your pencil.
Mistake 4: Flat Shading. Beginners shade in uniform, directionless scribbles. Real shadows follow the form of the surface and vary in intensity. Fix: squint to identify the light source and shade accordingly, making shadows darker where the surface turns away from the light.
Mistake 5: Ignoring Proportions Between Features. Beginners place features individually without checking how they relate to each other. The mouth ends up too close to the nose, or one eye is larger than the other. Fix: use the pencil-measuring technique to check ratios before committing to placement.
Your 7-Day Observation Challenge
Theory only takes you so far. This challenge gives you a structured path to internalize observational drawing in one week. Each session takes 15 to 20 minutes. Grab a pencil, a sketchbook, and a willingness to make ugly drawings.
Day 1: The 5-Minute Look. Place any simple object on a table (a mug, a shoe, a piece of fruit). Set a timer for five minutes and just look. Then spend ten minutes drawing it, returning your eyes to the object every few seconds. Do not erase anything.
Day 2: Blind Contour Faces. Sit across from a friend, family member, or even a pet. Spend five minutes on a blind contour drawing of their face without looking at the paper. Repeat with a second subject. The goal is to train your eye-hand connection.
Day 3: Upside-Down Portrait. Find a portrait photograph and turn it upside down. Draw it in that orientation for 15 minutes. You will be shocked by how much more accurate your proportions are when you cannot label what you see.
Day 4: Negative Space Kitchen. Choose a chair or a plant. Draw only the negative spaces — the gaps between legs, leaves, or branches — for 15 minutes. The object will emerge from the negative space.
Day 5: Value Study. Set up a single light source (a desk lamp works) on a simple object. Squint at it and draw only three values: white (paper), midtone, and dark. No outlines, just shaded shapes. This teaches you to see light and shadow as the foundation of form.
Day 6: Measure and Draw. Set up a still life with two or three objects. Use the pencil-measuring technique to check every proportion before you draw it. Spend 15 minutes on careful measurement and placement.
Day 7: Put It All Together. Set up a still life with a single light source. Combine slow observation, measuring, squinting for values, and negative space awareness in one 20-minute drawing. Compare it to your Day 1 drawing. The improvement will be visible.
What If You Cannot Visualise? Drawing with Aphantasia
Aphantasia is the inability to form mental images. If you close your eyes and cannot “see” a red apple in your mind, you may have aphantasia. Some people hear the advice “draw what you see” and feel excluded, since they cannot visualise at all.
Here is the good news: observational drawing is actually easier with aphantasia in some ways. You have no mental images competing with reality. You are already looking at the reference without a stored symbol trying to override it. The techniques in this guide — measuring, squinting, negative space, contour drawing — all work with eyes open, looking at a real subject or reference photo. Aphantasia is not a barrier to drawing; it may even be an advantage.
Frequently Asked Questions
How to draw what you see and not what you think?
Start by slowing down — spend at least two minutes just looking at your subject before drawing. Use exercises like blind contour drawing and upside-down drawing to bypass your brain’s stored symbols. Measure proportions with a pencil, squint to see tonal values, and draw negative spaces instead of named objects. These techniques train your hand to follow your eyes rather than your assumptions.
What is the 70/30 rule in drawing?
The 70/30 rule suggests spending 70% of your drawing time observing and 30% actually putting marks on paper. Most beginners reverse this ratio, spending far more time drawing than looking. By prioritizing observation, you capture more accurate proportions, values, and details.
What is aphantasia drawing?
Aphantasia drawing refers to creating art when you have aphantasia — the inability to form voluntary mental images. People with aphantasia draw entirely from reference or direct observation rather than from imagination. Observational drawing techniques like measuring, squinting, and negative space work perfectly for aphantasic artists because they rely on what the eyes see, not what the mind pictures.
What is the 50% rule in art?
The 50% rule is a practice guideline suggesting you should spend half your creative time on studies and exercises and the other half on personal projects. Applied to observational drawing, this means alternating between structured practice (blind contours, value studies) and free drawing that applies what you have learned.
Is observational drawing a difficult skill to learn?
Observational drawing is challenging at first because it requires overriding lifelong habits, but it is absolutely learnable. Most beginners notice measurable improvement within one to two weeks of daily practice. The key is consistent short sessions rather than occasional long ones — 15 minutes a day beats a three-hour session once a week.
Conclusion
Learning how to draw what you see, not what you think you see is not about talent. It is about training your perception. Your brain has spent years building shortcuts that served you well in everyday life but hold you back at the drawing table. The seven techniques in this guide — from blind contour drawing to squinting for values — give you concrete tools to override those shortcuts.
Start with the seven-day observation challenge. Draw something every day, even if it is only for fifteen minutes. Compare your Day 7 drawing to your Day 1 drawing, and you will see the shift from symbolic to observational happening in real time. The pencil is the same. The paper is the same. The only thing that changed is how you look.