
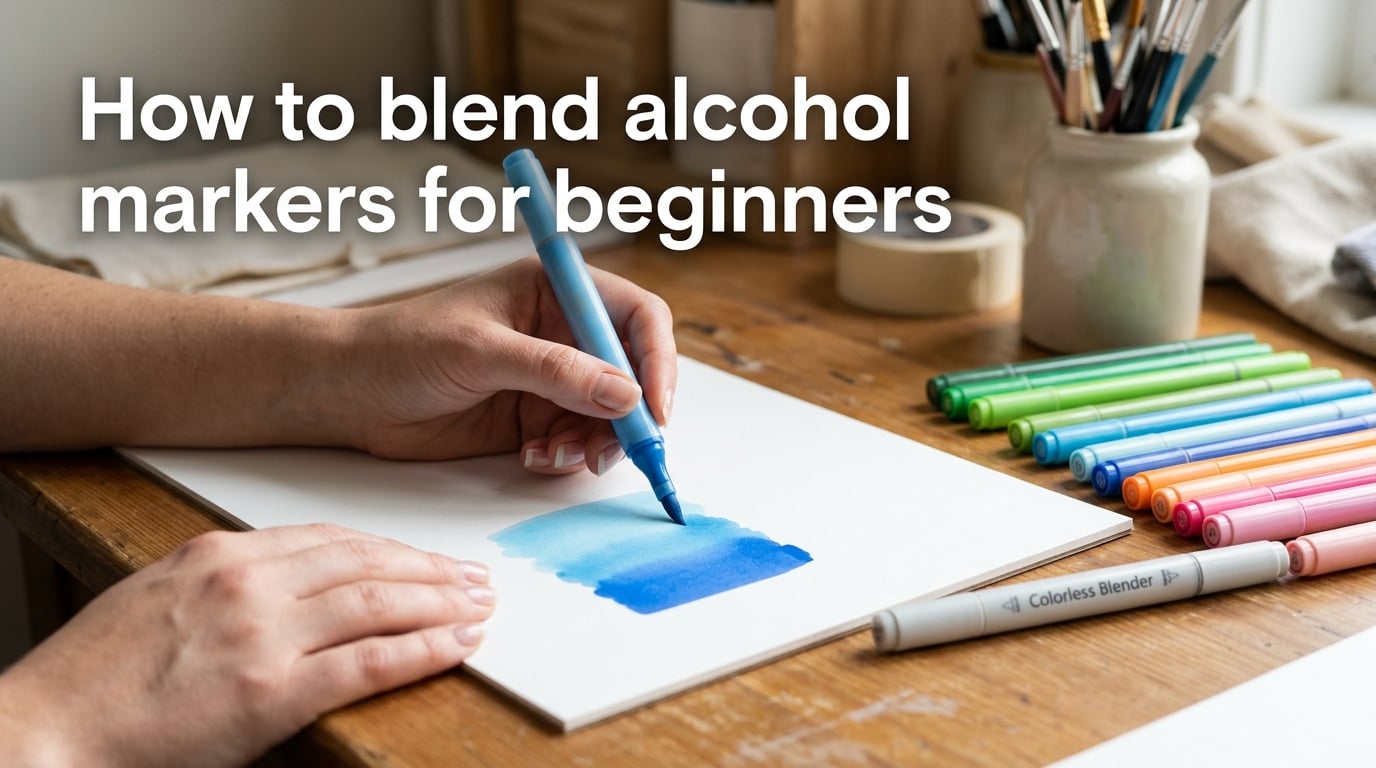
Learning how to blend alcohol markers starts with one simple rule: work while the ink is still wet. Alcohol-based ink dries fast, and that quick-drying nature is exactly what lets two colors melt into a smooth gradient when you overlap them at the right moment. In this guide, I’ll walk you through the supplies you need, four core blending techniques, the speed and hand-position tricks real Reddit artists swear by, and how to fix the blotchy results that frustrate most beginners.
By the end, you’ll know how to pick the right paper, choose colors that actually blend together, and recover a muddy patch when your first attempt goes wrong. I tested each technique on Ohuhu and Copic markers over a few months, and the methods below come from that hands-on work plus the top tips shared in r/AdultColoring and r/AlcoholMarkers.
Table of Contents
Essential Supplies You Need Before You Start
You only need a few items to begin blending alcohol markers, and skipping any of them is the fastest way to get streaky, frustrating results.
- Bleed-proof marker paper or cardstock: Regular printer paper soaks up ink too fast and bleeds through. Marker paper keeps the ink sitting on the surface long enough to blend.
- Alcohol markers (3+ colors per blend): Start with two close shades and one mid-tone. Ohuhu and Copic are the two brands beginners on Reddit recommend most.
- A colorless blender marker: This clear marker pushes wet ink around and rescues blends that start to dry out.
- Scrap paper for practice: Every artist ruins their first few swatches. Practice on scrap before touching a real project.
- A piece of scratch paper or paper towel: For dabbing a too-wet nib and preventing ink from pooling.
You don’t need a 200-marker set on day one. I built my first blends with just four Copic Sketch markers and a single colorless blender. The paper matters more than the marker brand, and that brings us to the most common beginner mistake.
Choosing the Right Paper for Clean Blends
Paper is the single biggest factor in whether your blends turn out smooth or blotchy. Alcohol ink behaves completely differently on different paper types, and most beginners pick the wrong one without realizing it.
Bleed-proof marker paper is coated so the ink stays on top of the surface long enough to move around. Brands like X-Press It, Bleedproof, and Canson Marker Pad paper are specifically made for this. The ink stays wet for several seconds, which gives you a real window to blend.
Regular cardstock and printer paper soak the ink in immediately. Once the paper drinks the ink, you can’t move it around anymore. That’s why your blends look patchy even though you’re moving fast.
If you only have regular paper, you can still practice, but expect rougher results and work in tiny sections. Reddit users in r/AdultColoring consistently say that switching to proper marker paper fixed their blending problems overnight. One user put it simply: “I thought my markers were broken until I tried them on the right paper.”
For coloring books, look for books printed on heavyweight paper (around 200 gsm or higher). Cheaper books use thin paper that bleeds through to the next page and buckles under wet ink.
Technique 1: Light to Dark Blending (The Classic Method)
The light-to-dark method is the first technique every beginner should learn. You lay down the lightest color first, then layer the darker shade into it while the base is still wet.
- Pick two colors in the same family: A light pink and a medium pink, for example. Stay within one family until you understand the basics.
- Apply the lighter color in a smooth, even layer: Use the broad side of a chisel tip or the full brush stroke of a brush nib. Cover the area you want to blend.
- Pick up the darker color without capping the light one: Ink starts drying the second you uncap a marker, so keep your workflow tight.
- Layer the darker color at the edge of the light area: Start where you want the deepest tone and work back into the lighter zone.
- Overlap the two colors while both are wet: Use small back-and-forth strokes where they meet. The ink will melt together on the paper.
- Stop before the ink dries: If you see streaks forming, you’ve gone over the same area too many times. Step back and let it dry.
The reason this works is that wet ink mixes like watercolor on a palette. The lighter base gives the darker shade something to slide into, instead of fighting with dry paper. If you go dark-to-light instead, the dark ink grabs the paper first and the lighter color can’t blend on top of it cleanly.
Technique 2: Dark to Light Blending (For Depth and Shadows)
Dark-to-light blending works in reverse: you lay down the darkest tone first and pull the lighter color into it. This is the right method when you need shadows, depth, or dramatic gradients like a sunset or a stormy sky.
- Apply the darker color first in a smooth layer: Don’t worry about the hard edge it leaves. That edge will become your blend zone.
- Immediately pick up the lighter color: Speed matters even more here because the dark ink grabs paper quickly.
- Layer the light color right next to the dark edge: Leave a tiny overlap where the two colors meet.
- Work back toward the dark edge with small strokes: Each stroke should pull a little less color than the last. This creates a gradient.
- Use your colorless blender to soften the transition: If the seam between the two colors is still visible, run the blender along it while everything is still wet.
Dark-to-light is harder than light-to-dark and you’ll see more streaks at first. The trick Reddit artists repeat is to keep your hand moving faster than feels natural. A slow stroke over a half-dry edge is what creates those harsh lines that look like a coloring book mistake.
Technique 3: Feathering (For Soft Transitions)
Feathering is the technique that makes skies look like skies and skin look like skin. Instead of laying down a flat color, you use light, flicking strokes that taper off at the end, like the edge of a feather.
The motion is a small, fast wrist flick. Press lightly at the start of the stroke and lift as you finish. Each stroke overlaps the previous one slightly, and the gaps between strokes get filled in by the wet ink spreading on its own.
Feathering shines on large areas where you don’t want a hard line anywhere. Think sunset gradients, flower petals, water reflections, and soft backgrounds. It’s also the best technique for blending three or more colors together, because each feathery stroke lays down a thin layer that the next one can mix into.
Light hand pressure is the whole point. If you press hard, the strokes look like fat lines. If you press gently, they melt together. One Reddit user described it as “drawing with the side of the nib and barely touching the page.” That phrasing captures it better than any technical explanation I’ve read.
Technique 4: Blend to White (For Highlights and Pops)
Blend to white means leaving a patch of paper untouched and blending color up to its edge, so the white itself acts as a highlight. This is how pro marker artists get those bright, glowing spots on hair, eyes, water droplets, and shiny surfaces.
The trick is to plan your highlights before you start coloring. Once you lay down ink, you can’t easily remove it. So identify where the brightest spots should be and leave them blank.
Then work outward from the white space. Apply your lightest color right next to the white, then layer in mid-tones and darks as you move away. The contrast between the untouched paper and the layered color creates the illusion of light hitting the surface.
This is also a forgiving technique for beginners. If your blend looks rough, the white highlight still anchors the artwork and makes the rough area look intentional rather than messy. Coloring book enthusiasts use this constantly for mandalas and floral designs, where small white highlights add a lot of dimension.
How to Use a Colorless Blender Like a Pro
A colorless blender is a marker filled with the alcohol solvent only, no pigment. Its job is to move wet ink around without adding color. Think of it as a brush that pushes existing ink instead of laying down new ink.
There are two ways to use it. The first is the “rescue” method: your blend is starting to dry and you can see streaks, so you quickly go over the area with the blender to re-wet the ink and smooth it out. This only works if some wet ink is still present, so timing is critical.
The second is the “wet the page first” technique that experienced Reddit artists recommend. You put the colorless blender down first and lay down a layer of clear solvent. Then you go over it quickly with your colors. The pre-wet page gives the ink something to flow into, and your blends come out noticeably smoother.
To push color from a darker area into a lighter one, lay down your lighter color first, then touch the darker edge with the blender tip. The solvent carries some of the dark pigment into the light zone and creates a soft transition.
One warning: a colorless blender can pick up pigment and transfer it to your next stroke. If you used it on red and then move to a yellow area, you’ll drag red into the yellow. Keep a scrap paper handy and scribble the blender out between color changes.
Speed, Hand Position, and Ink Timing
Speed is the difference between smooth and streaky, and no written guide covers it well. You have to move faster than your comfort zone tells you to.
Alcohol ink starts drying the moment it touches paper. On bleed-proof marker paper you get maybe 5 to 10 seconds before the ink starts to set. On regular cardstock you might get 2 or 3. If you take your time between strokes, the ink under your first stroke dries and your second stroke lays on top of dry paper, which is exactly what creates streaks.
Reddit artists share a few practical tricks. Uncap your next marker before you finish your current stroke so there’s no delay. Lay down all your base colors first, then go back and blend the edges in a second pass. Keep your hand moving in small, quick flicks rather than long slow strokes.
Hand position matters too. A Reddit thread in r/AdultColoring recommends starting from the center of a shape and working outward toward the lines, but not so far out that you overshoot. This keeps your wrist in a comfortable arc and lets you see where wet ink meets dry ink before it sets.
Practice this: lay down a 2-inch square of color and try to blend a second color into it before the first one dries. Time yourself. Once you can do it in under 5 seconds on regular paper, your speed is dialed in.
Color Family Basics: Which Colors Blend Well Together
Beginners often pick colors that fight each other on the page. Two colors might be beautiful alone but turn to mud when you mix them. The fix is understanding color families.
Analogous colors sit next to each other on the color wheel. Yellow, yellow-green, and green blend cleanly. Pink, red, and magenta blend cleanly. These are your safest combinations for your first projects.
Complementary colors sit opposite each other, like blue and orange or red and green. Mixing them on the page creates a grayish-brown tone that looks muddy and dull. Beginners often grab a blue and a brown thinking they’ll make a nice shadow, but the result is a dirty gray.
Start every blend with three colors from the same family: a light, a mid, and a dark. That gives you enough range to create a gradient without needing to introduce a contrasting shade. Once you understand how families work, you can start experimenting with deliberate contrast for special effects.
If you don’t know what family a marker belongs to, swatch it on scrap paper next to a couple of others before blending. Look at the swatches together and ask whether they look harmonious or jarring. Your eye will tell you what works faster than any theory.
Troubleshooting: Why Your Blends Look Blotchy or Streaky
Almost every beginner problem with alcohol markers comes down to a handful of causes. Here’s a checklist to run through when something looks off.
Streaks across the blend: You went over the area too many times or the ink dried before you finished. Fix: work faster, lift the marker between strokes, and stop the moment streaks appear.
Blotchy patches with no color in spots: The paper soaked up the ink unevenly, usually because it’s not marker paper. Fix: switch to bleed-proof paper or work in smaller sections.
Muddy gray-brown color where two shades meet: You mixed complementary colors or layered too many shades. Fix: stick to one color family per blend and limit yourself to three tones.
Hard line between two colors: One color dried before you added the second. Fix: reduce the size of your working area, keep both markers uncapped, and use the colorless blender to soften the seam.
Markers feel dry or skip on the paper: Your nibs are clogged or dried out. Fix: scribble on scrap paper until the ink flows again. Store markers horizontally so the ink stays balanced at both tips.
Paper buckling or bleeding through: The paper is too thin for alcohol ink. Fix: use 200 gsm or higher, or place a sheet of scrap paper underneath to protect your work surface.
If you fix the paper and the speed, you’ll fix 80% of beginner blending problems. The other 20% comes from practice. Every artist I follow in marker communities has dozens of bad swatches they’ve thrown away. The learning curve is steep at the start and then flattens out quickly.
Frequently Asked Questions
Do you wait for alcohol markers to dry before blending?
No. Blending alcohol markers depends on working while the ink is still wet. You lay down your lighter color first, then add the second color into it before the first one dries. If you let the base color dry completely, the second color will sit on top as a separate layer instead of melting into a gradient. Work in small sections and move quickly so both inks are wet when they meet.
Why won’t my alcohol markers blend?
The most common reasons are wrong paper, ink drying too fast, or pressing too hard. Marker paper is coated so the ink stays wet on the surface long enough to blend. Regular paper soaks the ink in immediately. If your ink is drying before you finish, work in smaller sections, keep your next marker uncapped, and move your hand faster. If you see streaks, you’re going over the area too many times after the ink has started to set.
How to blend alcohol markers without a blender?
You can blend alcohol markers without a colorless blender by working fast and staying within one color family. The light-to-dark method relies on overlapping wet ink, not on any special tool. Use feathering strokes with light pressure, apply the second color before the first dries, and limit yourself to two or three shades per blend. The colorless blender makes things easier, but it isn’t required for clean results.
How to color with alcohol markers for beginners?
Start with bleed-proof marker paper, three shades from one color family, and a colorless blender. Begin with the lightest color in your chosen area, work in small sections, and add the darker shade into the wet base before it dries. Practice blending on scrap paper before working on a real project. Keep your strokes light and your hand moving faster than feels natural. The biggest beginner gains come from switching to proper paper and learning to work while the ink is wet.
Final Thoughts on How to Blend Alcohol Markers
Knowing how to blend alcohol markers comes down to three habits: pick the right paper, work fast enough that the ink stays wet, and stay within one color family per blend. Master those three things and every technique in this guide starts to click.
I went from splotchy, streaky frustration to smooth gradients in about three weeks of daily swatching. Most of that improvement came from switching to marker paper and forcing myself to keep my hand moving. The techniques themselves are simple once the setup is right.
For your next step, try a practice exercise: pick one color family and blend a 4-inch square from light to dark using all four techniques covered above. Once that square looks smooth, apply the same methods to a real coloring page or illustration. The square will tell you exactly where your timing and pressure need work before you risk a finished piece.
Save your bad swatches, not just your good ones. Looking back at my early mistakes helped me spot the patterns faster than any tutorial. The blend you can explain is the blend you’ll be able to repeat.